How to make a swing out of wood and metal
Remember the childhood sensations of a swing? This is not only pleasant, but also useful - monotonous rocking trains the vestibular apparatus, and also calms the nervous system. The second property is very useful in our time. Such a pleasant relaxation treatment after a busy day. Moreover, any person with "straight" hands can make a swing with their own hands. There are, of course, complex models, but there are many more simple ones.
The content of the article
About constructions
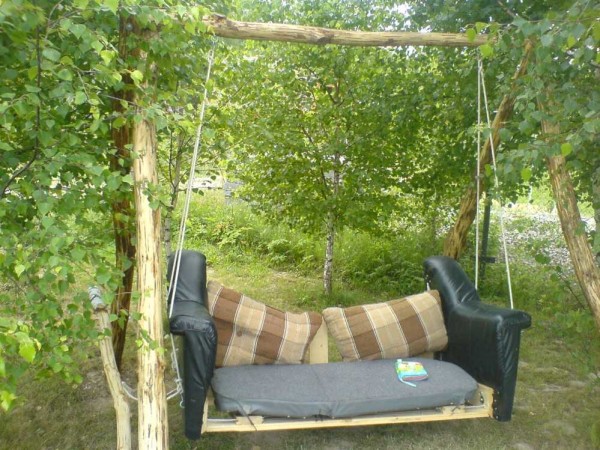
Like most outbuildings, swings are most often made of wood. Racks and crossbar - from a bar, logs, seats - from planks and even from parts of home furniture.
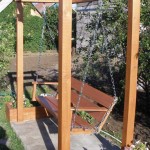
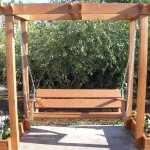
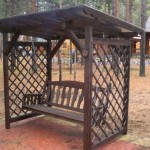
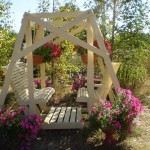
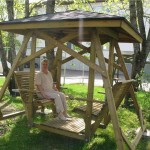
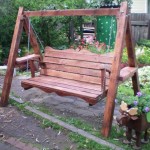
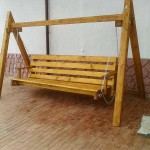
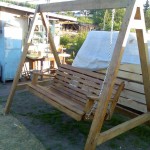
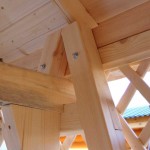
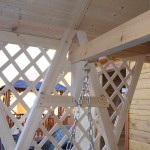
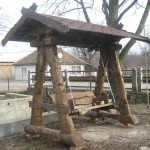
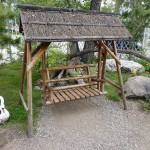
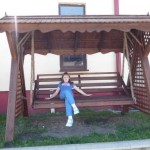
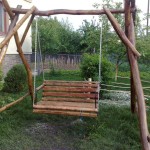
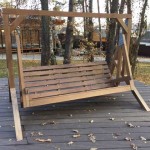
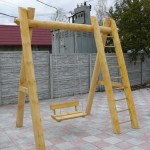
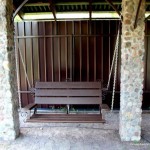
A little about the designs. There are three main types of hanging swings, or as they are also called - boat swing, sofa, bench, etc. The main difference is in the type of support structure: there is an A-shaped and a U-shaped. You see an example with racks folded into a triangular structure above, and in the photo below an example with a U-shaped rack. It is already rather pergola with a suspended bench and it is built according to the same type, only taking into account the swinging loads.
- This swing design is more reliable: lateral loads are also compensated. It is impossible to roll over on them, but they cost much longer, more expensive, more difficult
- Swing on a U-shaped base
- Very cozy
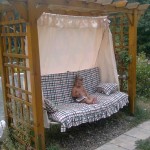
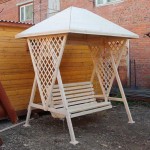
- Roof option
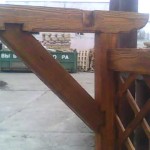
- It's like attaching dovetail cuttings. Reliable, but difficult for beginners
There is a third type - this is already a complex structure that requires certain skills - it is based on articulated joints and they swing from resting their feet on the floor. Immediately we will give both photos and diagrams for those who wish (you can expand to full screen if you click on the arrows in the upper right corner of the picture).
- Swing boat with articulated joints
- Roof option
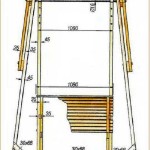
- Working drawing with dimensions
- The second part of the drawing with the dimensions of the seats
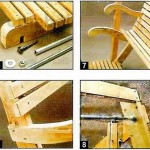
- Partial assembly notes
- Explanations for building a swing in steps
- Second part of the comment
Read how to build a wooden gazebo with your own hands here.
We make a swing with our own hands from a tree
Most often, they make their own construction in the form of the letter "A". It is simpler and requires less material. Let's take a closer look at the nodes, fasteners, talk about materials, protection against destruction and stability.
Materials
Immediately about what to make a wooden swing. The choice of lumber section depends on the planned load. If it is assumed that there will be one adult person, the racks and the upper crossbar are at least 50 * 70 mm. If a larger number of "seats" is expected - two or three, then the cross-section of the bar is at least 100 * 100 mm, in better case - 100 * 150 mm. It has been experimentally established that such a structure, when using a 100 * 100 bar, normally withstands a total load of about 200 kg. If you need more, take a larger section, or put logs))
About what the bench / sofa is made of. A bar of 70 * 40 mm will go to the frame, the back height is at least 600 mm, the seat depth is at least 480 mm. You can experiment with the depth of the seat and the angle of the backrest: there are options for the "recumbent" position. Accordingly, both the length of the sofa and the dimensions of the structure vary greatly from this. For fastening, use 200 nails or hairpins at least 10 mm in diameter.
How to position the racks
A diagram with dimensions and a list of the required material in the photo below. To be honest, very few people make from such materials, as indicated in the specification. More often they put a bar.
- List of materials for making a swing bench
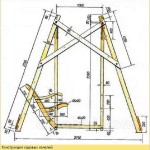
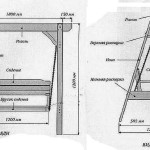
- Dimensional drawing of a hanging swing made of wood
There are varieties of this design: with or without a bottom frame. If the swing is installed on a rigid platform and the fasteners are made rigid, on the studs, without the possibility of backlash, then such a structure will stand without problems. If in doubt, you can make a screed from a bar along the bottom, nail it with pins to the coating, or drive the staples into the ground.
- A crossbar is added here, there is nothing to disperse
- The simplest design, but the "legs" can part
- These just stand, not buried
For those who are afraid of lateral loads - the design in this axis is not the most reliable - we can suggest placing the racks with a slope. The area will be large, but the stability will be high.
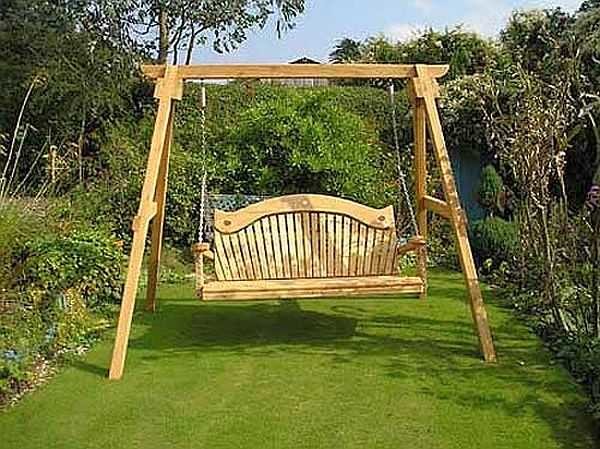
Sloped uprights will make the structure more stable
If it is intended to be installed in the ground, parts of the racks that will be buried must be treated with bio-protection. As a cheap option, put it in a container with used oil for several hours. Dry, then bury. They are buried to a depth of at least 50 cm, a little rubble is poured at the bottom, racks are set up and concreted. If you are afraid that this is not enough, attach several strips of metal crosswise at the bottom. The hole will have to be dug larger, but the retention area will be larger.
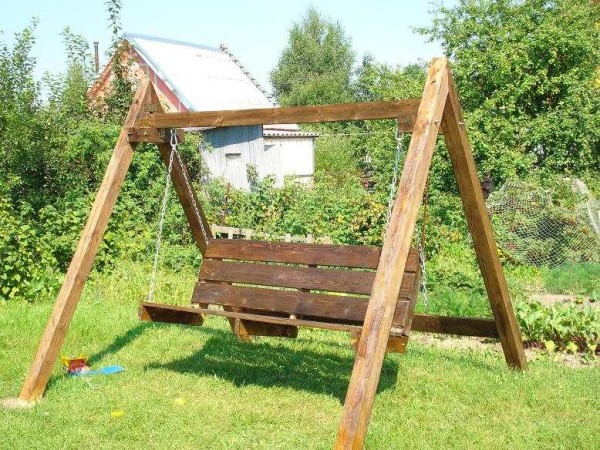
Swing from a bar on the ground. Traces of concreting are visible
We read how to make a pond for a summer residence or near a house in this article. You may be interested in reading about pools for summer cottages.
Crossbar fastening methods
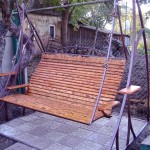
In all swings of this type - with the racks sawn at the top - the problem is the attachment point of the crossbar, to which the bench is then attached. In the photo above, it is solved reliably, although not quite aesthetically. The trouble is that aesthetic methods are difficult to execute. And, if you are not for sale, it’s faster to do something inelegant, but reliable. So, in order to secure the cross-member, an overhead bar is attached below the intersection, pulled to the racks with pins. The crossbar rests on it, which is held from side shifts by racks and fasteners - nails and studs.
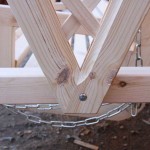
Another way to install the cross member is to attach the side posts in an “X” shape. With this option, the supporting beam fits perfectly. It is additionally fastened with nails, and the racks are pulled together with hairpins. See this option in the next photo.
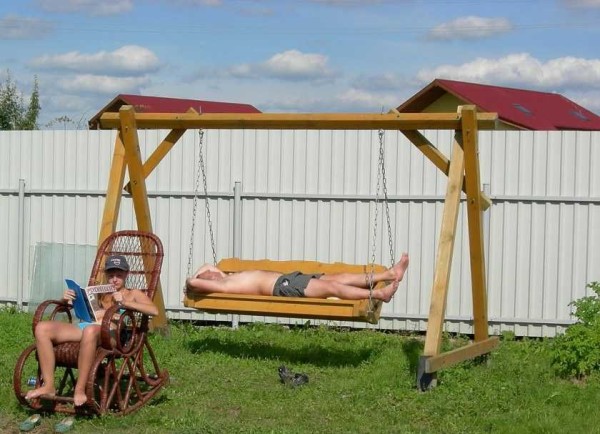
Everything is fine, but the length of the sofa is not enough ...
By the same principle, do-it-yourself swings are assembled from logs: the side ones are fastened crosswise, and a support log is laid on top. If the timber is sometimes assembled on nails, then in the case of logs, studs are mainly used.
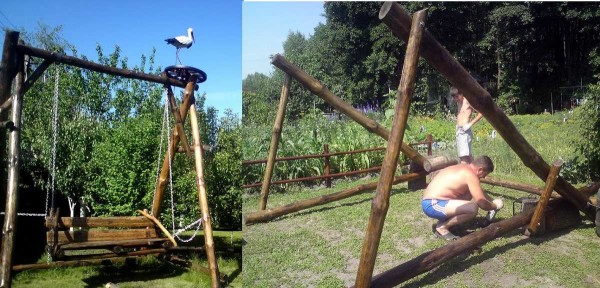
Swing on chains from a log
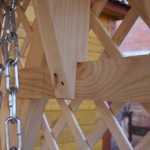
For those who are familiar with carpentry, there are more options: in a half-tree. Such a project in the photo gallery below with a close-up of some of the key nodes.
- Hanging swing with roof
- Attachment of the support beam under the hanging bench
- Fastening the beams under the crate
- How the racks are fastened together - an inside view
You can read about benches for the garden and plot here.
Photo gallery of homemade swing on chains
And a few photos of different swings made on the basis of the A-shaped structure.
- A beautiful and powerful structure
- From thin logs under a reed roof - looks great
- Chic option - 3-seater, and maybe more, swing
- Roof attachment point
- Another option, in which all the "finishing touches" were formed - stands in the form of the letter "X" and under a slope
- Something he is not very happy))
- One of the modifications is more difficult to manufacture
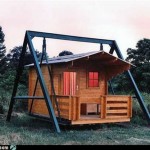
- This is a whole house - a swing .... Cool
- Immediately the stairs ...
- This is how you can make a sofa on a swing
- If there are reliable posts, you can attach the chains from the bench to them. It will turn out well
How to build a children's playhouse in a summer cottage or near a house read here.
Attaching the swing to the crossbar
The attachment for the swing also requires clarification, that is, it is not obvious to everyone how to hang a bench-sofa on the crossbar. First, the crossbar is drilled from bottom to top through and through. A bolt is passed through the hole, to which an eye nut is attached. One or two wide washers are placed under the nut head so that it does not squeeze under the weight.
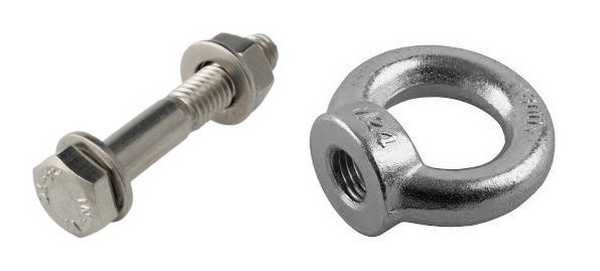
Instead of a regular nut, an eye nut is screwed onto a bolt passed through a hole in the crossbar
It turns out that the ring of the eye nut is located at the bottom. You can attach a carabiner to it, throw a rope or cable, etc. Just note that the carabiner should normally hang freely on the ring of the eye nut. And in the carbine, two chain links should fit freely. Therefore, it is advisable to buy everything together in one store: you can try on the entire unit at once.
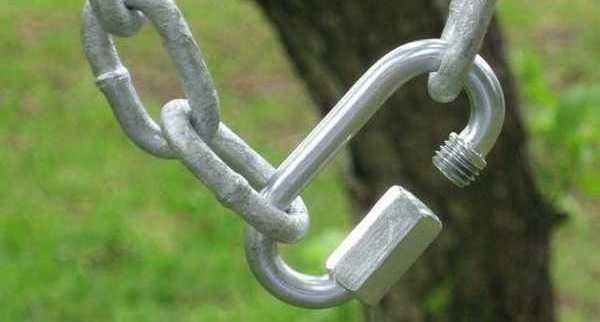
How the mount is assembled from the chains for the swing. Then this carabiner is threaded into the eye-nut and the safety ring is twisted
By the way, in a rigging store, you can stumble upon other devices that can be adapted to attach chains or ropes from the swing seat. For example, such as in the photo below.
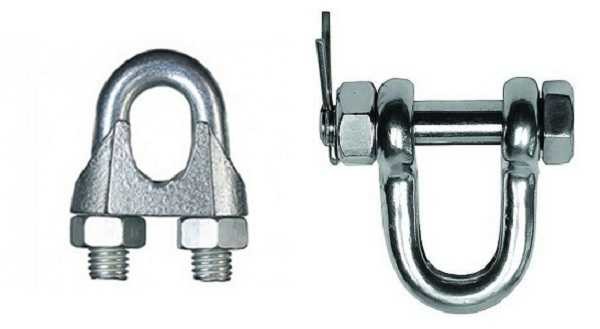
More rigging options. They can also be used to make a swinging knot for attaching to the crossbar.
They are designed to lift loads from 0.5 tons, so there is no point in using them for children, but on a swing for adults - quite.
This mount has a significant drawback - a squeak is heard when rocking. For a while, you can get rid of it by lubricating the unit, but this operation will have to be repeated periodically. The way out is to make a knot on bearings, but welding is indispensable.
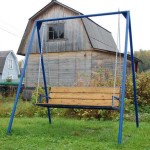
DIY metal swing
Their design is exactly the same. The material is different, and the way it is attached. This is welding. For those who are familiar with welding inverters, it will not be difficult to weld something like that. And for inspiration, a photo report.
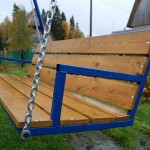
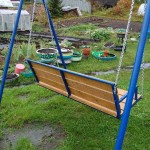
- Swing from a shaped tube in finished form
- How the base for the bench was welded
- Back view
- Initial assembly of the suspension unit. Rejected due to strong squeak
- This swing seat suspension assembly on bearing is welded and replaced: now quiet
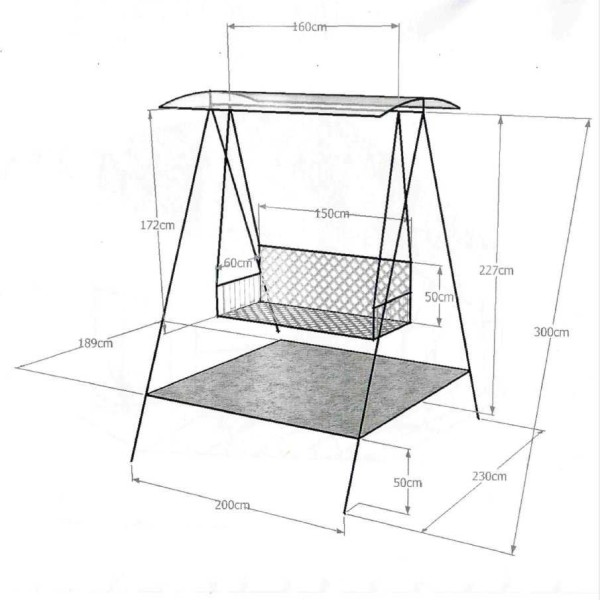
Below is a drawing of this swing with dimensions. Some clarification is required. The figure shows a pipe welded around the perimeter (this plane is shaded). It is buried and therefore is not visible in the photo. It was made in order to increase stability: the masses of friends are considerable. For the same reason, metal plates are welded onto the ends of the posts. The installation was complicated, but the swing is still standing.
For the manufacture it took 22 meters of a profile pipe 50 * 50 mm, for a seat 25 * 25 mm - 10 mm, boards 2000 * 120 * 18 - 7 pieces and the rest - fasteners, paint, anti-rust.
There is another way to attach the swing to the bar. He is in the photo.
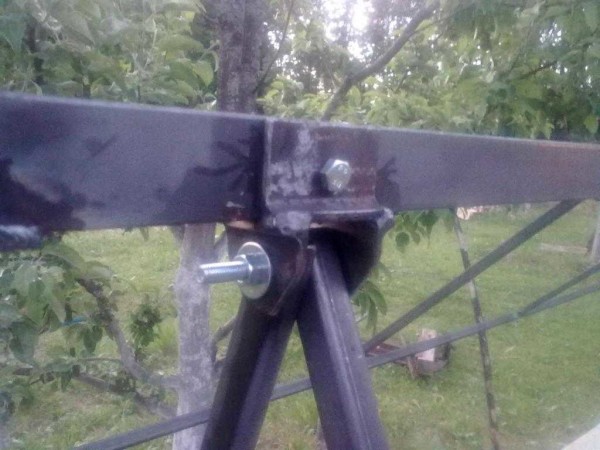
A way to attach a metal swing to a crossbar
Nobody can explain how the author of the work. How to make a swing with your own hands from metal, see the video.
The original form of a swing from a profile pipe - the posts are non-linear, but curved. If it is possible to do this with a tree, then only a master.
Several photo ideas from the authors and owners of similar designs.
- Such a metal swing with your own hands can be made if you have a pipe bender
- This is a metal version of the very first design.
- Classics of the genre: everything is simple and no frills
You can read about the design and manufacture of metal braziers in this article..
Baby swing
For children, you can make the same design, but smaller.
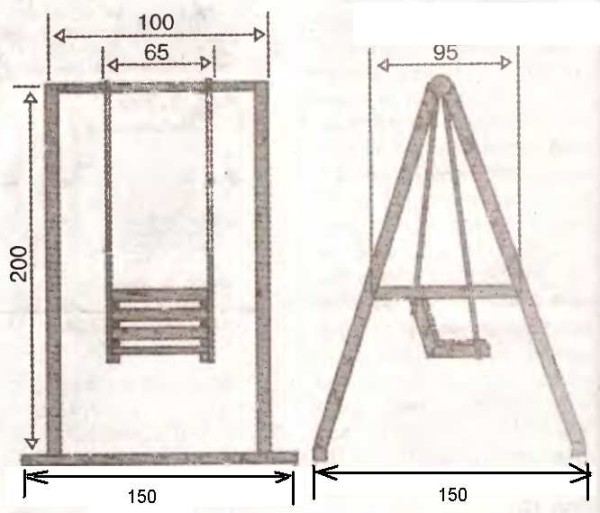
The approximate dimensions of the swing for children. The height, of course, can be less
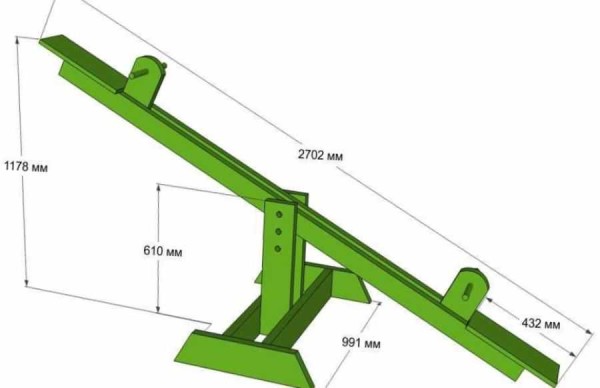
There are several other models for playground, but about that how to make a sandbox can be found here... Here are the first ones - a swing-scale or balancer.
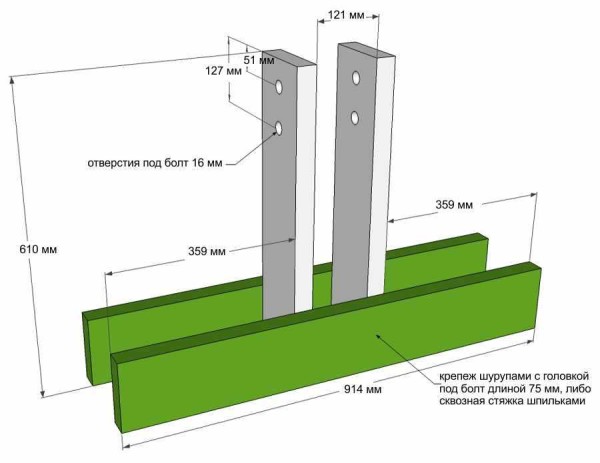
Everything is clear, questions may arise only on the attachment point. Below is a drawing showing dimensions. To decorate the upper part, steel plates are fixed inside. To make them swing, a hole is drilled into which a pin is threaded. It is possible to improve "rolling" by inserting bearings.
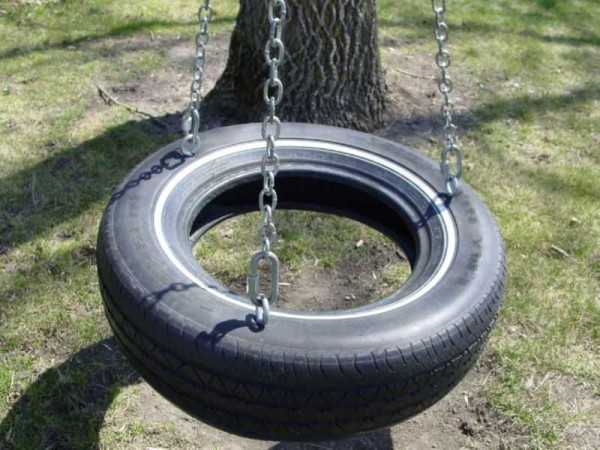
Quickly and simply, you can make a nest swing from a tire (car tire). Bolts with eye-nuts are installed in it at four corners, but of a smaller diameter (do not forget about washers), ropes or chains cling to them, and you can even throw them on a corresponding branch on a tree, or hang them on a horizontal bar.

