How to make a pool in the country: photo reports + video
For many summer residents, the pool is a dream. But, as practice shows, it is quite possible to get by on your own and with small means. Sometimes they are quite small. But the pool in the country is useful for both children and adults: water perfectly relieves fatigue and nervous tension.
The content of the article
Pool for a summer residence: types and features
All pool designs can be divided into two large groups: stationary and temporary. Stationary includes all structures partially or completely dug into the ground, which cannot be moved without destruction. The bowls of such pools are made of monolithic concrete, bricks, and sometimes concrete blocks are used in construction. They can use a polymer liner (plastic bowl) or provide waterproofing with film or waterproofing coatings.
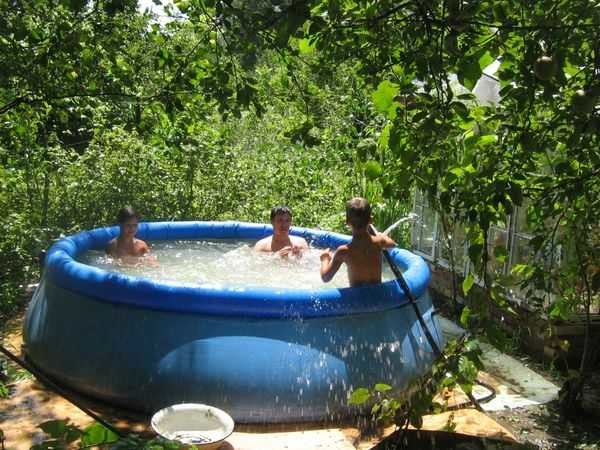
Temporary pools are mainly inflatable and frame. They differ in that they are installed in the spring, and in the fall, they fold up and hide.
Which pool is better for a summer residence? If you are not yet sure whether you need such a "attraction" on the site or not, buy the cheapest and fastest-mounted: inflatable. It keeps water due to the inflated ring. The disadvantage of such a pool is not the greatest depth: 1.2 meters together with the sides is its limit.
But, if you are for kids, then you can't imagine better, and adults can "hang" on the wall, relax after "rest" in the country. Depending on the quality and intensity of use, it can last from a couple of years to four to five.
A frame pool is a little more expensive and a little more difficult to install. It already has a frame in the form of pipes, on which a special film in the form of a bowl is hung. The depth of such a pool is up to 1.8 m.
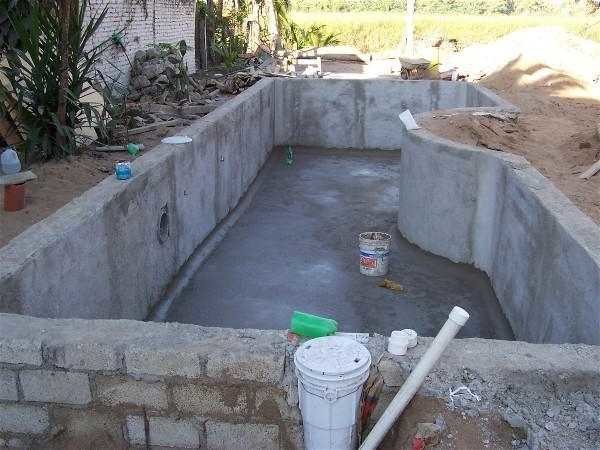
Stationary pools are already for those who have decided that they simply need a pool in the country. The device and service are not cheap pleasure. First, a pit is dug, then a monolithic slab is poured, in the second stage, walls are erected. Measures are required to waterproof the walls outside - so that underground and melt water does not penetrate into the bowl. Next - wall insulation. If this is not done, it will be problematic to heat the water. After that, a set of measures for waterproofing the walls inside the bowl begins, and then finishing work.
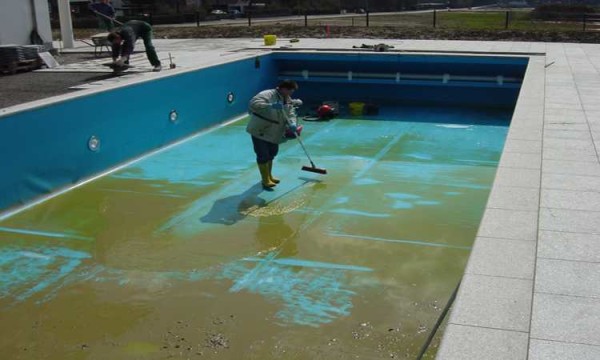
But the finished bowl is not the whole stationary pool. It is necessary to clean the water: leaves, dust and debris are poured into it, bacteria and algae multiply. To put the water in order, you need a pump, a filter system, chemical reagents, and also means to "scoop" leaves and sediment from the bottom. Part of the equipment is also needed for servicing the temporary pool, but since the volumes are smaller, it is often possible to do with manual cleaning or water replacement altogether, or it is possible with improvised means. And if there is at least 5-6 tons of water in a stationary pool (this is a small 2 * 3 bowl with a depth of 1.4 meters), then even such a volume is problematic to manually clean.
Installation of a frame pool in the country
Regardless of whether you are going to put an inflatable or a frame pool, you need to prepare a platform for it. These pools can be buried a little in the ground, or they can be placed on a prepared site. It does not matter. It is important that the surface is flat and the lawn is not the best way out, even if it is flat.The grass under the bottom is starting to decompose, and the view of the site after the pool has been removed is very miserable.
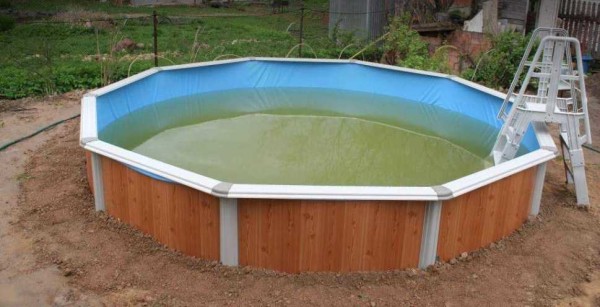
At the dacha, they set up an Esprit Big pool with a diameter of 450 cm and a wall height of 130 cm. It was decided to bury it almost in half. So what did you do. We started with preparing the pit:
- We remove the subbred soil layer on a site that is 40-50 cm larger than the pool in all directions. This indentation is minimal. The instructions indicate a value of 1 meter. If possible, do more.
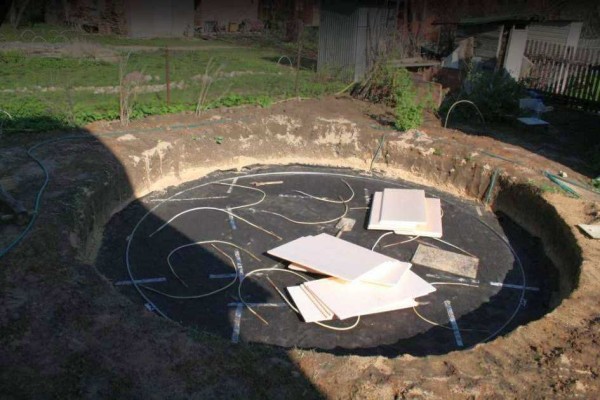
- The depth of the pit for the “on the surface” pool is about 20 cm; for the deepened one, add the desired depth to which you plan to dig. In this case, the pit was dug to a depth of 80 cm. The bottom was leveled, stones and roots were removed.
- A layer of sand was poured into the pit and tamped. The compacted layer should be 10-15 cm. If the soil drains water well, the sand is leveled with a rake, then watered. The pit can be filled completely. When the water is gone, the sand will be leveled. If the water leaves poorly (as in our case) we take a rammer and trample the sand with it. In any case, the surface should be leveled and tamped down so that the footprint does not remain.
- To prevent the bottom from going in "waves", you can lay a layer geotextile... This is such a non-woven material (in the photo in black). It will not allow roots to germinate, and also serves as a barrier for bugs / worms that can perforate the film.
A frame or inflatable pool can be placed on such a base. This pool structure has a metal frame wall and support posts that are attached from the outside. It is advisable to insulate the part of the walls buried in the ground. We also need insulation at the bottom: so that the water heats up faster and does not cool down.
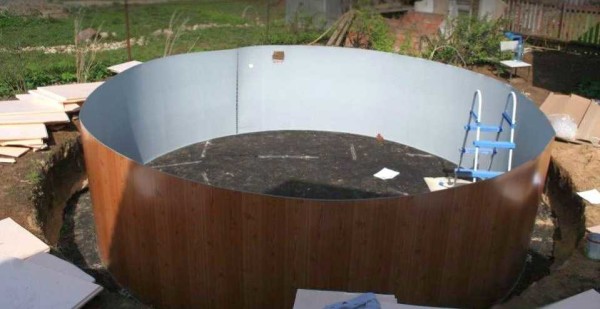
First, at the bottom we lay out a U-shaped profile in a ring. Then we take out the metal side, lower it into the pit (one person will not cope - it’s hard), unwind it, with the bottom edge we fall into the unfolded profile, connect it. The operation is simple, everything is clear: in the right place they linked the sheet into a ring.
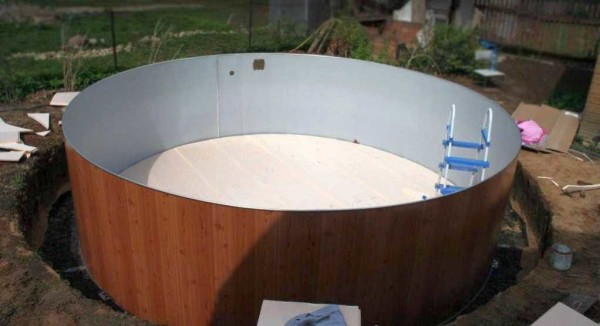
Next, we take the EPS and lay it out on the bottom of the pool, cutting off the edges, trying to keep the gaps as small as possible. After laying out the polystyrene, the joints and edges were sprinkled with sand (according to the instructions). Why is Styrofoam chosen over much cheaper Styrofoam? The foam will flatten under a mass of water, and the effect of such a heater will be zero. EPPS can withstand heavy loads, although it is expensive.
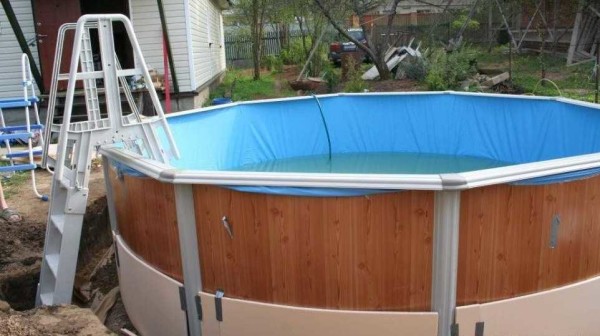
Next, we bring in the liner from the film inside, more or less straighten it and temporarily fasten it to the sides with tape. Then we start swimming))) Pour a little water on the bottom - 10-15 centimeters, straighten the folds at the bottom, trying to keep everything smooth. Then gradually adding water. We level the film on the walls.
Note - it is better to carry out work on a sunny warm day, and not only because the "swimmer" is cold. In the sun, the film softens, it is easier to straighten it. We worked without the sun - there were folds, although this did not affect the pleasure of bathing.
After the water procedures, the stiffeners were installed on the outside, installing fixing strips along the upper edge of the pool. Then we started to insulate the walls. In the photo above, the laying of one layer has begun, but in general, two were laid - 3 cm each. Thicker slabs are difficult to bend, and thinner ones are easy. Therefore, the installation of polystyrene did not take much time.
Having installed the insulation, they began to fill the pit. Since we have clay, we used our own soil: so that water would not leak under the walls. They filled in a small layer, rammed it, and so on to the top. One point: the bowl must be filled with water.
There is a recommendation in the instructions - to make external support walls. In this case, they are not done. The staircase is half buried, since it is designed for its full height, but here 65 cm were buried.It was to this depth that they buried from the outside. Remained equipment installation.
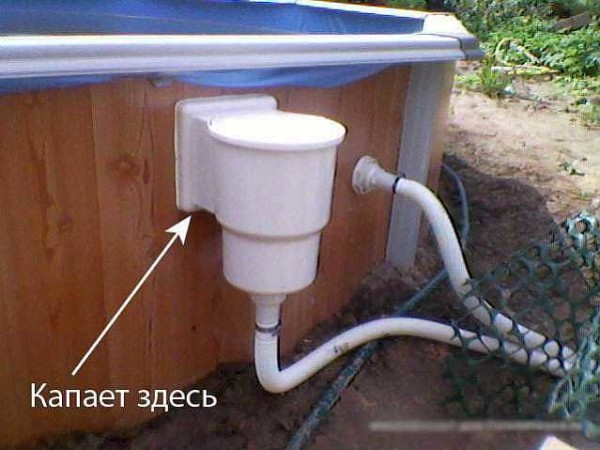
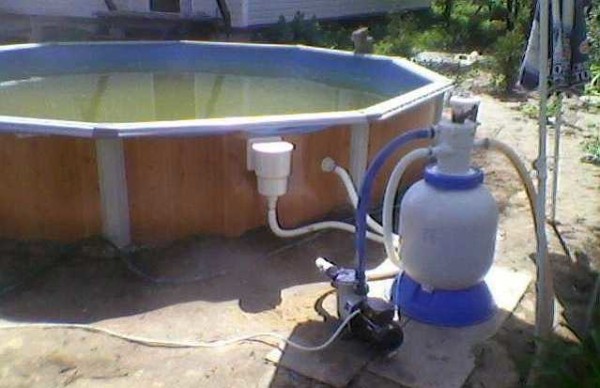
On recommendation, the supplied filter and pump were installed. After connecting, it turned out that a little leaks at the junction. After partial draining of water and drying, the place is smeared with sealant (neutral silicone moisture resistant). The problem disappeared.
That's it. The pool in the country is ready for use.
The model was chosen to be frost-resistant, so as not to add everything up for the winter. The bowl is covered with wooden shields.
The recommended method for installing a frame pool is shown in the video.
Prefabricated frame pool
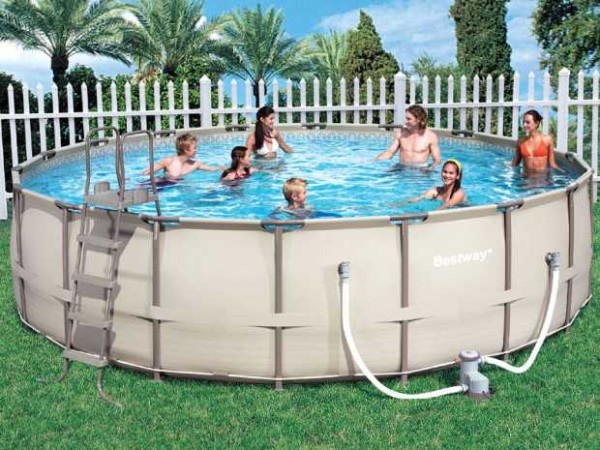
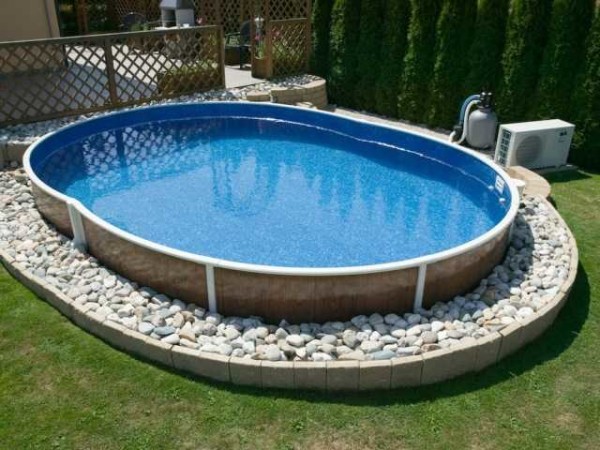
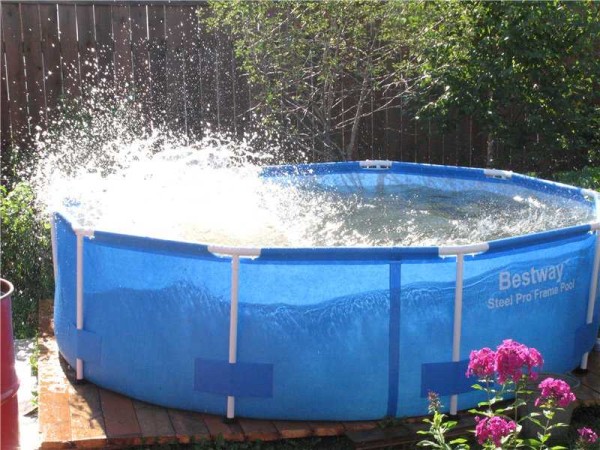
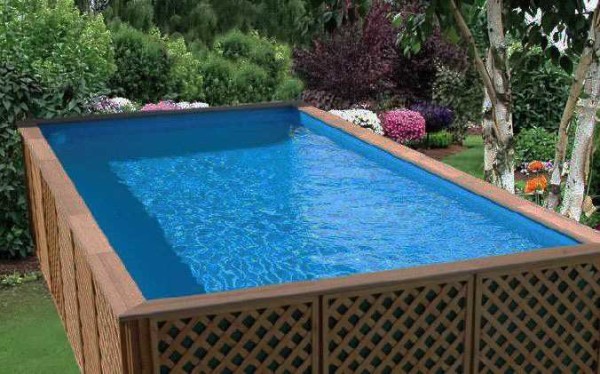
If leaving something on the site is dangerous, you can buy another design. It's just a system of racks and a film insert to be hung on it. Such a pool looks like in the photo below, it is never buried, but is installed on top.
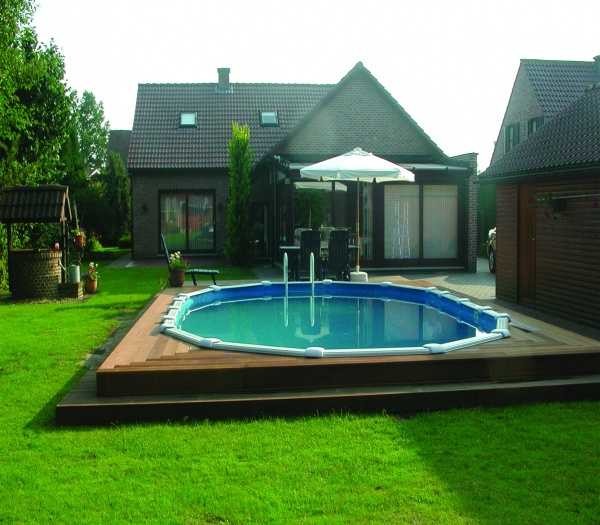
Although in the photo he is just standing on the lawn, you should not repeat this "feat". In addition to turning the lawn into a dirty mess, the soil draws out all the heat. The swimming season is extremely short with this setting. Moreover, even in the heat, the water is cold in the morning; children can only swim at lunchtime. In general, it is better to make an insulated decking for the pool. Its device does not take much time and money, but using the pool is many times more convenient.
The beginning is the same as described: digging a foundation pit. Its depth is about 20-25 cm. First, you pour crushed stone into the foundation pit with a layer of 10 cm, you tamp it well. Lay out geo-style. It will prevent sand and gravel from mixing. On top of it - sand, which is also rammed. It is already possible to install a pool on the sand, but this is also not the best option. sand is dragged all over the country house, and also cats love to walk in it. Therefore, it is better to lay on top at least homemade concrete slabs, paving slabs, sprinkle with pebbles, as in the photo.
You can also knock down a wooden board shield, but the boards must be sanded and treated with antibacterial impregnation. You can use WPC - wood-polymer composite. They definitely do not rot and are not afraid of frost-water. A pool can be placed on such a base. But even in this case (except for a wooden platform) it will be difficult to warm up the water.
Insulation required. This is at least 10 cm of EPS, laid under the bottom and covered with geotextiles - as a temporary option. For a permanent insulated platform, a deeper foundation pit is required: increase the depth by 15 cm. The sequence of layers is as follows: crushed stone, geotextile, sand - 10 cm, EPS - 10 cm, geotextile, sand - 5 cm, paving slabs or slabs.
Inflatable pool in the country
Inflatable pools are placed on the same base. Only they are installed quite simply: take the pump and start pumping the ring. When it is filled with air, water is poured inside. The ring gradually pops up, raising the edges of the pool. When the entire wall is aligned, the pool is installed.
Plastic pool: do it yourself installation
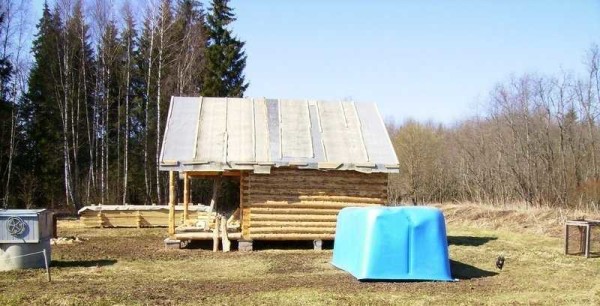
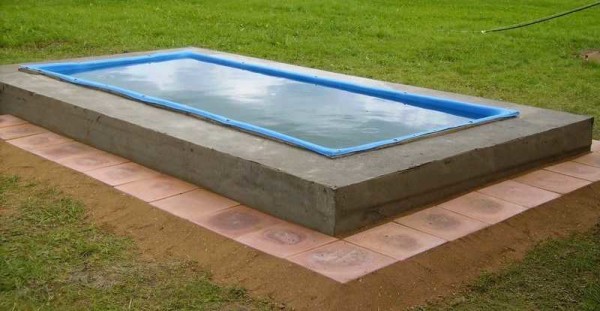
The easiest way to make a stationary outdoor pool in the country is from a plastic or composite (fiberglass) insert: a finished cast bowl. This is one of the easiest ways to make a stationary pool in the country or near the house. A pit is dug under it, into which it is installed. One of the installation options is in the photo report.
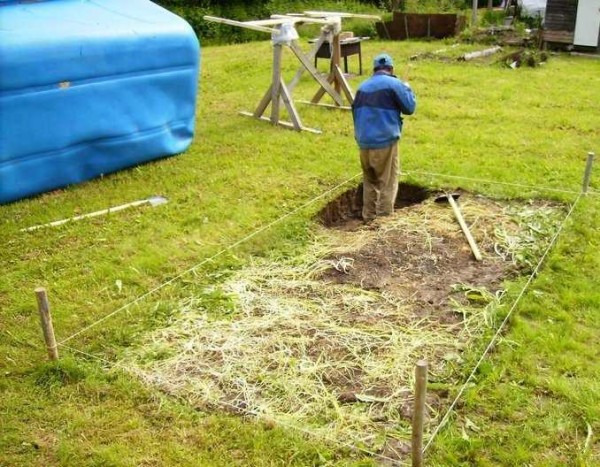
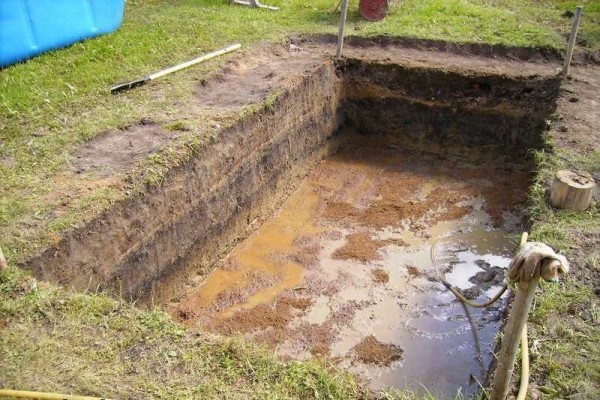
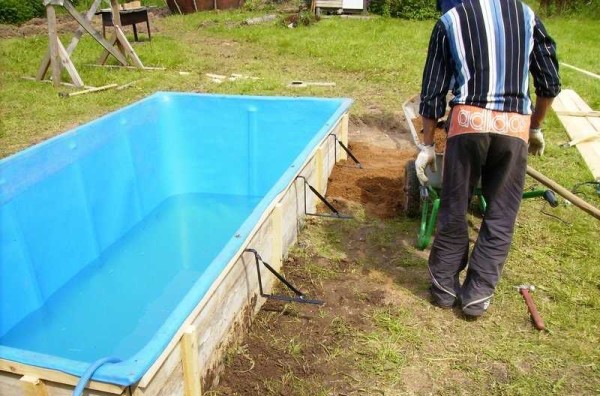
The size of the chosen plastic bowl is 183 * 415 * 140 cm. The shape is the simplest one - for easier installation. Everything began in the marking of the site for the foundation pit. The bowl was turned upside down, outlined, added 5 cm to the boards (it was planned to be installed in a wooden frame). So they nailed the pegs, pulled the twine, and began to dig.
It was decided to leave part of the side outside, because the depth of the pit is 1 meter.A layer of sand about 15 cm is poured at the bottom, everything is filled with water to compact the substrate.
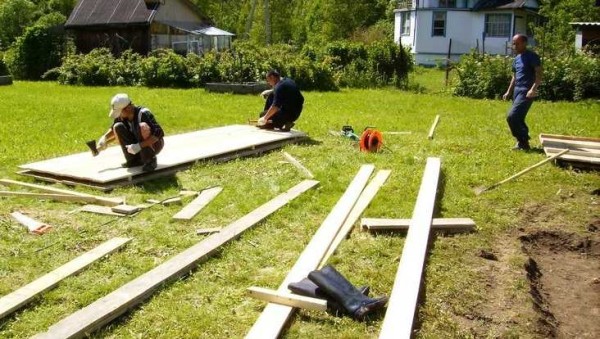
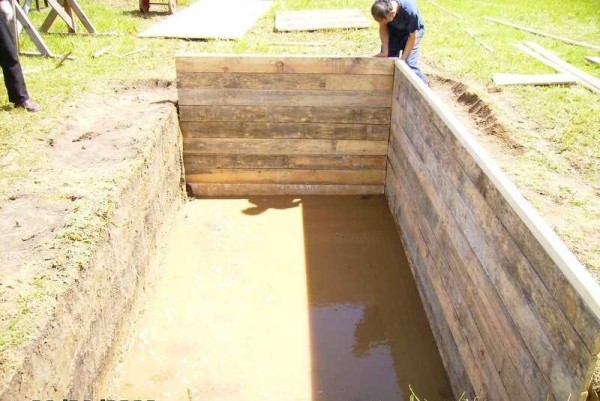
While the water is leaving, the sand dries up, shields according to the size of the pit are knocked out of a board 2.5 cm thick. A 50 * 50 mm bar was used as a frame, it was also run along the top of the boards. The top edge of the plastic bowl was attached to this bar.
All boards are treated with an antiseptic for direct contact with the ground. The manufacturer promises 10 years without rot ...
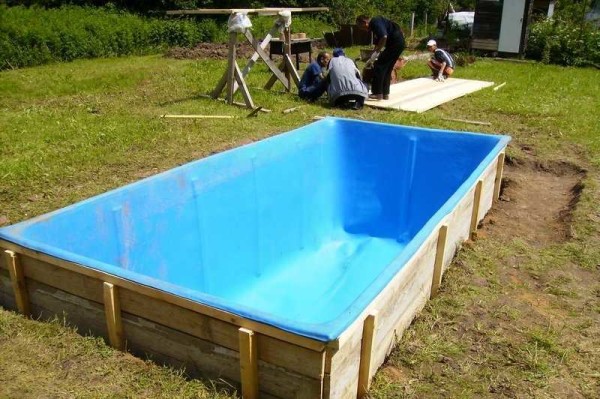
When all the walls were assembled and fixed, they inserted the bowl inside. The bottom lay tight, the height was calculated correctly.
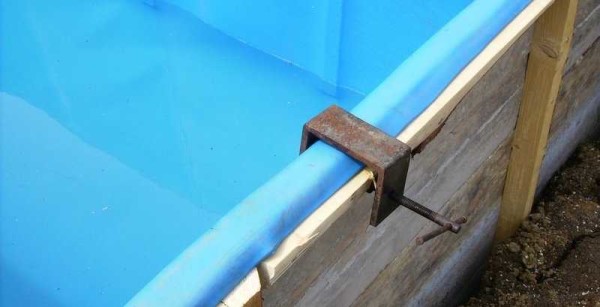
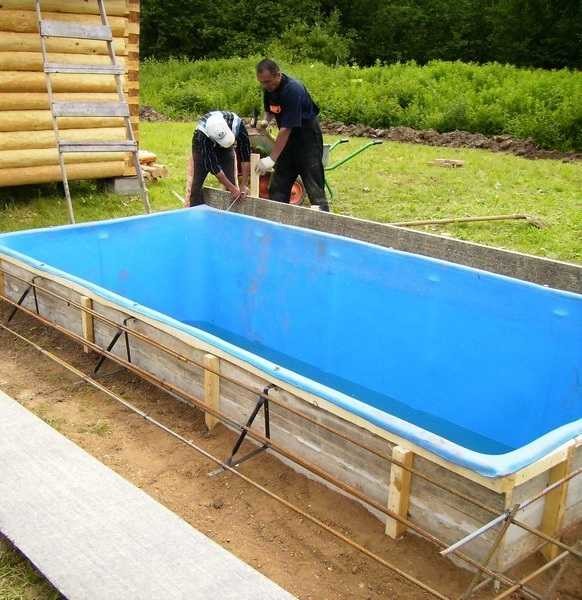
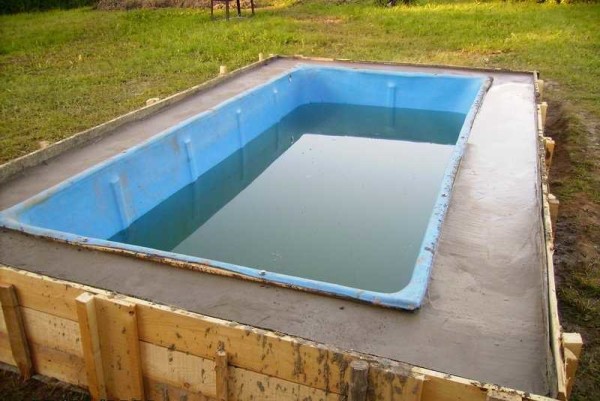
There should be a reinforced concrete edge around the pool perimeter. To bind the bowl more tightly to the concrete, corners are installed around the perimeter. They are attached to the bar and the edge of the bowl through and through with stainless bolts and nuts.
So that during operation the plastic does not "walk" the edges are grabbed with a clamp.
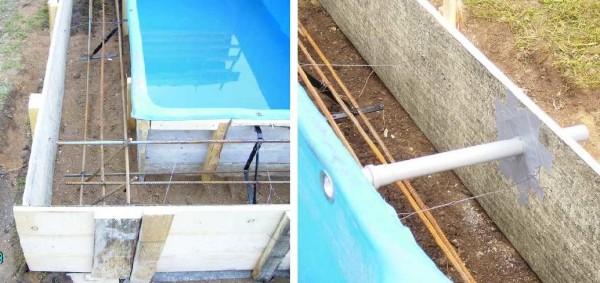
Fittings are attached to the installed corners. Used 15 mm, put 4 rods: two at the top and bottom. Knitted with a special wire.
Formwork is installed around the perimeter. First, sand is poured under the reinforcement, therefore external shields are installed. From the inside, the boards are upholstered with a dense film to make it easier to remove the formwork. Also installed embedded: overflow pipes. They will be taken out of the pool and will prevent the bowl from overflowing.
Before pouring the concrete, they began to fill the bowl with water. It is imperative that the concrete does not crush it. At the same time, the gaps between the walls of the bowl and the wooden frame were covered with sand. It so happens that the bowl is fixed in a better position. When it was almost full, concrete was poured into the formwork, treated with a vibrator to increase strength and uniformity.
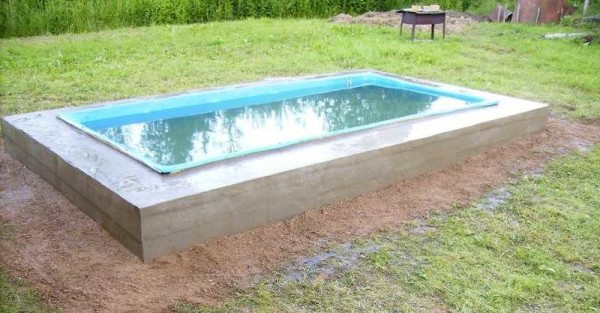
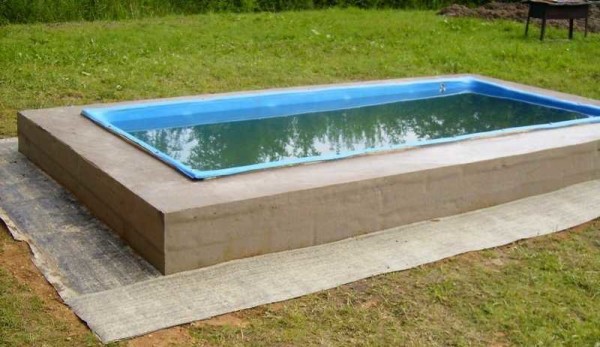
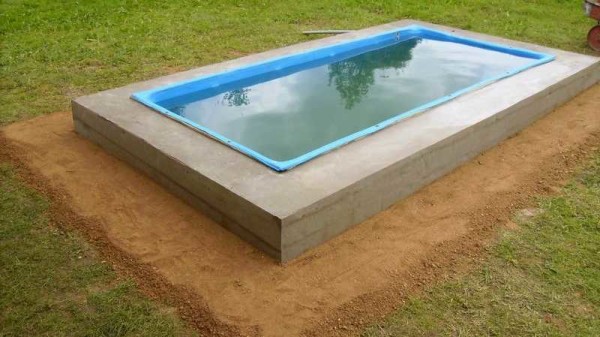
After four days, the formwork was removed. The side is 40 cm wide and the same height. Next, we begin to prepare the base for finishing the adjacent territory.
Since the site is slightly sloped, we had to remove the soil on one side. Sand is poured and compacted around the perimeter. Roofing material is rolled out on the leveled surface.
Another layer of sand was poured on it, into which the paving slabs were laid. The gaps between the tiles are also covered with sand.
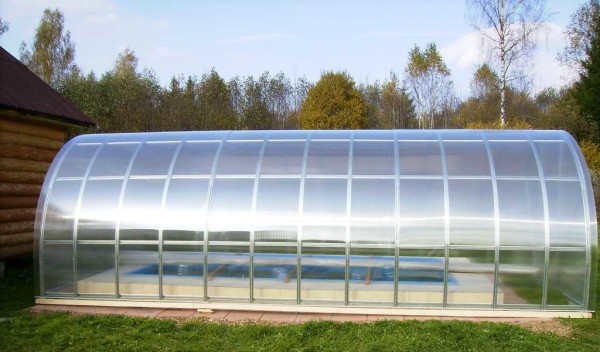
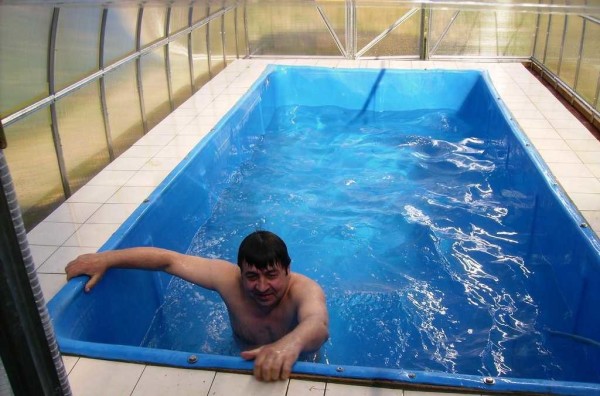
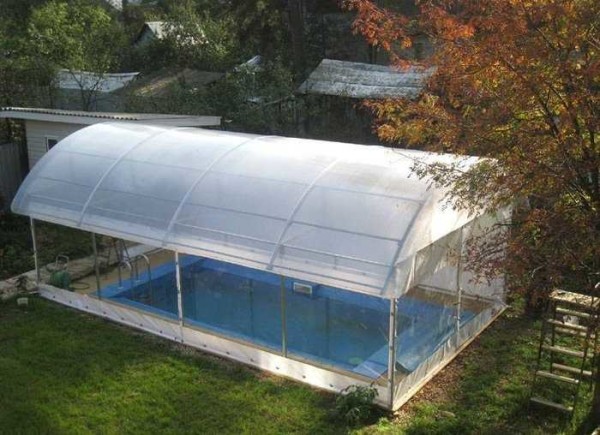
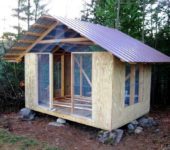
To prevent foliage from falling into the pool, garbage and other contaminants from falling into the pool, a polycarbonate greenhouse was purchased, assembled and installed as a shelter for the pool. It turned out to be very convenient: warm and light.
Only you need to fix it firmly, a strong wind moved it. I had to correct it. The pool at the dacha is also operated in winter, but only after the bath - an ice-hole is cut down)). Empty bottles with a screw cap are thrown into the water for the winter. When water freezes, they serve as a damper, taking most of the ice load onto themselves.
And until late autumn we swim and just like that, we just installed a water heating system so that it is more or less comfortable.
Economy option: pool from banner
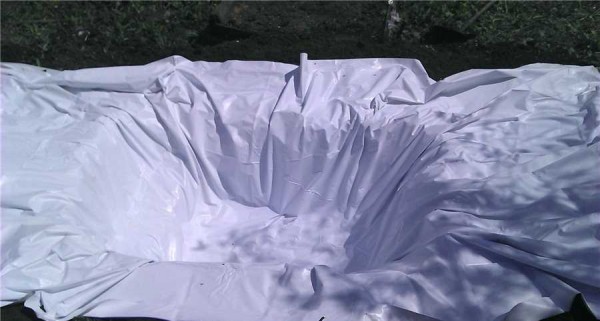
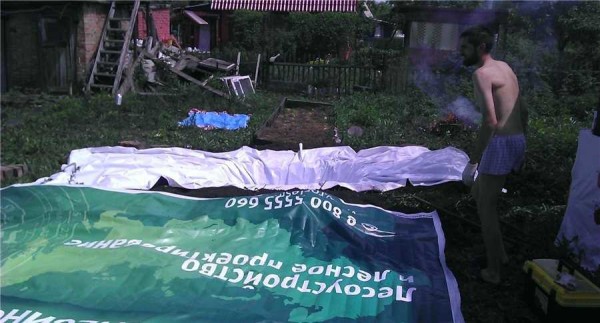
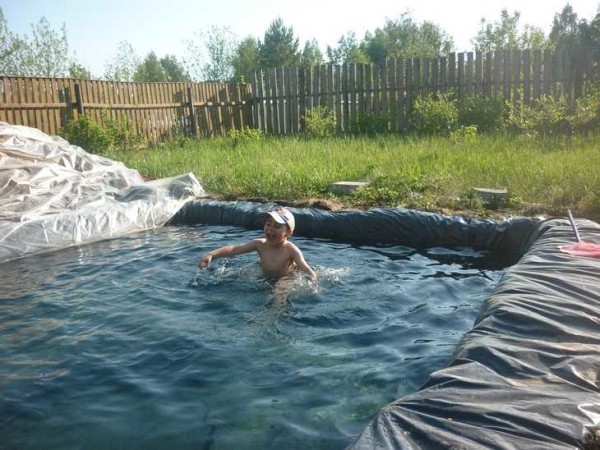
If you need an express version of the pool with minimal costs, you can get by with a dense film. For example, an old banner. The fabric for them is dense, and you can buy an old one at the agency for mere pittance. If you need a pool in your garden, this is the right material: costs are minimal.
So, armed with a banner, we dig a pit, which is much smaller than the canvas.
We put the film into the dug pit, straighten it. For the test, a small pit was dug: suddenly you don't like it. Since the banners are still old, two were laid.They also tried to straighten the second one.
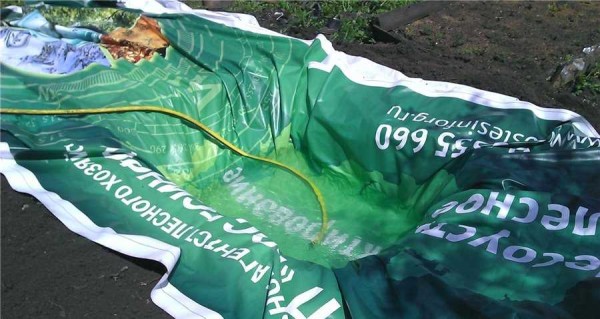
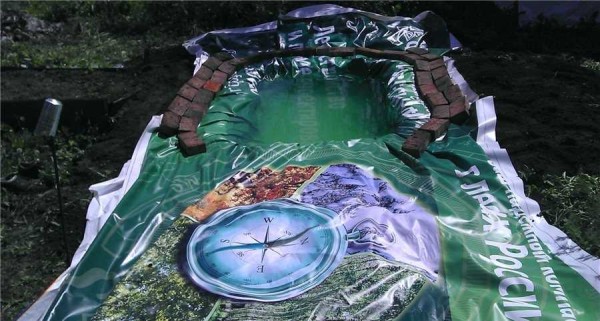
To prevent the wind from blowing the edges of the film, they were pressed down with bricks and a hose was thrown in to draw in water.
While the water was being collected, a little earth was poured around the "bowl" under the film, molding the sides. They were overlaid with bricks.
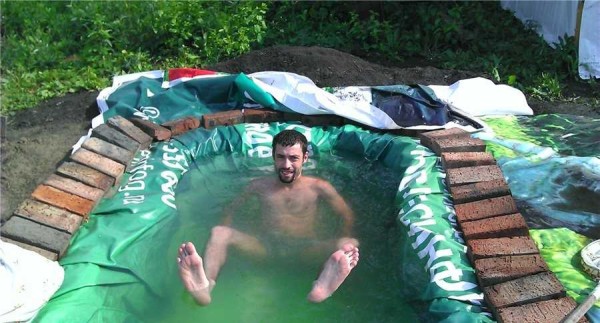
We left the "pool" to bask in the sun. Trials were carried out three hours later. I liked the result. It was decided to expand the "swimming" part.
This, of course, is not a great option, but you can freshen up. It took 2 hours to "build" it. The main thing is to dig a pit. And the further is a matter of several tens of minutes. The photo below shows the same idea, implemented on a larger scale. The film was bought for swimming pools and two pieces were soldered to create a more voluminous "sea".
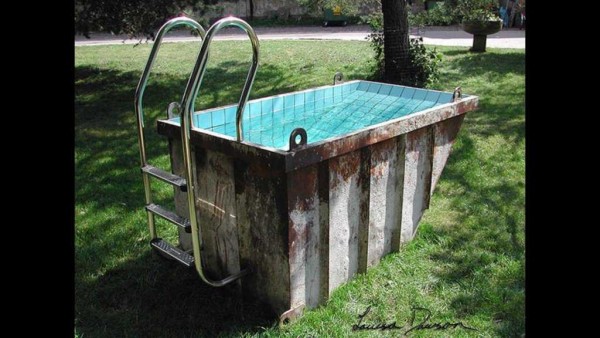
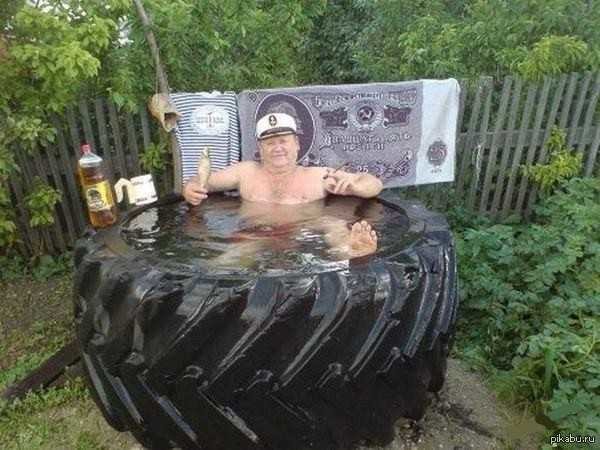
Here, by the way, are several summer cottage pools made from scrap materials: an excavator bucket and a huge tire.
Photos of country pools
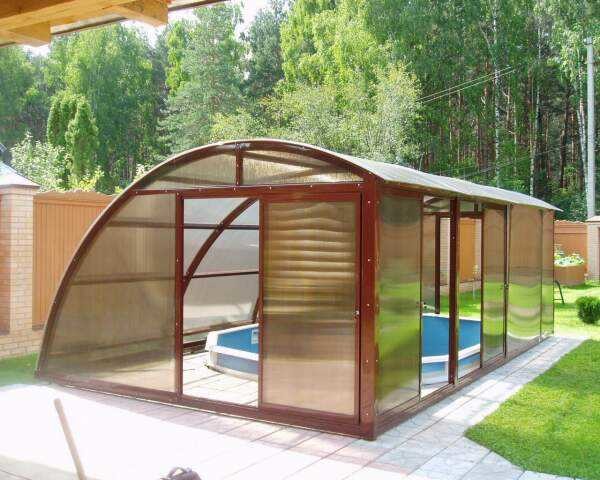
Another option for a polycarbonate pool cover. It is built according to the same technique as gazebos






I have been using the pool from the banner for several years! everything is good! I only change the water and that's it! cheap and there is nothing to spend on electricity and equipment, there are also disadvantages, but cheap