How to make a playground yourself: 70 photos of real buildings
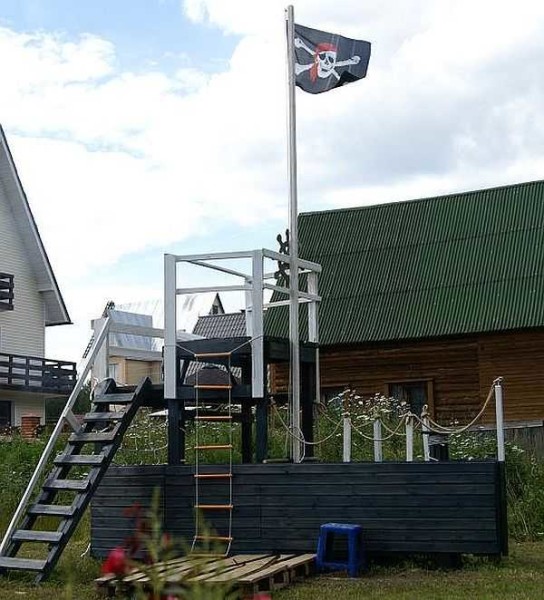
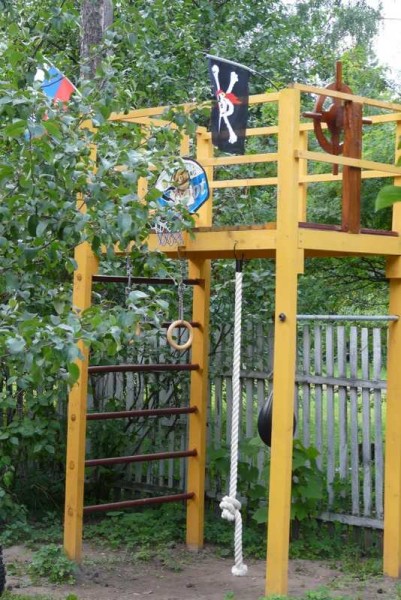
So that the children in the country or near the house do not explore the beds or any other places where they should not be, they need an interesting corner for them. As a rule, parents come to the idea of the need to create a playground or sports corner - it depends on the age and desires of the children. A playground made by yourself is good because during its construction it is possible to provide for the possibility of its gradual transformation. After all, what suits 2-3 year old kids no longer likes 5-6 year olds, and even more so for older children. And besides, a do-it-yourself playground is often built not so much for reasons of economy, but out of a desire to please the child: who knows better than the parents what your child likes ... Someone needs a pirate ship, but someone needs their own, real, house with a porch, a door and all the necessary attributes.
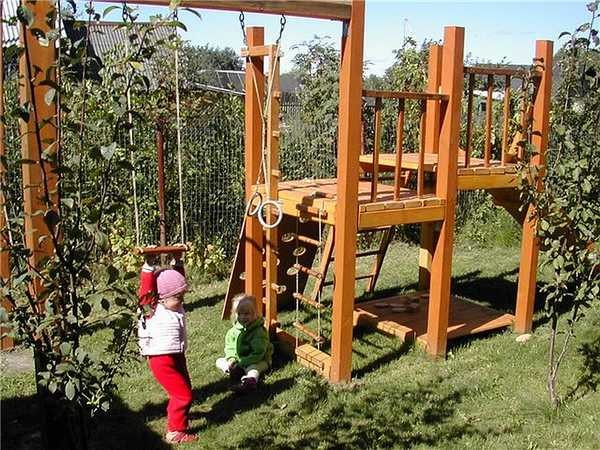
Do-it-yourself Danish playground - a place for your favorite offspring to play in the country or in the yard
The content of the article
Choosing a location
You will have to solve a difficult task. Firstly, it is desirable that the playground is viewed from home, and from a room in which someone is most of the time. Ideal if the site is viewed from several rooms or points. Secondly, it should be located away from farm buildings with "aromas", if any. Thirdly, it is advisable to take into account the fertility of the soil: an infertile area or with a complex geology can be distinguished under the game complex: there is no need to bury itself in the ground, maximum - to bury the pillars by 30-40 cm swing.
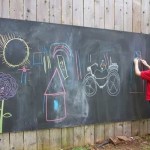
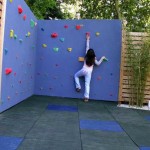
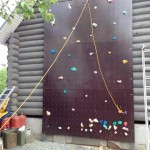
When choosing a place, it is a good idea to place a children's play corner near a wall or a capital fence. These zones can sharply be fully utilized, and in this case they can be used for games. For example, make a mini-climbing wall on the wall, fix rope ladders, a slate board and other devices no less interesting for children. You probably know what your children like, and if you don’t know, you can find out: there are enough fences and walls, place different devices in different areas and observe where your child lingers longer. So find out which games he is more drawn to, you will know in which direction to move on.
- Slate board on the fence - entertainment for children and the development of fine motor skills of hands
- Climbing wall for children on the fence
- Training area for small climbers on the wall
It is also necessary to take into account the illumination. The place of children's play should not be constantly in the shade, but the sun is also not needed. About 2/3 of the area should be in the shade (sandbox, swing), and 1/3 - in the sun - swimming pool, if any, a zone of active games. If there is no shadow on the site, you will have to come up with a canopy or put up a large umbrella.
At the same time, pay attention that there is no constant draft in the area of the proposed site. Children, of course, need to be tempered, but not in this way. Even when choosing a place for a children's play area, pay attention to the fact that electrical appliances or any shields, machines and other similar devices are not located nearby. Children are curious and resourceful, so it's best not to risk it.
What area is needed
A little about the area that needs to be allocated for a children's playground. Small children don't need much space - a sandpit, some very simple equipment, a small pool, if you think it's possible.It's a good idea to have a lawn or a flat, smooth piece with some suitable covering to lie on for fun. That's all. For all this, there is enough space of 4-5 sq. meters.
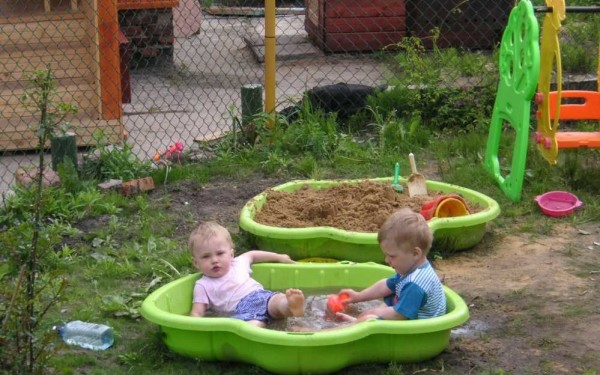
Small children need a small play area
For small children, it is advisable to enclose the area. This will give you the opportunity not to be constantly nearby, but to do your own business nearby: children are in sight and safe. The fence can be any - it’s a matter of your imagination, desire and capabilities. The main requirement is that it must be safe and durable or completely inaccessible to children. For example, like the netting that you see in the photo above. It comes with a plastic coating in bright colors and does not look as harsh as the usual one.
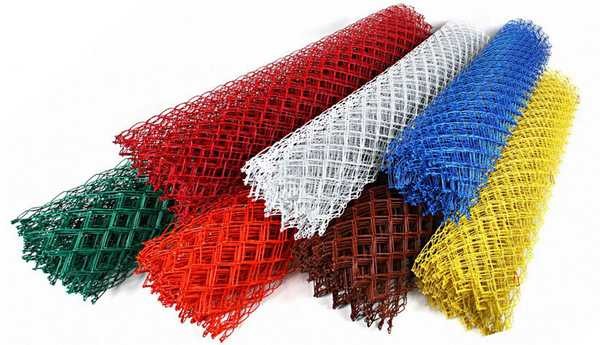
PVC-coated mesh netting is a good option for fencing playgrounds
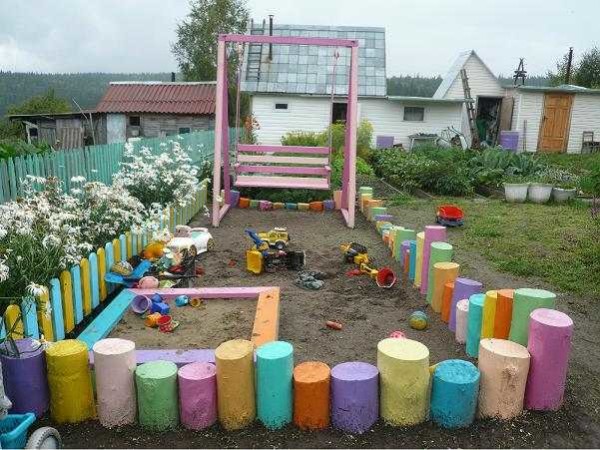
If for some reason this option is not pleasant, you can put a picket fence, which will be the height of the children somewhere on the shoulders, the distance between adjacent slats should be such that the head does not crawl through. Pickets can be painted with different colors.
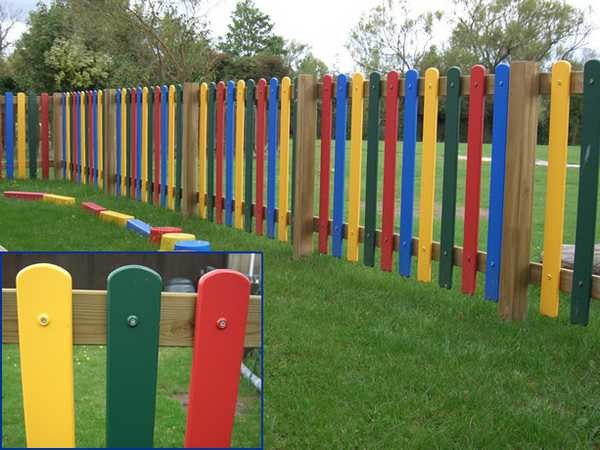
Picket fence - a familiar fence in an unusual design
Just pay attention to the fact that the tops are rounded and have no sharp corners, they are well processed: splinters are very upsetting for children. Fasten the picket fence firmly. With the expectation that the children will definitely hang on them and jump.
A rope fence is rarely used, but it looks good, it performs its functions perfectly: durable, safe, aesthetically attractive.
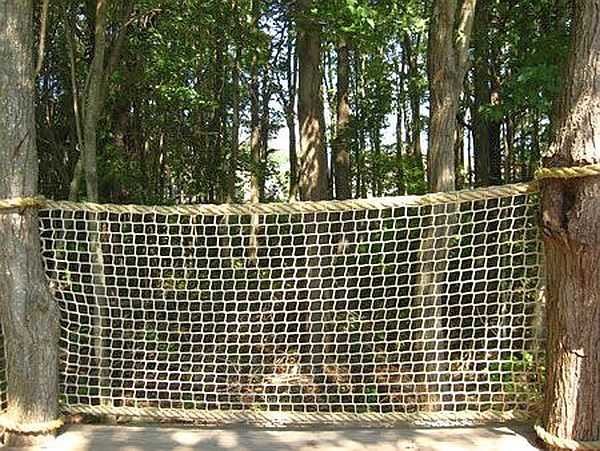
Rope fence for the playground - durable, inexpensive, reliable and safe
For older children, the fence is a relic. For them, the field of activity is the whole area, and only something really interesting can distract them. More squares are also needed here. If possible, give children under 7 years old 8-9 m2, from 7 to 12 years old - up to 12 m2... There is already a set of shells more serious, and therefore requires large areas.
Playground flooring
This is a difficult topic with no easy choices. While children are small, they will be perfect lawn. Not ceremonial, but sporty (there is a special composition of herbs with high abrasion resistance). He is not so attractive in appearance, but he is able to endure little pranksters almost without damage. The disadvantage of lawns is the need for regular maintenance: watering, mowing, etc.
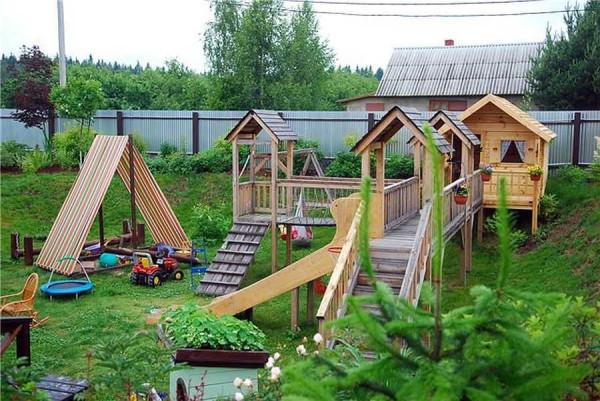
Lawn grass is ideal for small children.
The lawn can no longer cope with the load from the games of grown-up children. Especially in the area of active games: near slides, swings. These are the most problematic areas. If you leave these areas "as is", then during the rain a puddle forms under them, after a couple of "races", turning into a swamp. There is a good solution: make a drainage cushion from rubble, and pour sand on top of it, or lay a rubber covering of the type used in stadiums. It is durable and durable.
To remove moisture from the playground area, they remove the soil to a depth of 15-20 cm, fill and ram the crushed stone, pour sand on top and also ram it. Both layers are about 10-15 cm long. During construction, you can stop there: landing on such a site is already good. But the sand is gradually being pulled apart, and it will have to be renewed periodically. You can spread a rubber mat. This is already more serious, only you will need to make a slight slope so that the water rolls off it during the rain. Someone just lays down rubber mats, which are replaced as they wear out.
Another way out is to cover the entire site with fine, sifted sand. It will periodically need to be leveled and refilled, but this is perhaps the most practical way out.
Another option is to add crushed bark. Another question is that not everyone has the opportunity to take this bark. But if there is, try it. The coating is soft and not traumatic.Only it is necessary to grind it well and remove the chips that may be there.
Of the more technologically advanced, the following can be proposed:
- Regupol. Factory rubber coating, laid on a flat concrete or asphalt base. Cost - $ 25-70 per square meter.
- Rubber crumb coating with binder added. It is poured onto a prepared leveled platform (it is possible on compacted sand, laid out on top of crushed stone). Price - $ 25-80 per square meter.
- High density PVC modular systems. Plates that are connected according to the principle of puzzles. The price of a "square" is $ 50-70.
- Artificial grass. It is laid on a prepared base of quartz sand and crumb rubber, requires water drainage. Depending on the height of the pile, it costs from $ 40 to $ 80.
Difficult to choose. There are too many mutually exclusive requirements and desires, but you have to choose something. The most common option is lawn, the second most popular is sand. The rest of the coatings are applied only in places - in the most "loaded" parts.
The choice of equipment for the playground
Planning playground elements is best with children. After all, it is for them that you are going to build a play area, and it is their desires that you need to listen to. Often we try to reproduce what, in our understanding, should be interesting for them, and then we are surprised that the kids are playing anywhere, but not on the playground, which was built with such love. This is because you have fulfilled your desires and expectations, not childish ones. Listen to what the child wants, walk around the guests who already have similar facilities, see where the child spends more time. On this basis, you can already build something.
Sandboxes
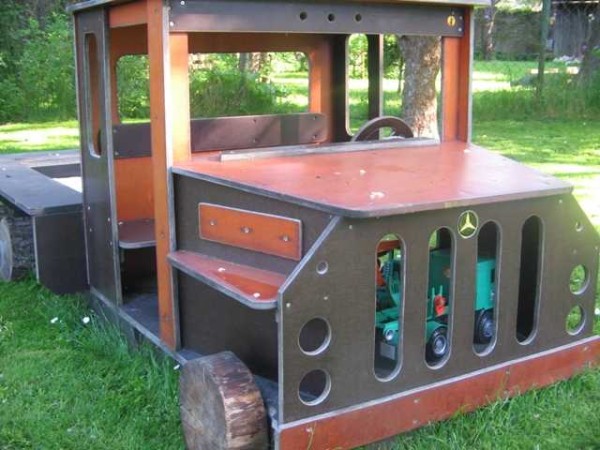
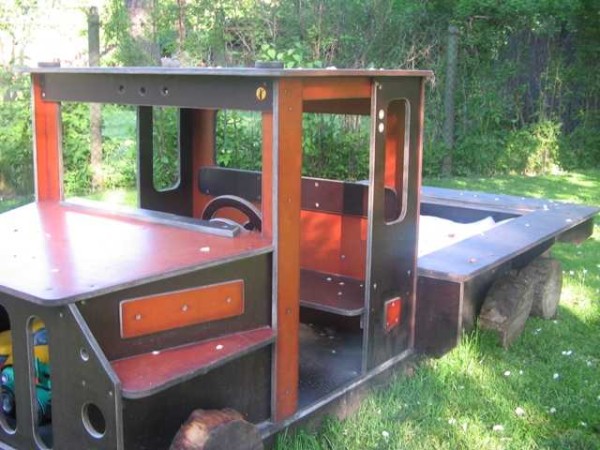
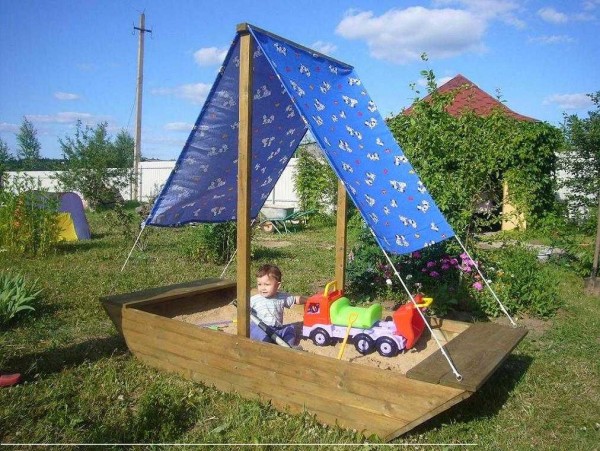
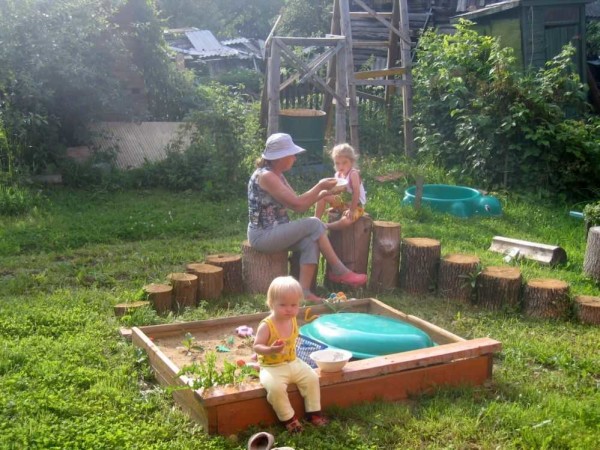
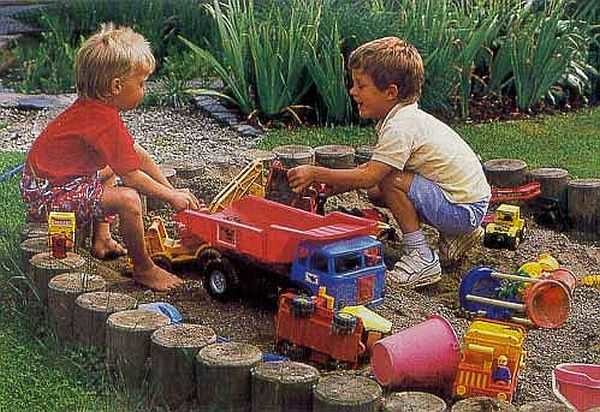
For kids, there must be a sandbox on the playground. This develops their coordination, allows them to develop faster. The usual construction - four boards - is not a problem to knock down, but I want it to be beautiful as well. The sandbox machine will be interesting for the boys. It is made of moisture resistant film faced plywood painted in two colors.
Under the hood is a toy box. Inside the cockpit, there is also an "entrance" to this box.
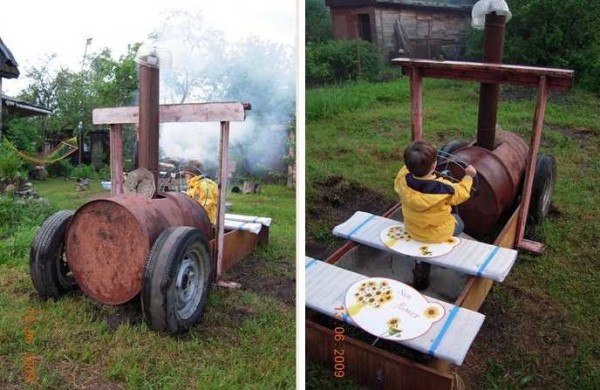
In general, wooden cars for boys are great fun. They are enthusiastically busy there. another option from an old barrel.
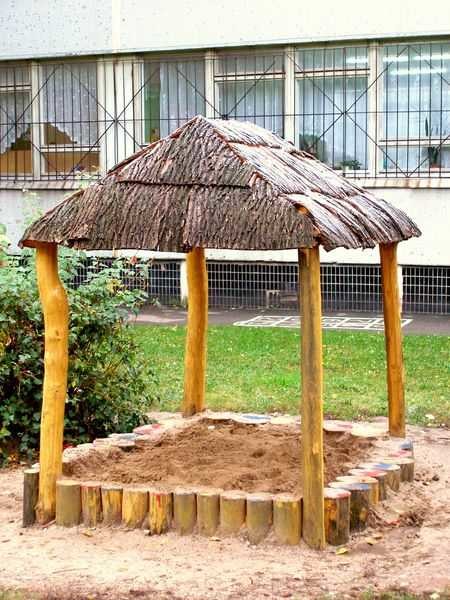
Another interesting idea is how to make a shadow over the play area: fix a rod at a height, throw an awning over it, making a kind of tent. And it's not hot, and there is a shadow.
Children's houses
The most popular part of the play corner among children: your own house, in which you can hide from the all-seeing eye of adults, set your own rules. It doesn't matter for children what their house is built of. They play great in a tent made of fabric, a hut made of branches. There are many designs children's summer housesthat are quickly and easily "built". Moreover, even the smallest ones can be involved in this construction: it will be even more interesting to play in a house built with your own hands.
For example, a hut. Watch the children play. This is exactly the building that they build most often. In different regions it is called differently: some as their “headquarters”, someone as their “home”, a hut, a halabuda. They usually use sticks, bedspreads, and other available material. Based on this "halabud construction", several of the following designs of houses for children were made.
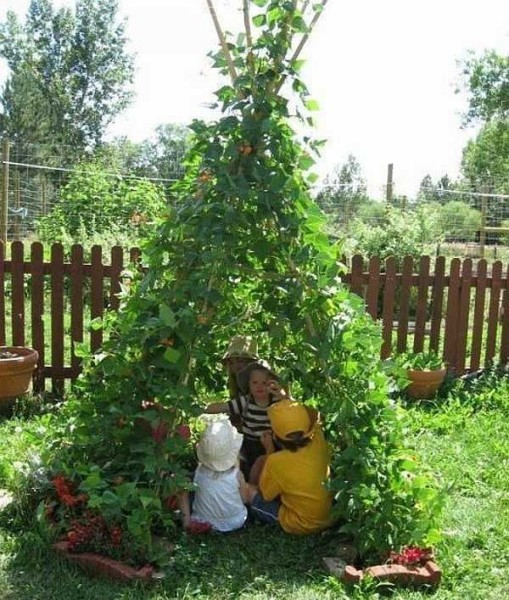
The cheapest way to build a summer orphanage is to put a few poles in a hut, plant bindweed around it and wait a couple of weeks for them to grow. The shape of this living hut can be any: in the form of a cone, as in the photo, a traditional hut that looks more like a house, etc. Tie the poles together with twine, plastic ties, or something similar.It is only important to provide a sufficiently stable frame, otherwise naughty children can overwhelm the structure.
In general, it is not necessary to wait for the plants to grow. You can sew a cover made of fabric, make an entrance like in a wigwam ... There are a lot of possibilities for using fantasy.
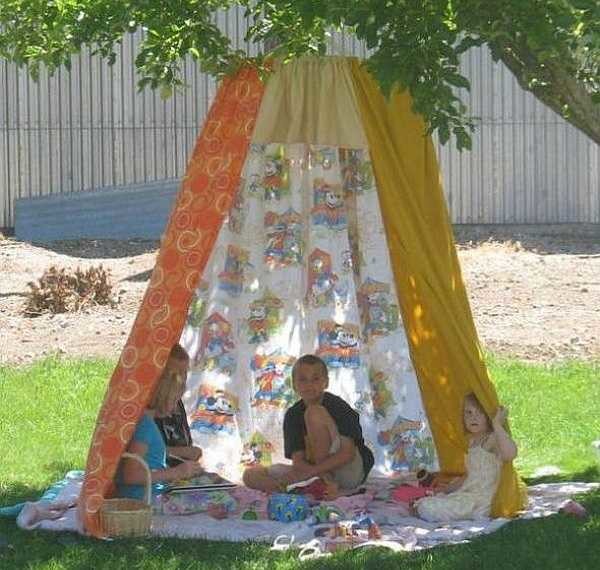
A quick and absolutely safe way to build a children's hut is to fasten cloths on the hoop. Hang this structure, for example, on a tree. Lay out the mats under it, attach the panels to the edges. You will get a great summer house in which children will be cool and comfortable.
Moreover, this design is suitable not only for girls. Hang a camouflage net or camouflage cloth over the hoop. The boys will definitely make their headquarters in it.
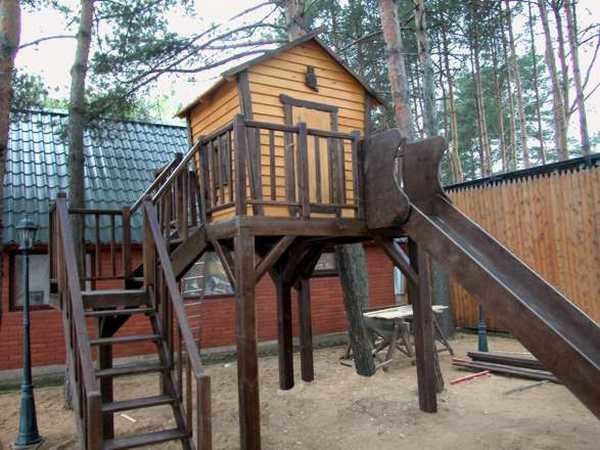
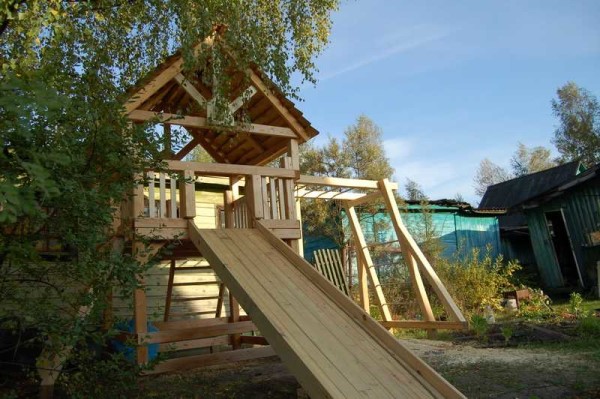
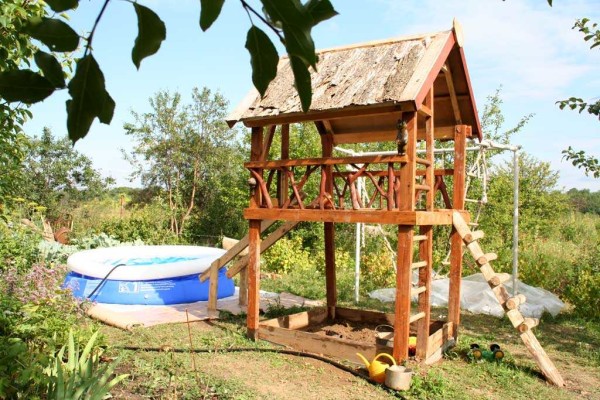
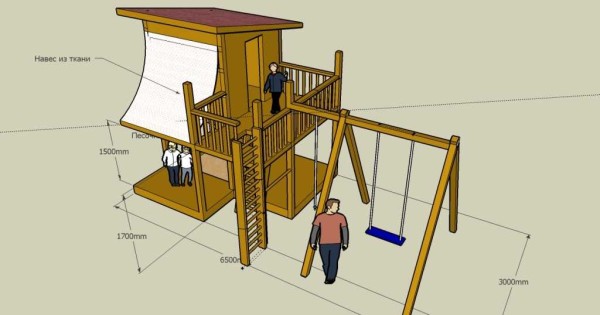
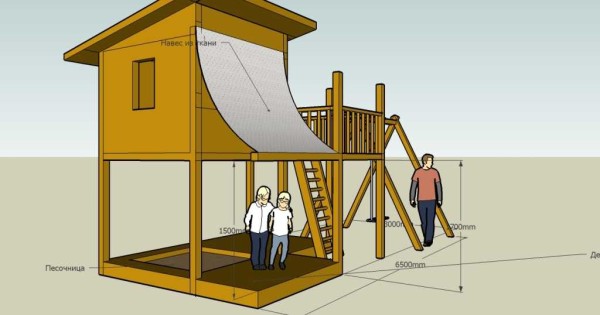
If your child dreams of a house like yours, there are even more options. It is usually built using frame technology: pillars are buried in the corners, the lower and upper straps are attached to them. The lower rail is the basis for the floor, the upper one is the ceiling. If the house is planned to be high, a sandbox is often placed below. The house located on top protects it from rain and sun.
If the house is planned at ground level, construction can be started differently. Place the blocks on which it will stand in a level, lay a bar on them (80 * 80 mm or 100 * 100 mm), connect it into a rectangle, fasten the corners with metal overhead plates. After that, it is already attached to the lower frame in the corners of the posts, which will become a support for the walls and roof.
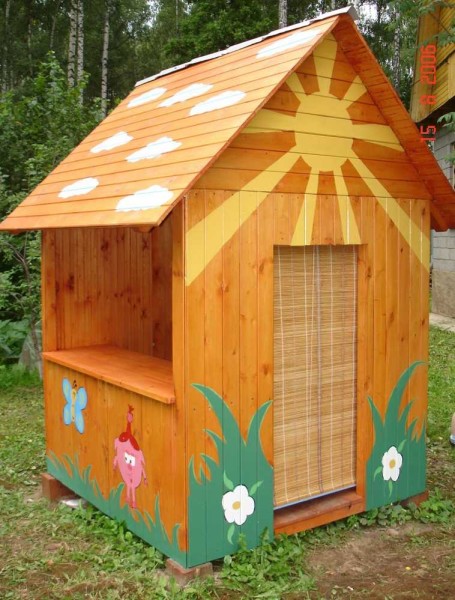
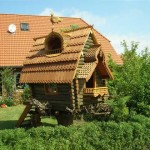
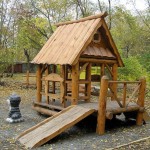
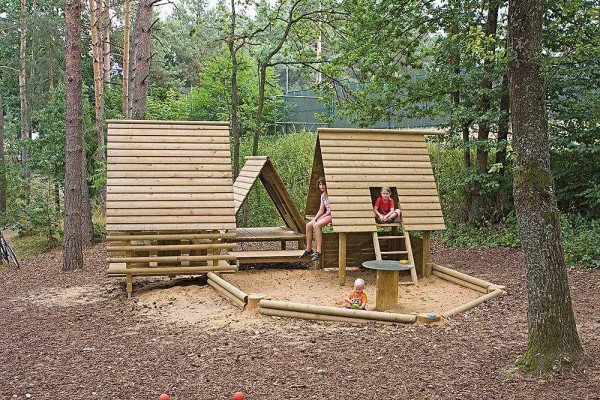
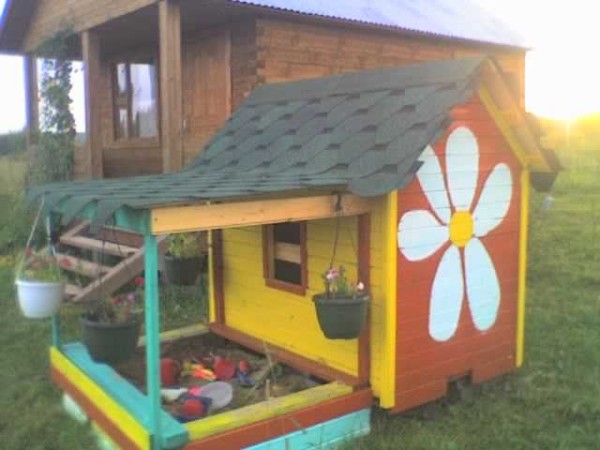
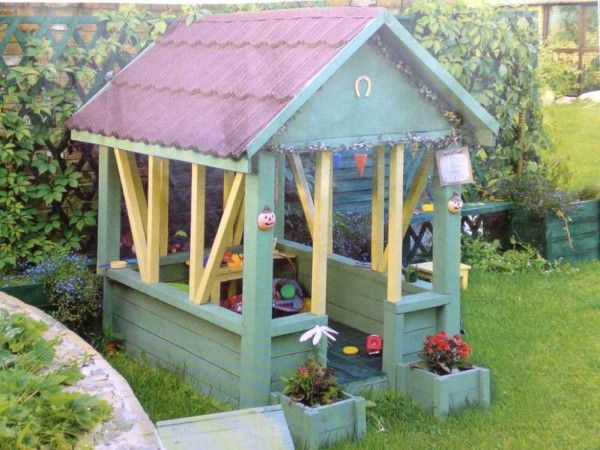
Some children like to have a house, just like an adult's: with a porch, a real door and window, a sofa ... Parents have done this too more than once. The basis is the same: the timber from which the frame of the building is assembled, and it is sheathed depending on the desire. Work faster with sheet material, such as waterproof plywood, longer with boards or clapboard.
- Wooden house for children, lined with clapboard
- Another version of a children's hut
- This is no longer a house, but a house with a terrace))
- A house, like from a fairy tale - carved, on a hemp
Slides for children
Slides are no less popular with children. A quick descent is a lot of fun. This is where the difficulties arise for parents. What to make a children's slide from? The traditional coating - a sheet of stainless steel - has now become very expensive, and even leaving it on the street unattended is dangerous - it will be carried away. Ordinary steel will not work - it rusts very quickly, so you have to look for a replacement. There are several options:
- Find a ready-made plastic tray. You just have to adjust to the dimensions that are.
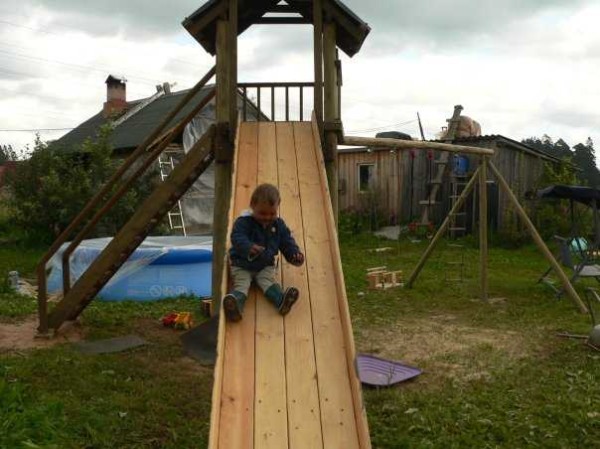
- Make a slide of wood by polishing the boards very carefully. The descent will not be quick, but such a slide is safe for kids, although the older ones will not be interested.
- Sheathe the wood frame with something more slippery. As an option - a piece of linoleum. You can use trims that are sold in construction markets. Lead it high on the sides and secure well. The slide is smooth, safe to ride, enough for a year. Appearance, though "not very", but it all depends on the level of skill. You can close the edges with a well-finished plank, which can also be a railing.
- Make a base of sheet smooth material, fill everything with liquid acrylic, which covers the bathrooms. This idea is experimental, there was no experience of application yet ...
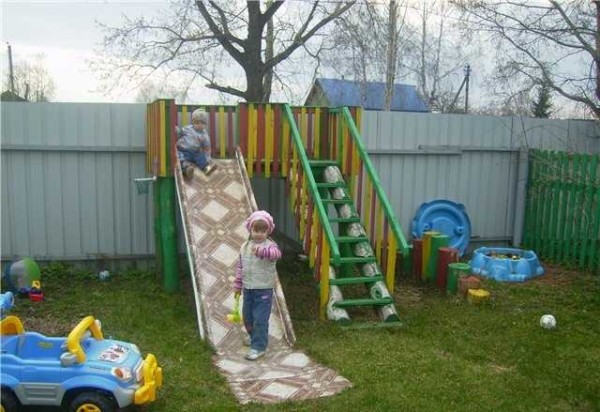
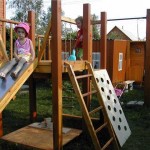
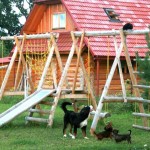
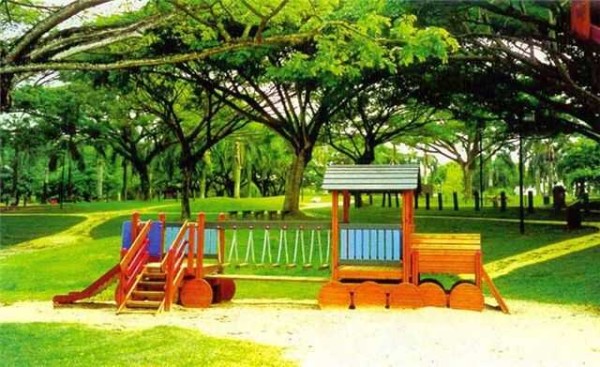
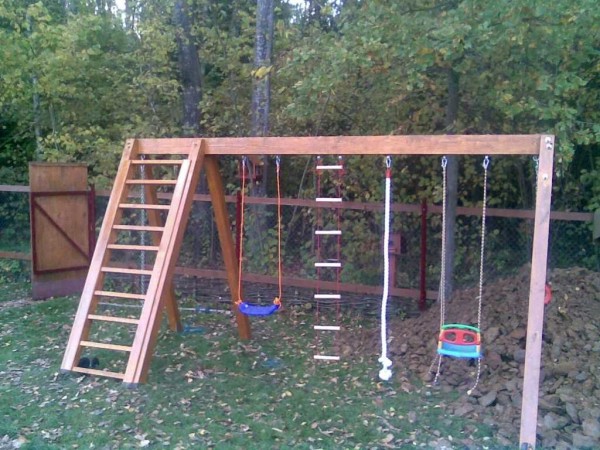
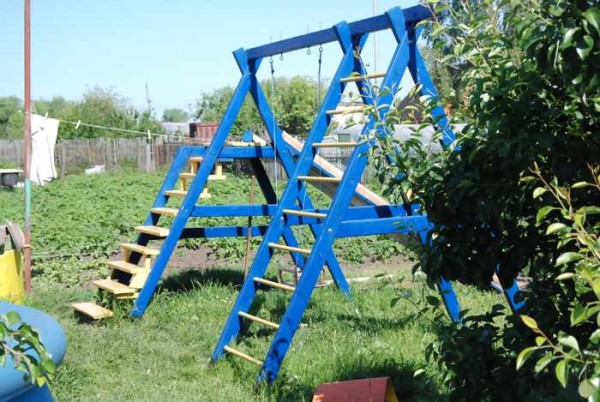
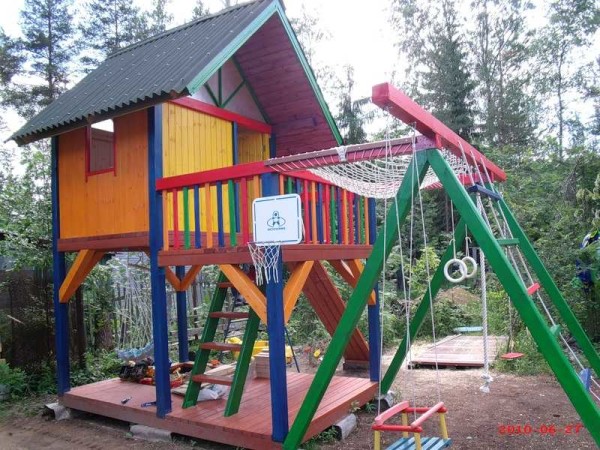
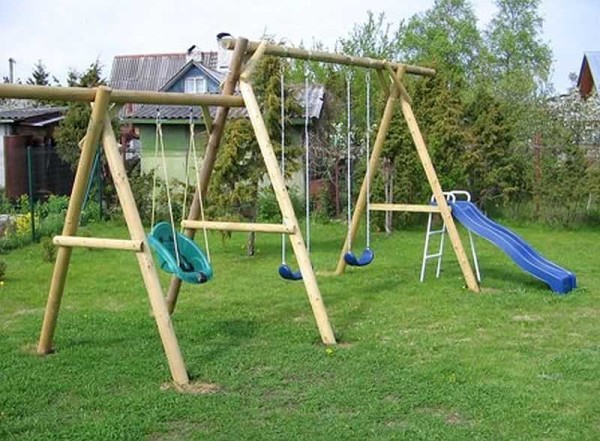
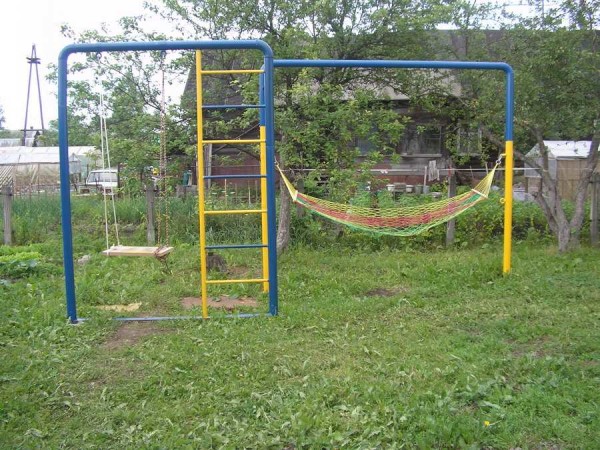
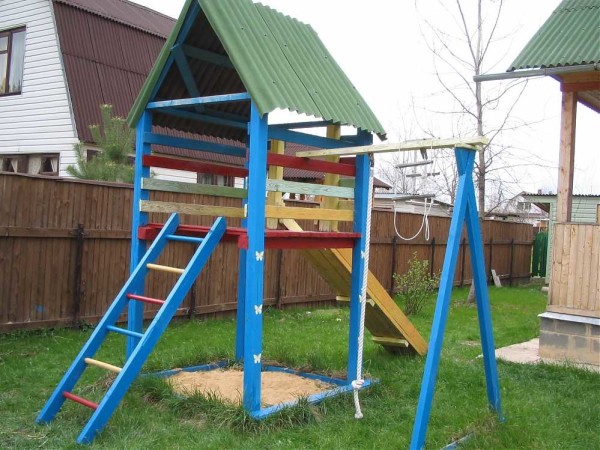
And only a slide in the country or near the house is done very rarely. Usually this is only part of the game complex, which includes various shells: rope and ordinary ladders with different angles of inclination, hanging paths, nets, swings on chains or ropes, posts with crossbars, and, in general, anything you can think of. You will find some ideas below in the photo gallery.
- Children's house and slide for toddlers
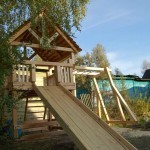
- Wooden slide - only part of the play corner for children in the country
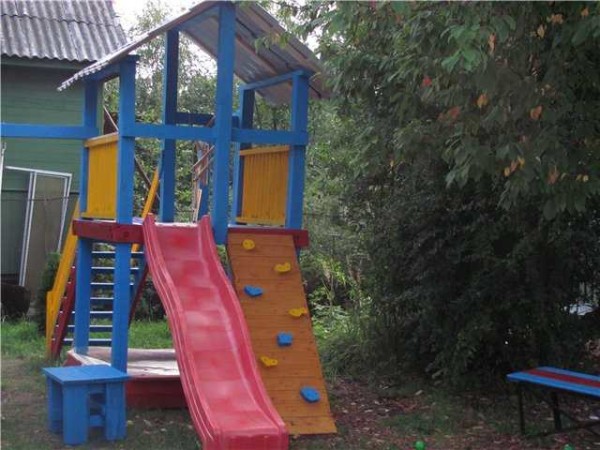
- Another option: a do-it-yourself playground with a slide, a high house, a climbing wall and a sandbox below
- A set of stairs, swings with a children's slide
Swing
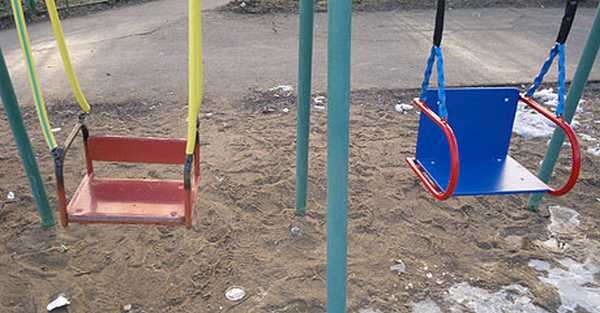
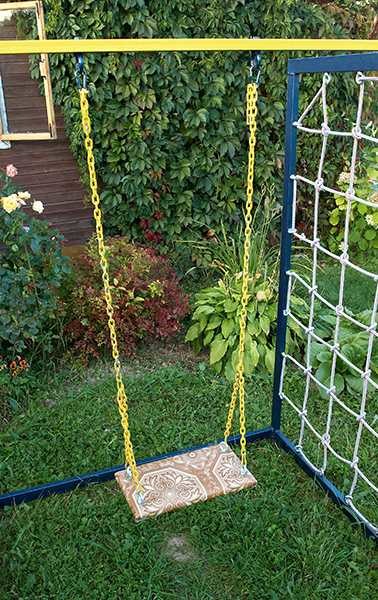
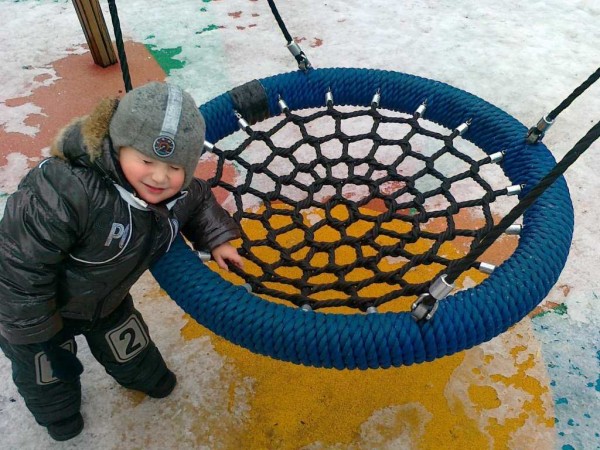
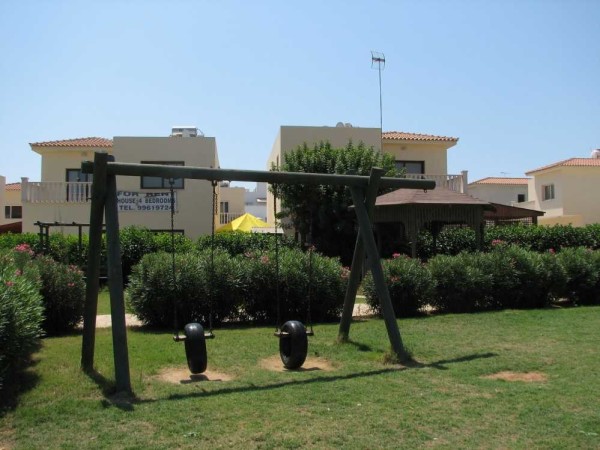
Suspended swing popular not only among children, but also among adults. There are many different options - from models for toddlers to older children. You saw some of them in the photo above. To create this kind of entertainment, not so many materials are needed: chains or ropes on which the seat will be attached.
If you use ropes, you need to regularly check their condition: they become weaker from exposure to the sun and can fray. Chains are more reliable in this regard: they can withstand heavy loads, but pose a different danger: the chain links, when shifting, can pinch the skin. Very painful and large bruises are produced. But there is a way out. To keep it safe, hoses are put on the chains in those places where they are taken with hands. Their shell protects the hands of children and adults who swing the swing (or roll themselves).
But bad luck - curious kids like to pick pipes, so consider them periodically. Sometimes covers made of a very dense fabric such as tarpaulin are used as a protective layer.
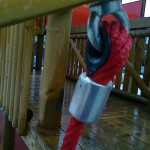
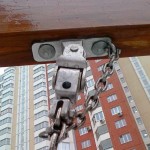
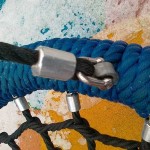
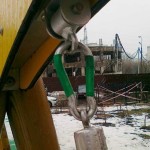
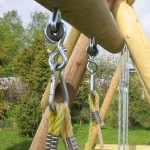
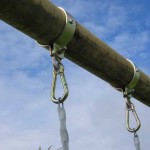
Questions often arise as to how to attach chains or ropes to the bar. The most popular solution is carbines. But they have two drawbacks: when rocking, they creak quite a lot, moreover, they gradually wear out. The rate of wear depends on the weight of the swinging children (they do not always sit on the swing one at a time) and on the intensity of use. Both problems can be partially solved by periodic lubrication, but only partially. The second option is to use bearings, but here you cannot do without welding. See the photo below for several options on how to attach the swing to the crossbar.
Where can I get such devices? In shops selling rigging. You may also find other ideas there.
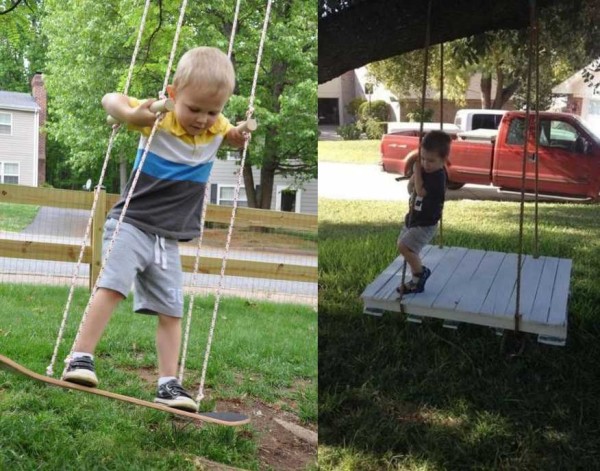
Often the question arises: how and from what to make a seat. Yes, from anything. Even from a tire or a piece of tarpaulin, an old chair - wood or plastic, just a piece of board. Craftsmen manage to use the old chair.
Having slightly modified them and hanging them only slightly above the ground, we teach not a swing, but a simulator for developing balance. Especially interesting for boys will be the option with a board from a skateboard. And on a wide platform you can swing while sitting ...
Ladders and suspended paths
Ladders are one of the key elements that connects all disparate parts into a single whole, allowing you to move from one projectile to another. They are made from well-processed wood. The steps should be round (at least 5 cm in diameter so that it is comfortable to grip with your hands) and straight. You can make rope steps: they are harder to climb, but they develop coordination well.
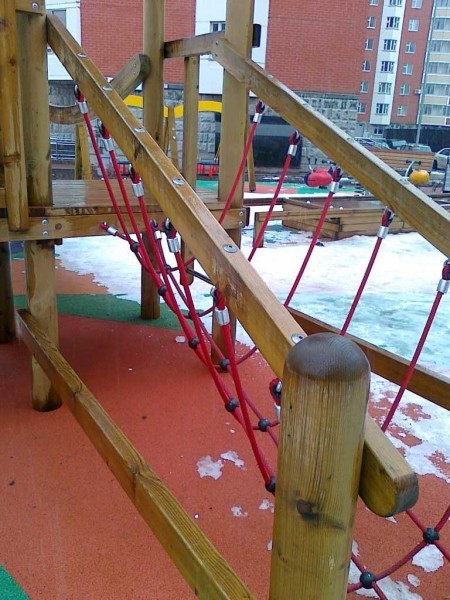
Hang a rope net on one side, make a rope ladder. Rope shells are not in vain present in all extreme shows. They are safe, but require a well-developed coordination of movements and dexterity. At first it is hard for the kids, but they are drawn to such "shells".
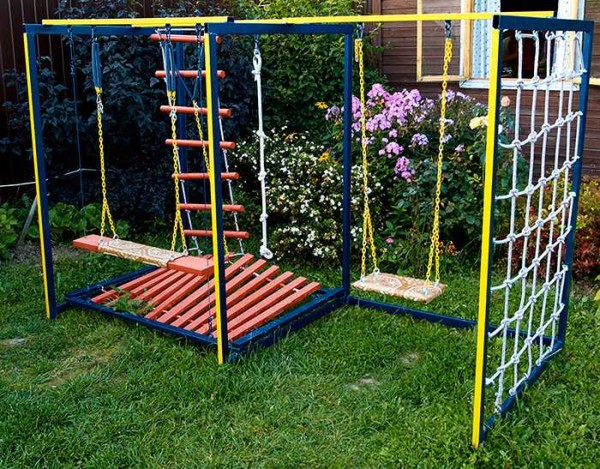
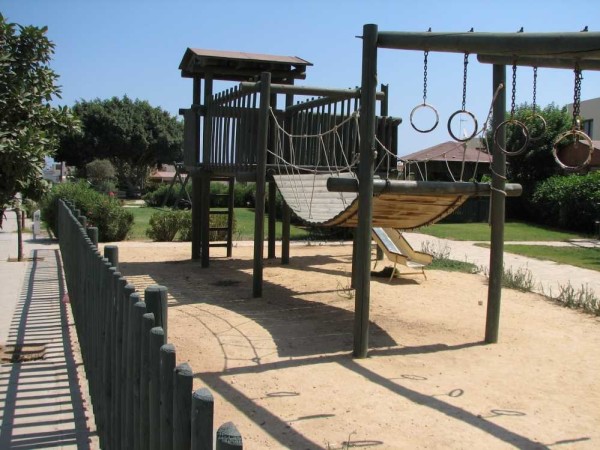
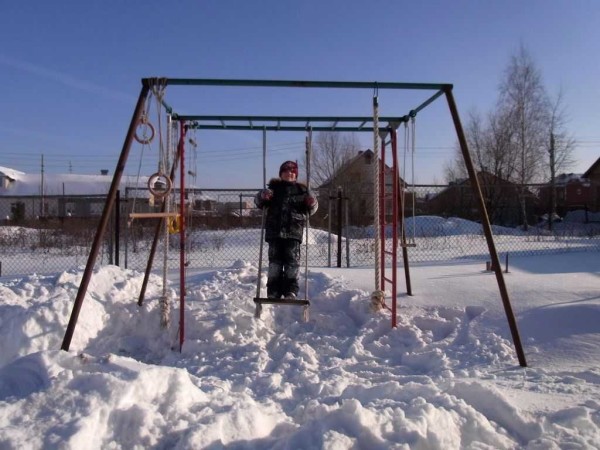
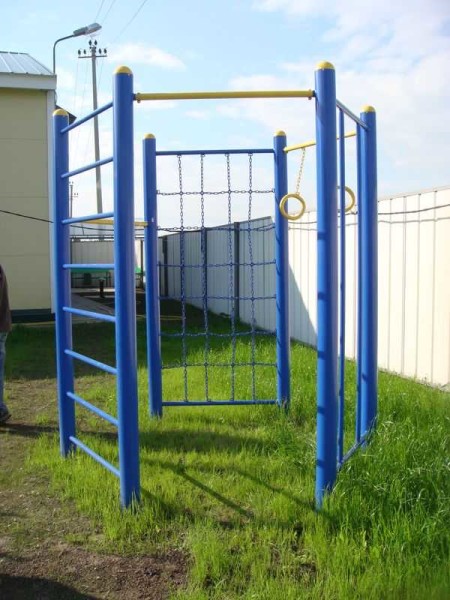
Here is the basic set of elements that make up children's playgrounds. For older boys, you can add a horizontal bar and rings. They already need not only to develop coordination, but also muscular strength. In general, there can be a lot of ideas.Some of them are in the photo below. We hope that the playground made by your efforts will bring joy to children, and pleasure to you: it is always pleasant to look at what you have done with your own hands.
Photo of playgrounds and elements
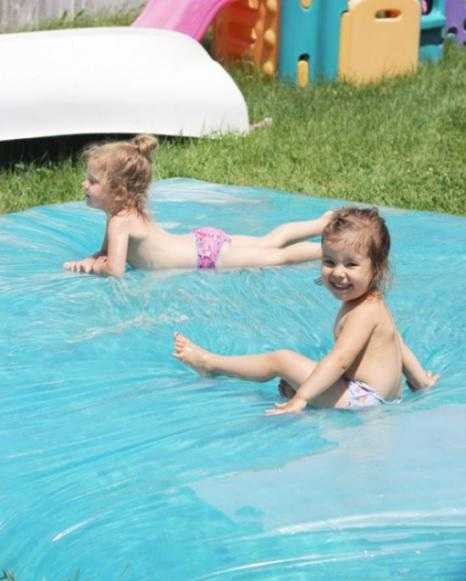
A water mattress in the heat is the best place to rest
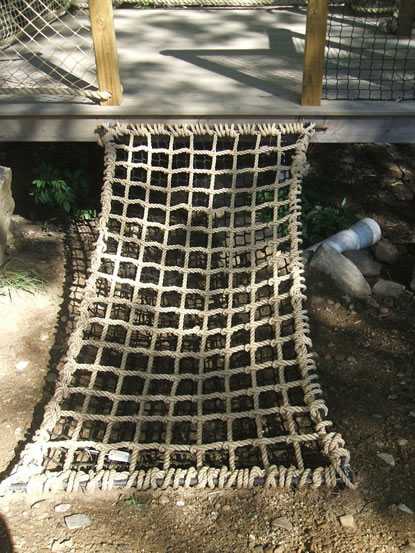
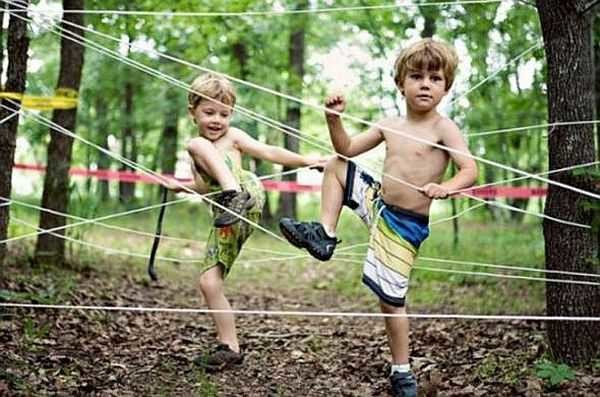
Coming off the platform from the ropes - to coordinate movements






I really liked the sandbox, the children's house and the idea with the hut! Super! Of course, a flight of imagination is important, a lot of types of cars and houses can be built for children! there are two kids in our family and two brothers in the family, we built a sandbox in the garden and something else
Super ideas! And near our house we made a playground from old toys - the children are delighted
Good day. I am interested in your product. Children's playgrounds are available on the price list. Thank you
Hello Sorry, we are not selling anything. The site is informational, all descriptions so that you can independently make a playground of any complexity.
Where was the equipment purchased?