Types and installation of the armstrong ceiling
An attractive ceiling is one of the prerequisites for a good look. Therefore, during the repair, a lot of attention is paid to this issue. But making the ceiling attractive is more difficult than walls - more difficult working conditions. If you need to quickly, inexpensively put this part of the room in order - your choice is the Armstrong ceiling. It is a quick-fit harness that offers a lot of possibilities.
The content of the article
System design
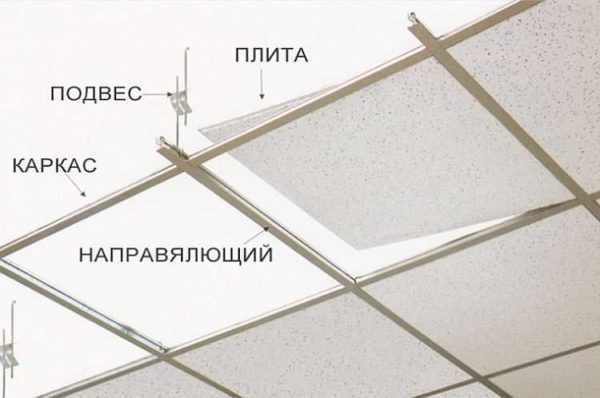
Suspended ceiling Armstrong consists of a system of profiles, suspended by means of hangers attached to the sub-ceiling. These profiles form square or rectangular cells in which fixtures and plates are installed. All this together is the Armstrong ceiling system.
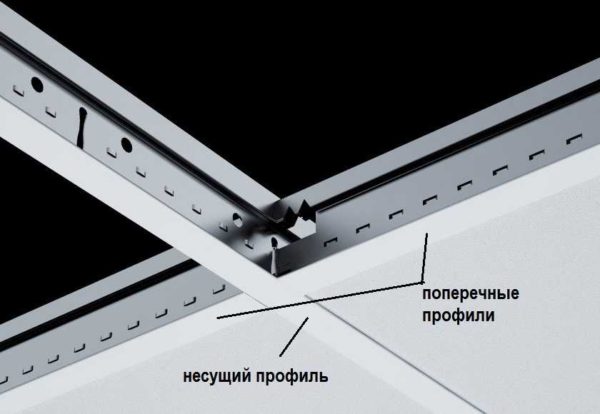
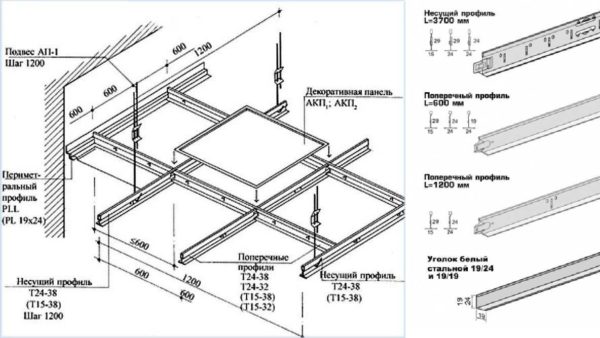
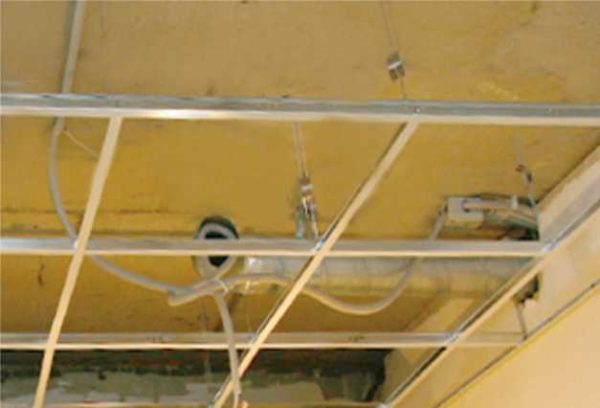
The profiles are carriers (guides). It is they who, through suspensions, are attached to the rough ceiling and bear the main load. The total mass of the entire system is small, therefore, guides are installed every 120 cm.Along the marked lines with a step of 50 cm, suspensions are mounted. There are hooks in their lower part, and there are holes in the guides. The guides are simply hung on the hooks. After that, we got parallel guides, spaced 120 cm apart.
Between them with the same pitch - 120 cm - a transverse profile is installed. As a result, we get a cage of 120 cm * 120 cm. Plates of the Armstrong suspended ceiling are 60 * 60 cm (to be precise, 598 mm * 598 mm). For their installation, the frame profiles are also attached - so that a cage with the required dimensions is obtained. After that, it remains only to mount the lamps and install them in the slab cells.
Advantages and disadvantages
Armstrong ceilings were originally designed for use in industrial, office and public spaces. But a number of excellent qualities have led to the fact that they are also used in private houses and apartments. Here is a list of the properties of Armstrong type suspended ceilings:
- Low price. This is the cheapest way to arrange false ceilings.
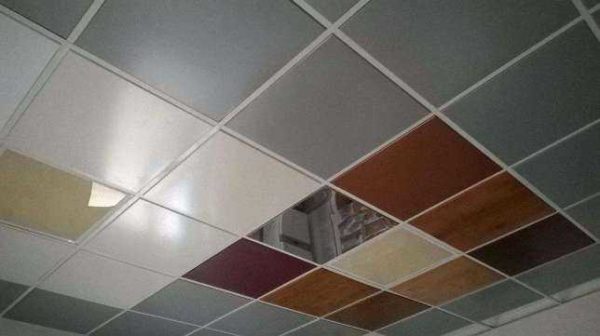
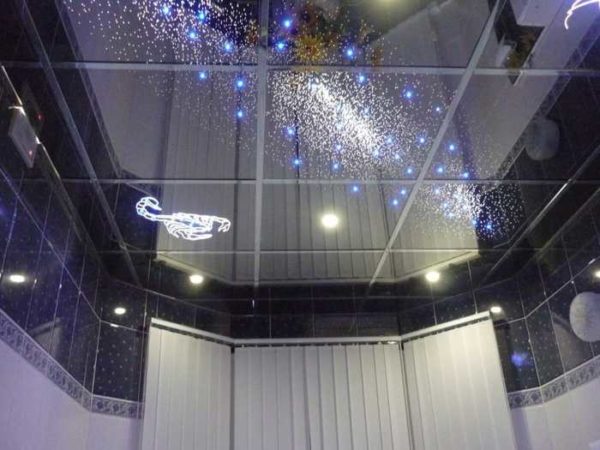
- A large number of options for plates and profiles. Plates can be not only matte white. They are metallic, painted in different colors with varying degrees of gloss. There are glass, mirrored, covered with wood-like film, etc. Moreover, these plates are easy to make yourself, having received a unique design.
- Easy installation. All operations during installation are elementary, a minimum of time is required.
- High maintainability. If the stove is damaged, it is simply removed and a new one is placed. Therefore, when purchasing components, take plates with a margin.
- The suspended ceiling perfectly conceals all communications and allows for excellent ventilation - the slabs are very often perforated. Even if it is monolithic, it just lies on the frame, there is no tightness and ventilation of the ceiling space is good.
- The system turns out to be light - profiles are made of aluminum alloy, plates - from pressed paper waste of different thickness or light alloy.
The Armstrong ceiling is a truly wonderful product. Apparently that is why he is so fond of the owners of offices, shopping centers, cinemas, etc. But there are also disadvantages. The first is that the appearance of such a ceiling is ideal for an office or public space, but not everyone perceives them in private spaces. But this is a matter of taste. The second - the system is suspended and "eats up" the height of the ceilings, with which many already have problems. But if the ceilings are more or less normal, this system can be installed. That's all the cons.
System elements
The Armstrong ceiling system consists of a set of elements that are easily interconnected. One of its advantages is modularity, which allows you to get a ceiling of any size and configuration. The only problem is with nonlinear forms - they are not provided and there are no standard solutions. Therefore, this type of suspended ceiling is used only in square and rectangular rooms.
Profiles
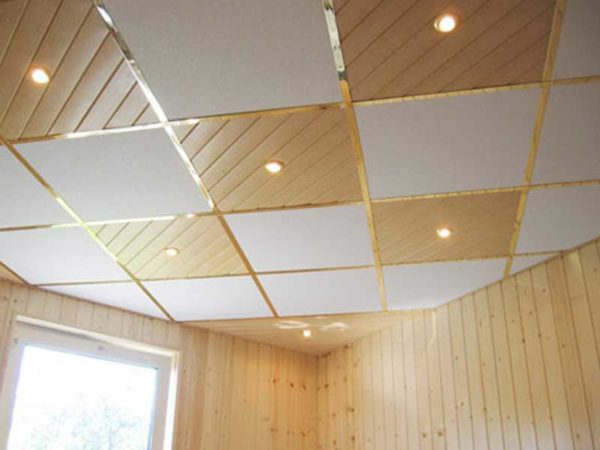
Armstrong Dealut ceiling profiles made of light aluminum alloy. On the upper part of the profiles, perforation is applied, with which they are attached to the suspensions and are joined together. The lower part of the profiles - the one that is visible from the room - can be silver, but more often white. There are also black and gold, you can find other colors, but you have to look for them.
The length of the profiles is 600 mm, 1200 mm, 3600 mm. The bearing profiles must be solid (if necessary, they can be spliced), therefore we select the length so that the profile is not shorter than the room. It is cut into sections of the desired length.
You gain transverse profiles partly 120 cm long, partly 60 cm long. You will have to calculate how many you need to create a suspension system in your case. Cutting them will not work - projections are made along the edges, with the help of which they are joined to the carriers.
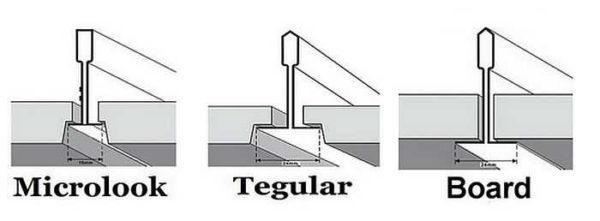
Bearing and transverse profiles come in two sizes - for different types of boards: with a shelf of 15 mm and 24 mm. The "back" is also different - for different thickness of the plates (19 mm, 24 mm and 29 mm).
There are also wall profiles. They are made in the form of a corner, mounted around the perimeter of the room. The extreme plates rest on them. They are also available with shelves of different sizes - 19 mm and 24 mm.
Slabs
Slabs for Armstrong suspended ceilings come in two sizes - 120 cm * 60 cm and 60 cm * 60 cm.The second option is more common, perhaps because squares are better perceived than rectangles. There are also different thicknesses - from 6 mm to 19 mm. The greater the thickness, the greater the degree of sound insulation such a ceiling has, but in many respects this characteristic depends on the material from which the slabs are made. And they are of several types:
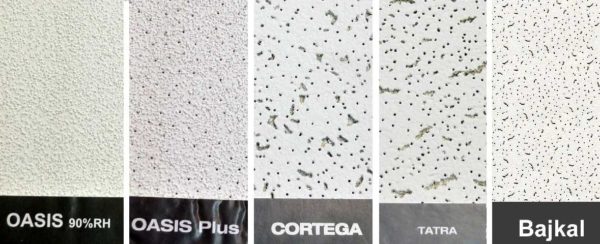
- Economy class. The cheapest of all, they have high hygroscopicity and do not tolerate high humidity. They absorb moisture in the forehead - in the form of a liquid when flooded by neighbors from above or from the air. Having saturated with moisture, they become heavy, begin to change shape - to bend, which spoils the appearance. In general, the option is cheap, but it feels good in rooms with climate control and constant humidity. This group includes Oasis (Oasis) and, Oasis +, Cortega (Gortega), Tatra (Tatra), Bajkal (Baikal).
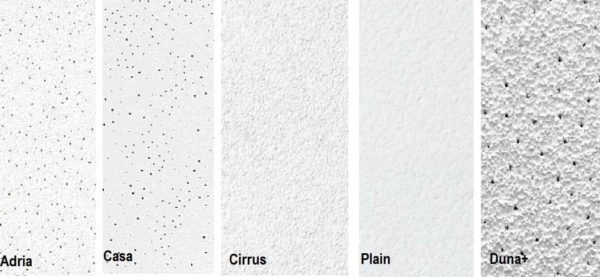
- Prima class. These are more expensive panels, but they are much better in performance. Firstly, they are more durable, have increased resistance to moisture (85% versus 65% for the Economy class). They are better in terms of sound insulation and appearance. This group includes the collections of Adria (Adria), Casa (Casa), Cirrus (Cirrus), Plain (Plain), Duna + (Dune plus).
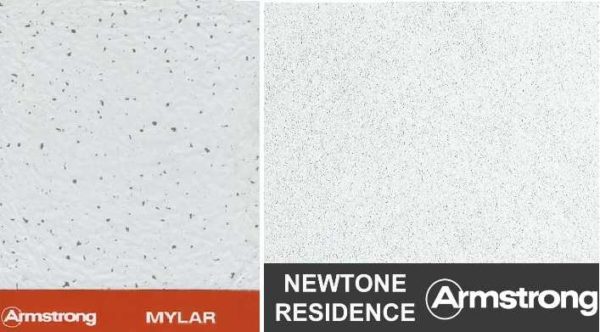
- Moisture resistant. This type of false ceiling slab can be used in humid rooms or high humidity. There are two types of Mylar (Mular), Newtone Residence (Newton Residence).
- Acoustic. They have improved sound absorption characteristics. Suitable for installation in sales areas, offices. Produced in two types: Neeva (Niiva), Frequence (Freakvens).
- Hygienic. These stoves are easy to clean and are designed for medical institutions and food industry enterprises. There is only one species - Bioguard (Bioguard).
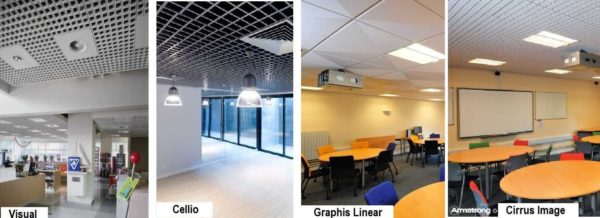
- Designer. These armstrong ceiling slabs are significantly different in appearance from all the others.They are used in the design of clubs, restaurants, bars. They have a presentable and sometimes luxurious look, but they already cost a lot. There are several modifications: Visual (Visual), Cellio (Cellio), Graphis Linear (Graphis Liner), Cirrus Image (Cirrus Image).
Above we were talking about authentic tiles that are manufactured by Armstrong. There are other types and types produced by other companies. The name and appearance may vary, but the categorization is about the same.
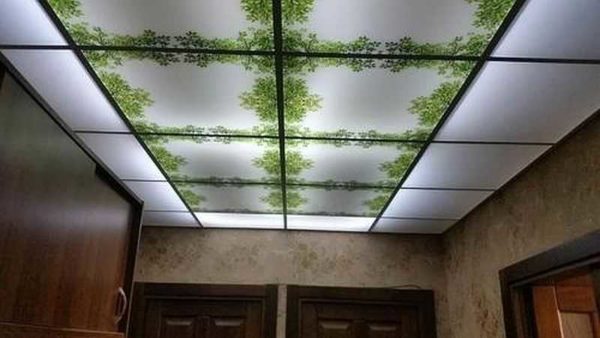
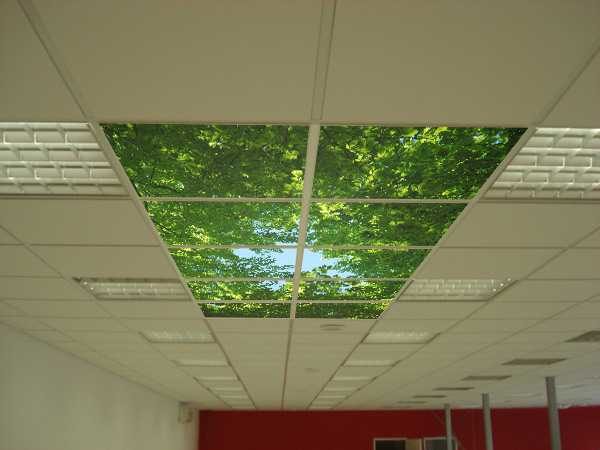
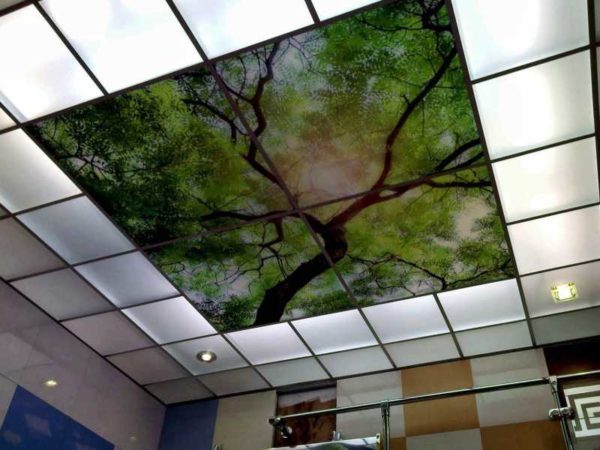
For example, there are metal plates - white, made of a solid sheet and with perforations of different sizes and shapes, there are painted in different colors, there are plastic ones - translucent and with applied photo printing. In general, various slabs are built into this system.
Another point: the plates on the Armstrong ceiling have a ledge at the edges. This protrusion comes in different widths and depths. The type of profile is selected for the size of this protrusion. It may be vice versa, but they must be joined.
Suspensions and how they can be replaced
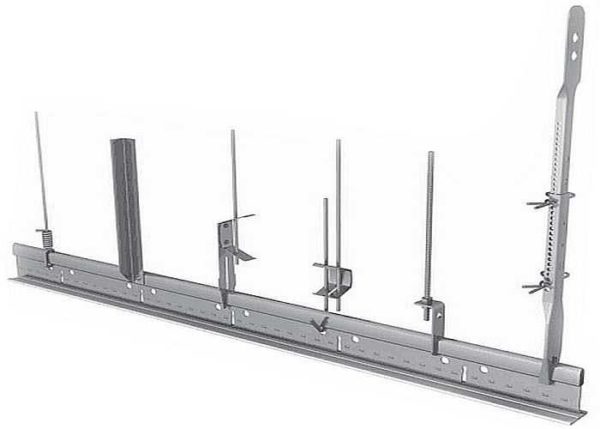
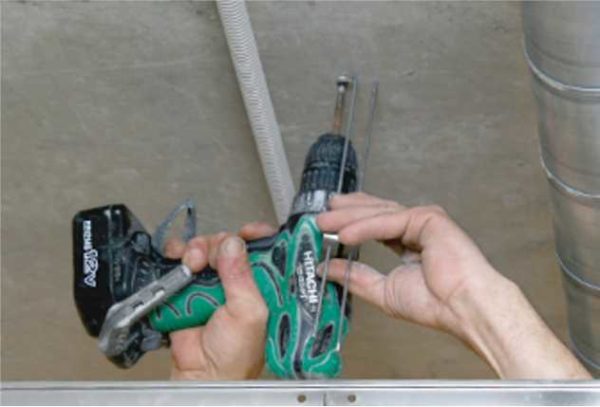
Armstrong ceiling hangers have a hole in the upper part for installing fasteners, in the lower part - a hook that holds the profile. The upper part is fixed to the ceiling using dowels or other fasteners (depending on the ceiling materials).
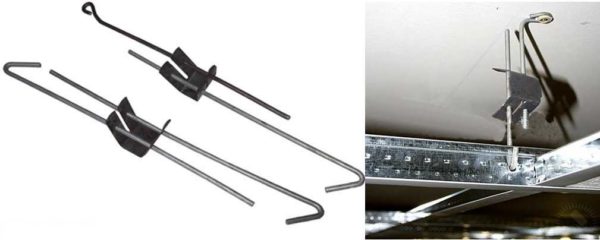
Of all this variety, the option with two hairpins is most often used (in the photo above, the third on the right and in the photo below). These suspensions are inexpensive, quickly assembled, and make it easy to adjust the height of the ceiling when it becomes necessary to set it in one plane.
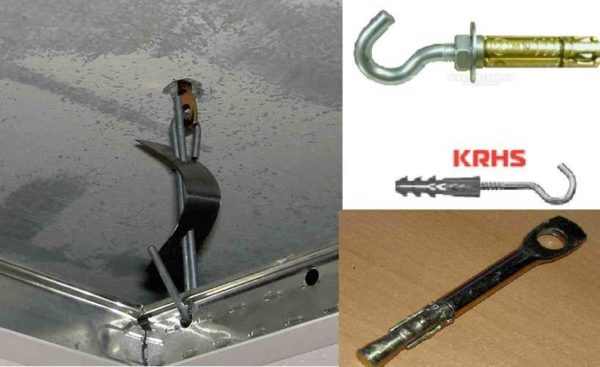
But these hangers have a minimum height of 25 cm. This is a lot even in some offices, and even more so in houses and apartments. The way out is to shorten the pins (as in the top photo on the right) or use materials at hand. The most suitable ones are steel studs with a ring at the end and a piece of elastic steel wire. The disadvantage of this mount is that it is difficult to adjust the suspension height. We'll have to make them exactly the length that they need.
Dowels with hooks at the ends are also suitable. But here, too, you will need additional hooks made of wire, since too small a distance to the ceiling will not allow laying the plates - you need room for maneuver. The minimum distance between the main and the false ceiling is 25 mm and that will be very inconvenient. It is desirable to have at least 50 mm. But this is only if lamps or fans are not installed in the ceiling.
Luminaires and ventilation grilles
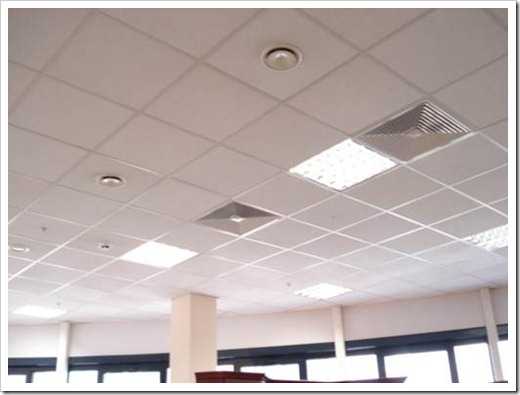
Regular lamps and ventilation grilles are good for offices, sales areas, public and medical institutions. They are the same size as the slabs and are simply installed in the chosen location. There are no problems with connecting lamps - the vast ceiling space allows you to bring wires of the required section without problems. They are placed in metal trays fixed to the ceiling or cable channels.
In apartments and houses, regular lamps look at least strange, and the power is clearly more than necessary. In this case, usually use recessed spotlights... It is better to take with LEDs - they almost do not heat up and consume little electricity, but give enough light.
The use of ventilation grilles in houses and apartments is rather an exceptional case. The system itself is leaky, many slabs are perforated, which provides sufficient ventilation in the ceiling space. If, nevertheless, additional holes are needed, you can either use the standard grille or build in a smaller one by cutting a suitable hole in the plate.
Ceiling installation Armstrong
It is easy to assemble the Armstrong ceiling: you need a drill, suitable fasteners (dowels or self-tapping screws, depending on the material of the floor), it is good to have laser level, but you can do with water and bubble. For cutting profiles, you can use metal scissors, or you can use a grinder with a cutting disc or a hacksaw with a metal blade.
The Armstrong suspended ceiling installation technology in steps looks like this:
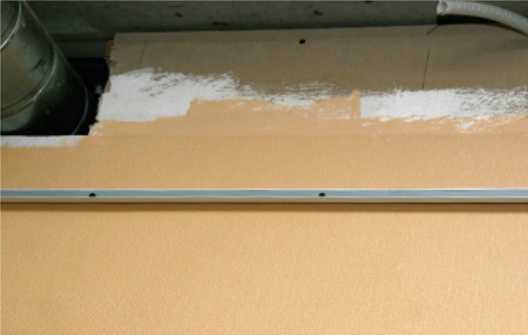
- We mark on the walls the level at which the suspended ceiling will be located. It's easier to do this with a level, more difficult with a bubble level.
- We fix the wall profile along the marked line. There are profiles with different widths of shelves, do not confuse them during installation - the shelf should have the same size as the profiles. Fixed to the walls with suitable fasteners every 50 cm.
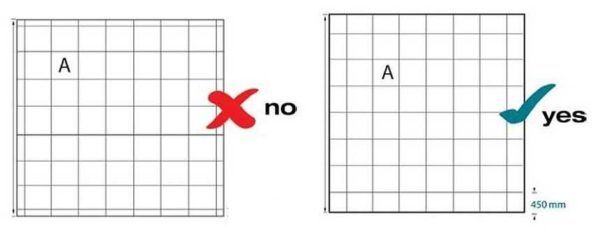
- Having attached the wall profiles, we measure the required length of the bearing profile and cut off the required number of pieces. At the same time, note that the dimensions of the room are far from always being multiples of 60 cm. In most cases, you have to cut the extreme plates. There is nothing wrong with that, but it is necessary to correctly develop a plan for placing the plates on the ceiling - the "undercut" must be dispersed on both sides. But this must be done so that there are no narrow stripes along the edges (see the figure).
- On the ceiling, mark the lines for attaching the guide profiles. They are installed every 120 cm, that is, there will be fewer load-bearing profiles than cells. We install suspensions along these lines every 50 cm.
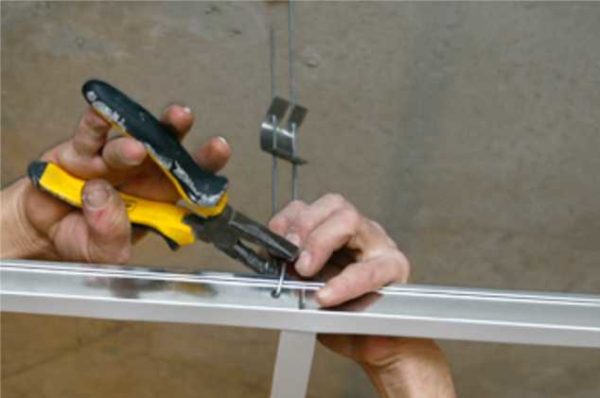
- On the installed hangers we hang the bearing profiles cut into pieces of the required length. The profiles have perforations. We put a hook into one of the holes and squeeze it - to hold it tight. We bring the edges of the bearing profiles into the already installed wall.
- We take transverse profiles with a length of 120 cm, install them by inserting the projections at the edges into the cutouts on the supporting profile. The result is a grid of rectangular cells 120 * 60 cm.
- We take short transverse profiles of 60 cm and insert them so that we get a mesh with a cell of 60 * 60 cm. The fastening is the same - the protrusion is inserted into the cutout.
- We expose all suspensions so that the ceiling is in the same plane. Here again, a level (laser level) can help, but you can get by with the usual construction ones.
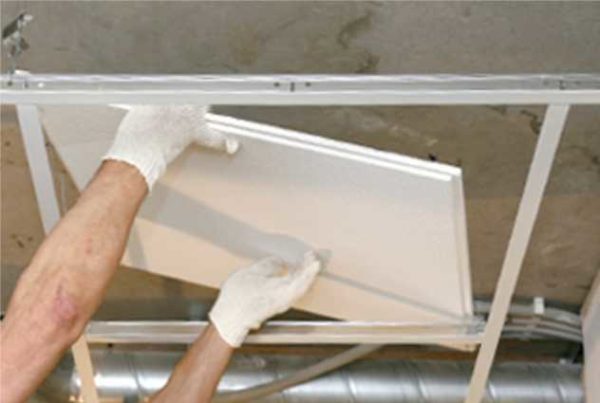
- We put plates in the resulting system. We unfold them sideways, carefully start them up, then lower them into place. You have to work with clean hands - the plates get dirty. If necessary, they are cut with an ordinary clerical knife (put on a flat, clean surface, apply a ruler or rule along the cutting line, draw along with a clerical knife, pressing well on it).
Here's a step-by-step installation guide for Armstrong. Everything is really simple. It is only necessary to first think over the plan for the location of the slabs and figure out for yourself where, at what distance from the walls the bearing profiles will pass. Then everything is assembled as a constructor.
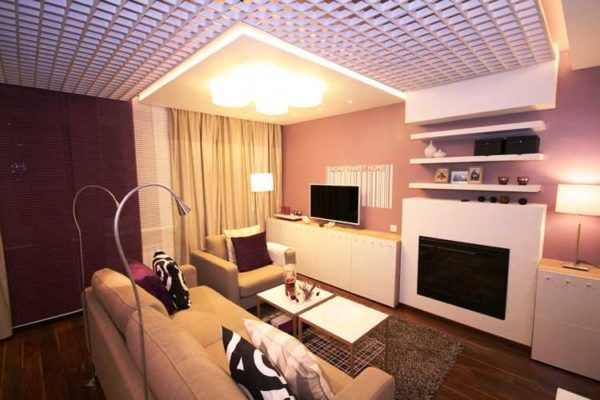
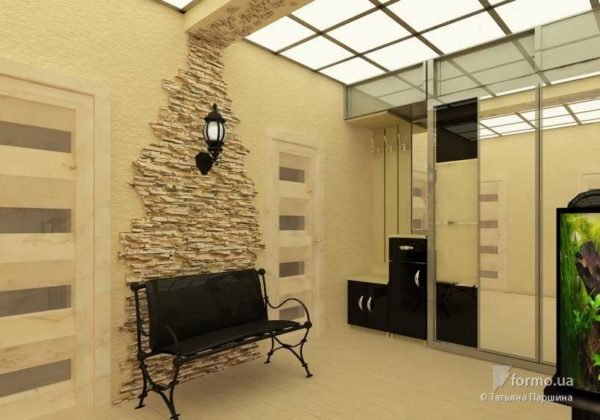
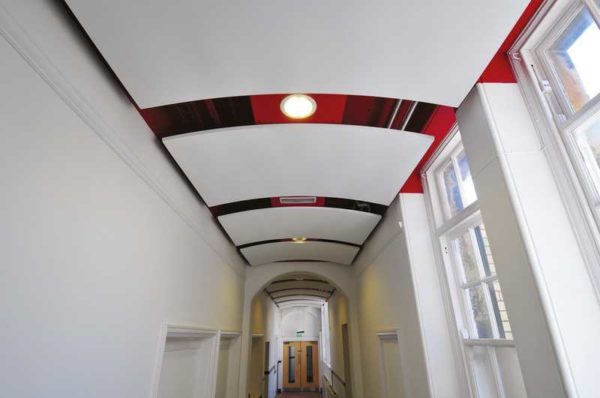
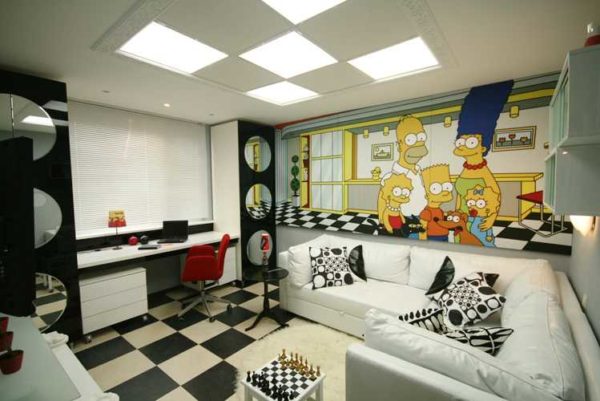
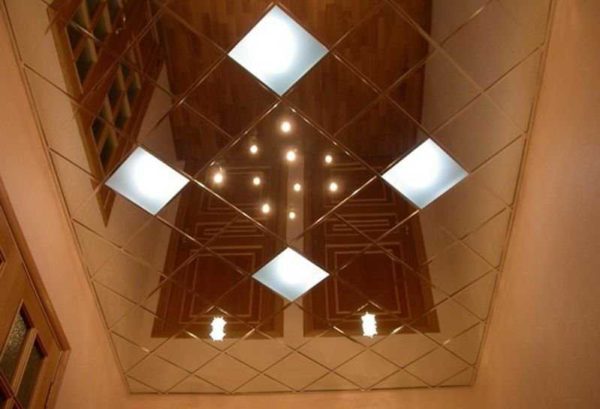
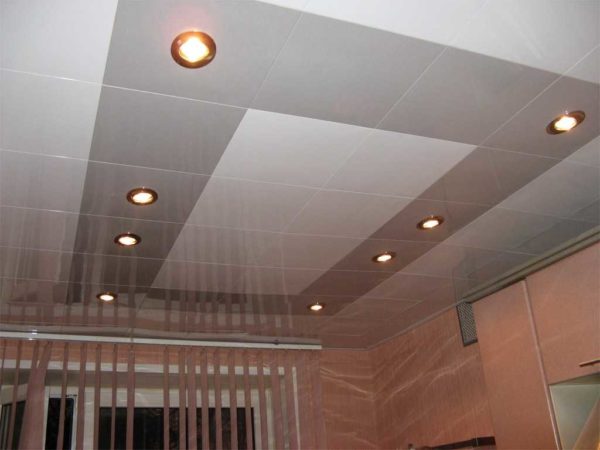
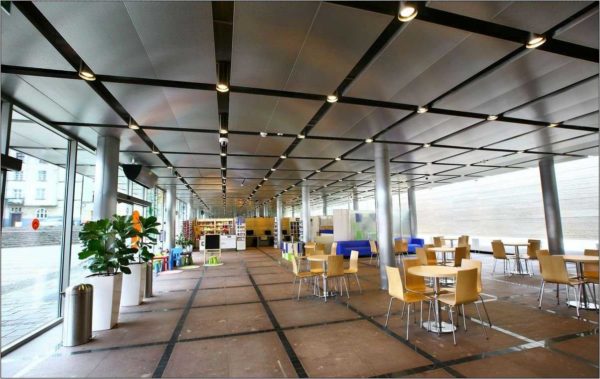
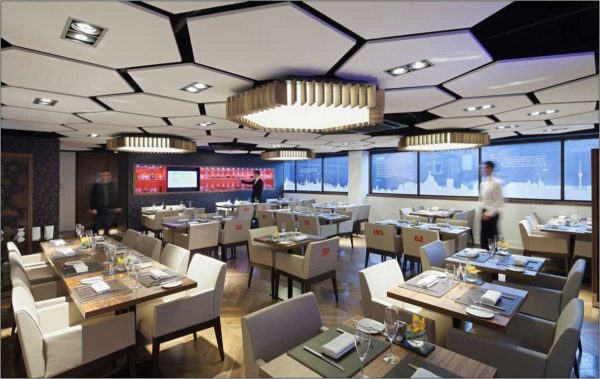
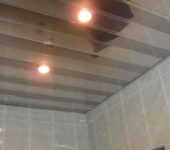
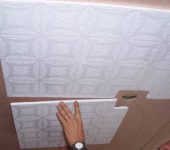
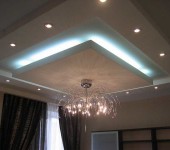
Photo of Armtsrong ceilings in the interior





I need white amstrong ceiling with edging, price per m2