Do-it-yourself decorative false fireplace
You can look at the fire endlessly, but few people can afford such a luxury in an ordinary apartment - it is too difficult to get permission, and a lot of money will be required. There is a low-budget way out - to make an imitation of a fireplace. They build a portal that looks like a real one, install electric devices, candles or bio-fireplaces inside. These structures are called differently: artificial, decorative or false fireplace. This idea has become very popular in recent years - you can make a decorative fireplace with your own hands in a few days, you can get by with a very small amount.
The content of the article
What the portal is made of
You can make a portal of a false fireplace from any material. Indeed from any - even from an old cabinet or table. But the following materials are most often used:
- Drywall. A versatile material that can be used to make both flat and curved surfaces. First, a frame is assembled from profiles, which is then sheathed with plasterboard. A false plasterboard fireplace can be finished with brick or stone tiles, you can putty and paint. If desired, it can be decorated with polyurethane decorative elements. But then the parameters of the portal must be done taking into account these details.
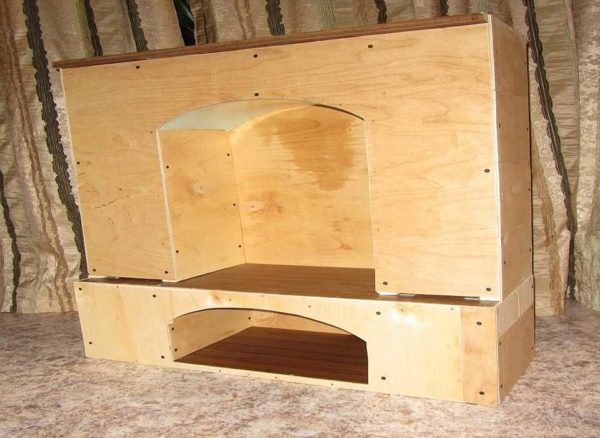
- Plywood, fiberboard, DSP, GVL, OSB. Working with plywood and fiberboard has long been mastered and presents no difficulties, and all other materials do not differ from them in terms of assembly. For such decorative fireplaces from plywood and other sheet material, a frame is usually assembled from wooden blocks of a small section - 30 * 30 mm or so. For decoration, you can use ceramic tiles with a suitable surface, but it is better to glue them on liquid nails. A new material - flexible stone - is also suitable for finishing a false fireplace.
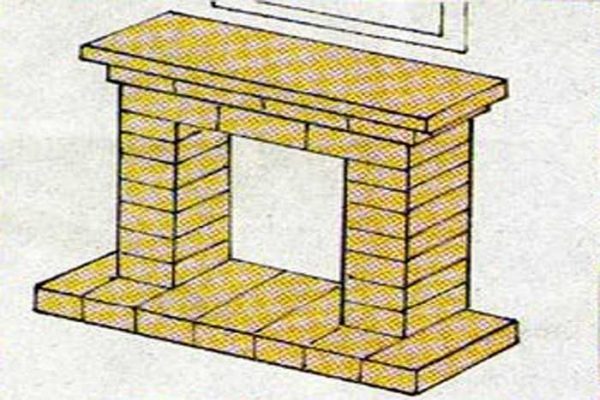
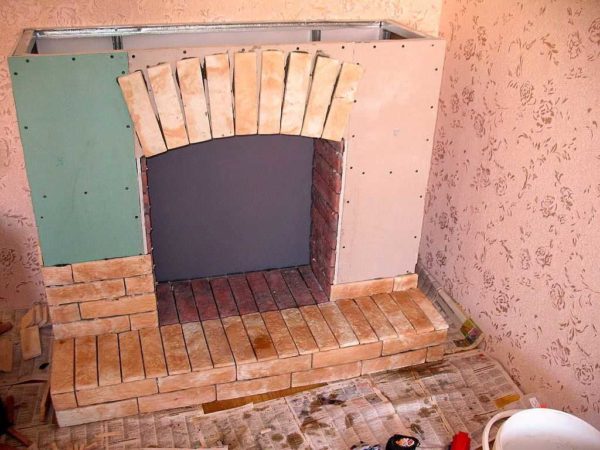
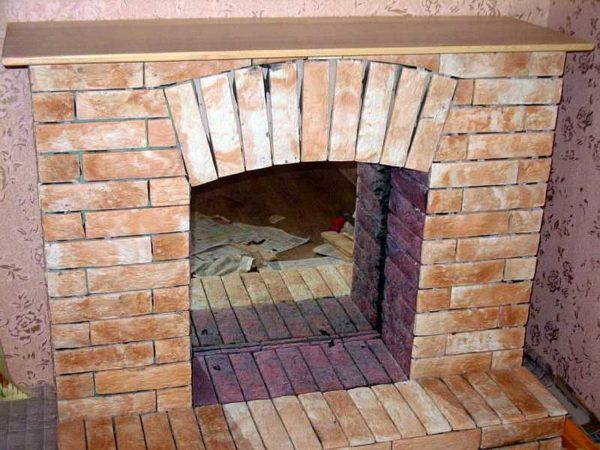
- Brick. To bring the appearance of a decorative fireplace as close as possible to the present, you can use a brick. Lay the wall on the floor or in a quarter of a brick. To give greater strength, a reinforcing mesh is laid in every third or fourth row. This option is possible only if the floor beams or floors can bear the weight of one or two hundred bricks, although the smallest (as in the figure) can be folded from fifty bricks.
They make portals for a raised fireplace and from plastic panels, wood or cardboard. But they are used much less often. You can even use glass and metal, but they are more difficult to work with.
What to put inside
No matter how beautiful the fireplace portal is, without fire, or at least its imitation, it has an unfinished look. There are several options:
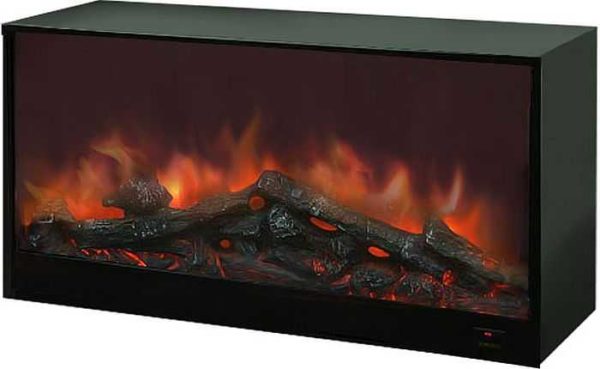
- Purchase an electric fireplace and build a frame around it. Not a bad option, especially since it simultaneously performs the heating function (due to the built-in fan heater). But it requires a pretty solid amount. Especially if there are options such as wood crackling imitation and LED lighting.
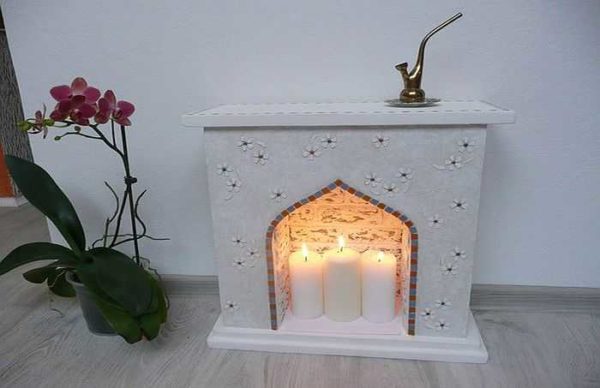
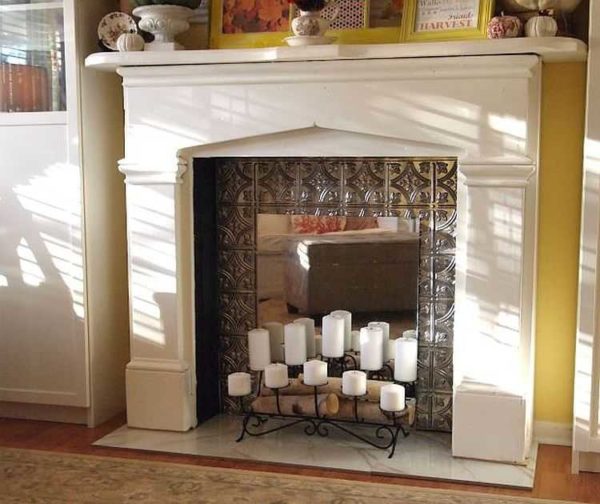
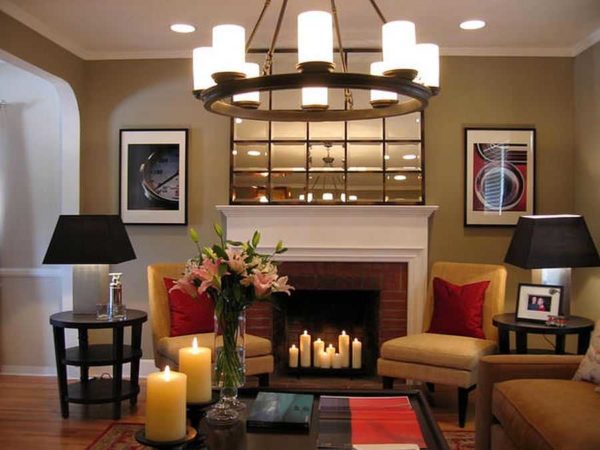
- Put candles inside. Such fireplaces are even called candlesticks. When making a portal for such a source of fire, it can be made shallow - 15-20 cm - this is more than enough.
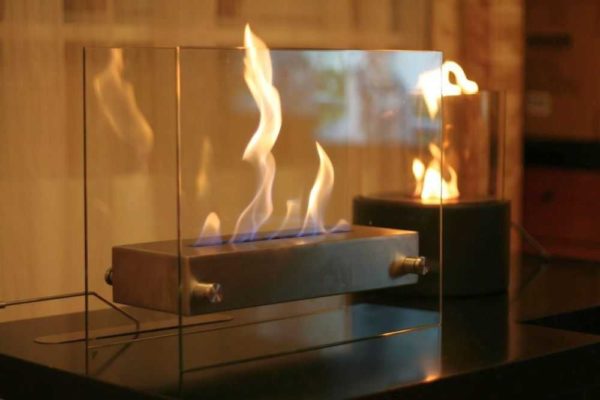
- Bio fireplace (also called eco fireplace). This is a small building made of glass, in which special biofuel burns without smoke and soot. It is absolutely safe and very decorative.It is still a live fire, albeit without smell and sound. Its disadvantage is the price. For some models, it is comparable to the cost of installing a brick, with the only difference that a permit is not required for a bio-fireplace.
- Make something like a fire out of red, warm white and yellow LED bulbs.
Decorative fireplace made of plywood: photo report
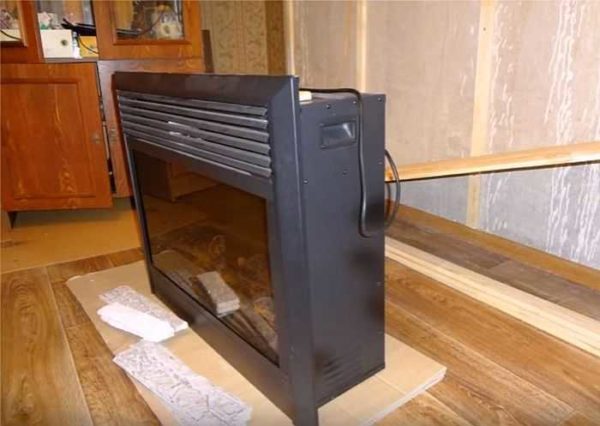
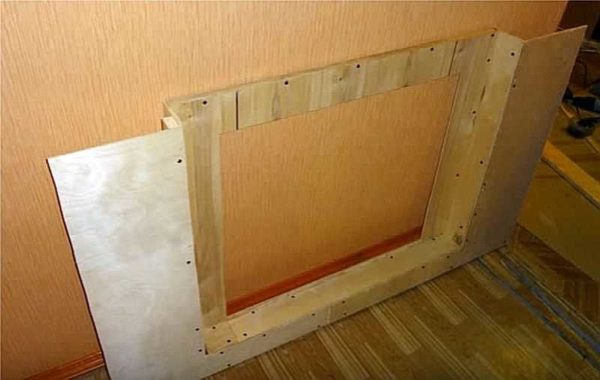
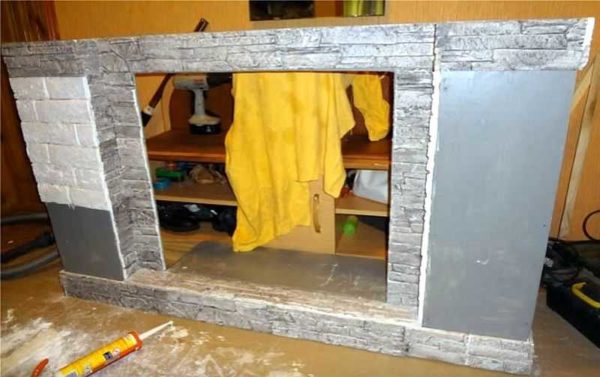
An electric fireplace with an imitation of a flame was purchased. It was decided to frame it from plywood. Furniture plywood with a thickness of 8 mm was used. The homemade portal was made in a few hours, its finishing took almost two days.
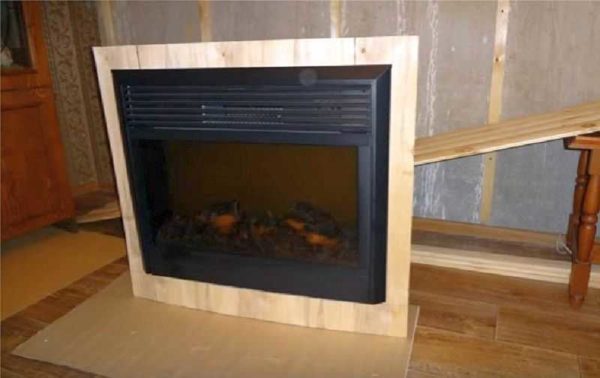
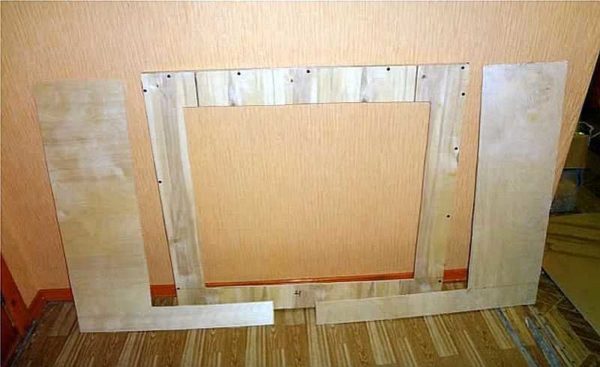
A frame is cut out of plywood according to the dimensions of the front panel of the fireplace. At the bottom, the frame is 10 cm wider, on the other three sides by 7 cm.
Side parts are cut out according to the outer dimensions of the frame. The screen of the electric fireplace should be a little "recessed" deep into the structure, and these details are the front of the portal.
We collect all three parts into a single whole. To do this, you need a block of 10 * 20 mm and a strip of plywood, 7 cm wide. From all this, we collect the front wall of the false fireplace.
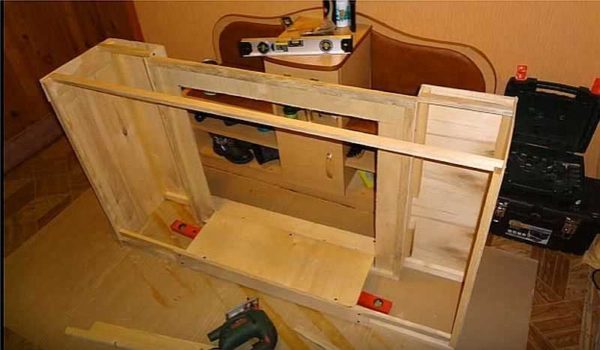
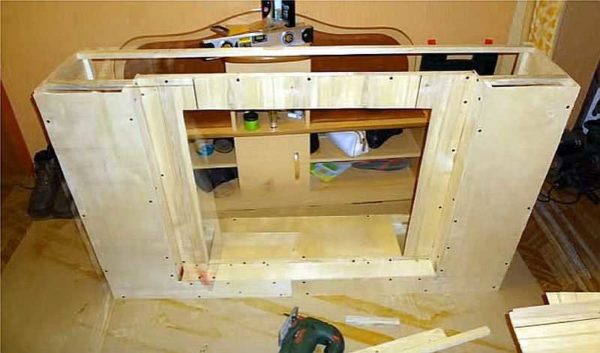
We make the rest of the frame under the existing front panel. To add rigidity, we put jumpers at the top, along the upper edge of the front panel. We also install a bar at the bottom. The platform under the fireplace body rests on it. We trim the side walls with cut-to-size pieces of plywood.
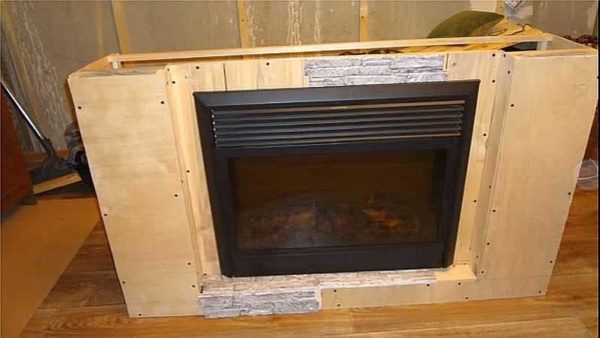
Actually, a decorative fireplace with your own hands is almost ready. Finishing work remained. Ceramic tiles of two types were chosen for decoration - gray "stone-like" and white "brick-like". We begin to glue it on liquid nails. The work is progressing slowly - you have to cut it into small pieces.
Partially cutting is obtained on a tile cutter, but often you have to use a grinder, and this is dusty, requires concentration - you cannot saw off more, and the edge must be even. The edges of cut tiles that remain open are sanded. And this is time again. Therefore, facing takes a long time, the work is tedious.
Almost in the middle of the work, an insight came: in order for the corner laid by the tiles to look neat, the edges of the tiles must be grinded at 45 °. Cutting with a grinder at 45 ° is very inconvenient, much easier with a circular one (found at a neighbor). Then the joint turns out, if not ideal (due to chips), then much more attractive.
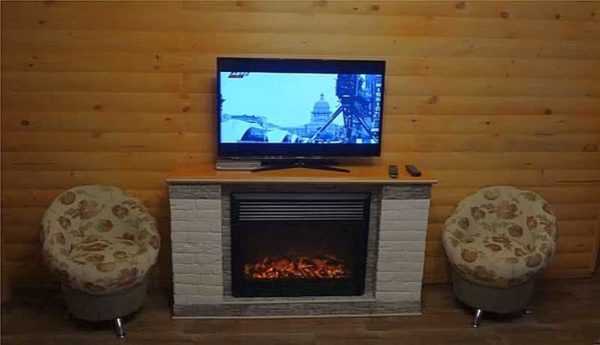
All the joints between the tiles were filled with grout of a suitable color, the joints began to look great. A table top is installed as a top panel. The result is a false fireplace and at the same time a TV stand. The result is pleasing.
Artificial plasterboard fireplace
Plasterboard and profiles allow you to create decorative fireplaces of any size and configuration. First of all, you need to decide what size the portal you want to make, draw it on a sheet of paper or in one of the design programs, put down the dimensions, think over the type of decoration. Only then, according to the finished drawing, you can start work. Do it right.
Calculation of proportions and preparatory work
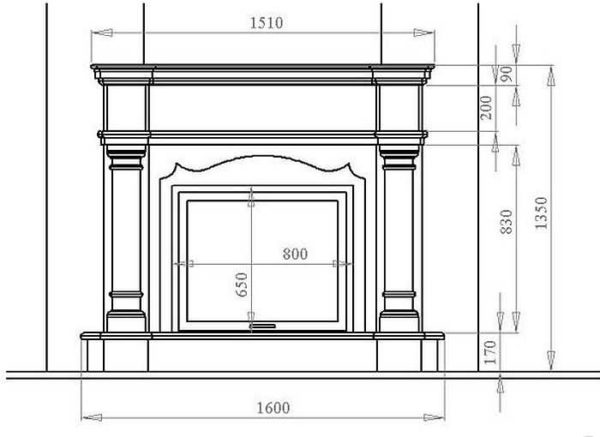
To make it easier to estimate the proportions, you can use the finished drawing. It is possible and necessary to resize to fit your conditions - this is not real brick fireplace, in which for normal operation all dimensions must be respected, but only its imitation. So we can safely adjust the dimensions to our own ideas and the dimensions of the "fire" source.
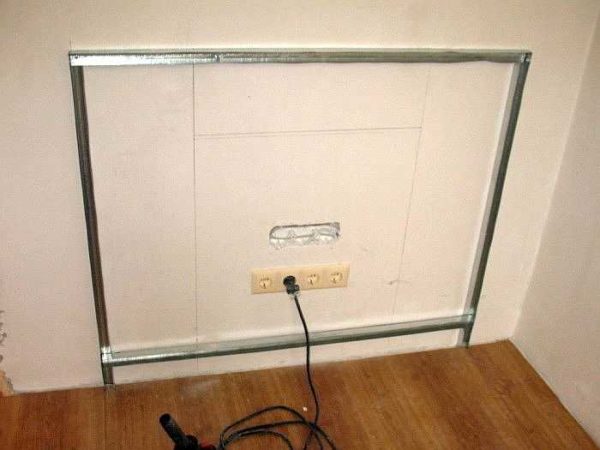
If an electric fireplace is inserted into the portal, it is necessary to bring the power supply line to this area in advance. When laying the cable, use the laying rules: lead the wires to the outlet from above, strictly vertically (not at an angle or randomly).In this case, when attaching the profiles for drywall to the wall, you will definitely not get into the wiring, since it is visually easy to determine its location - on top of the outlet. Fasteners are simply not installed in this space.
Frame
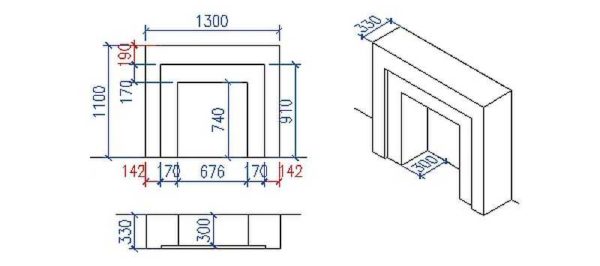
If you are going to make a portal for candles, the dimensions can be even smaller. One of the drawings of the candle fireplace in the following drawing.
First, draw the main lines of the portal on the wall. Then, on them we fasten the starting profile cut into pieces (in section it looks like the letter "P" without shelves on the sides).
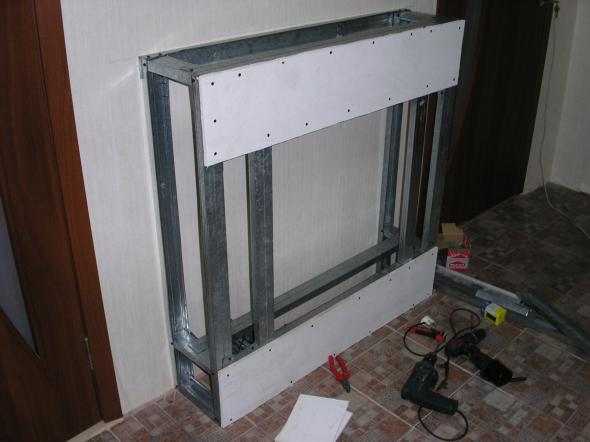
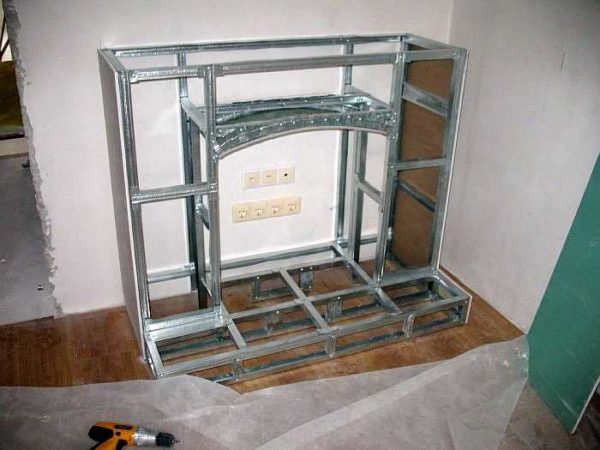
Then, according to the drawing, we create a volumetric frame for a false fireplace. Vertical slats are immediately installed, marking the dimensions of the portal. The same frame is assembled on the floor as on the wall. The dimensions are in the drawing, but it will be useful to compare them with the actual ones so that there are no distortions. The finished frame is installed at the desired distance, fixed with short sections of the profile, creating a volumetric box.
In the last turn, the frame is assembled for a small podium in front of the "firebox" of a decorative fireplace. If done earlier, it will be inconvenient to work.
Features of working with gypsum board
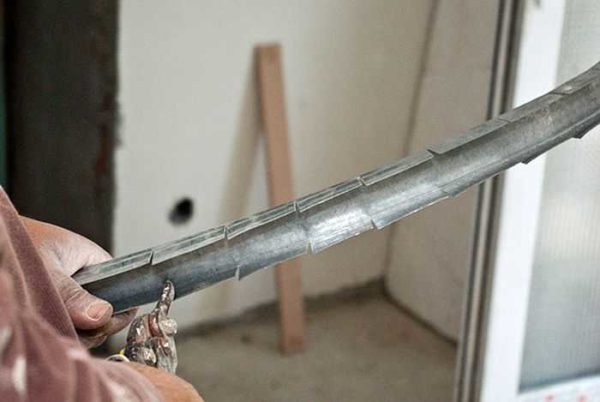
Often questions arise when creating arches. To obtain a rounded line, the sidewalls of the profile are cut every 5-6 cm, leaving the "back" intact. In this form, it bends easily. During installation, each "petal" is attached to the crossbar (on both sides).
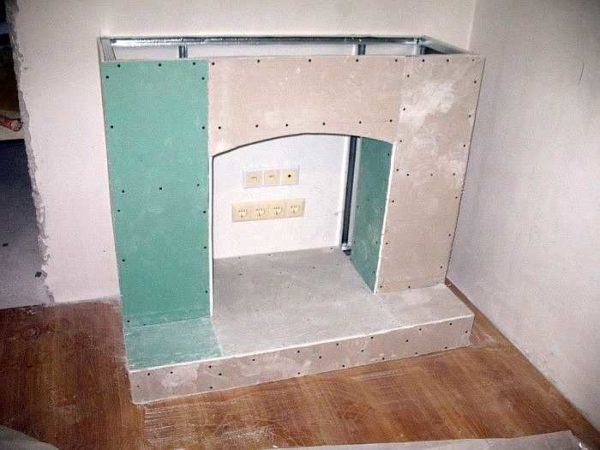
After the frame is ready, we sheathe it with drywall. It is cut with an ordinary clerical knife. In addition to it, you also need a long ruler. We mark on the drywall the line along which it must be cut off. We apply a ruler to it and draw along it with a knife. The main task is to cut the top sheet of cardboard, there is no need to cut through the gypsum. A block is placed under the cut line, they knock on the sheet from one side or the other. The gypsum breaks along the cut line, all that remains is to fold it and cut off the second elephant of the cardboard.
Rounded lines on drywall can be cut with a jigsaw, if any, or you can break off the plaster in small pieces, and then level the edge with a knife (the plaster is well ground).
How to fix
Sheets of drywall are attached to special self-tapping screws with a screw at the end. Because of their small size, they are called "fleas". They must be twisted so that the heads are recessed, but at the same time, you cannot break through the cardboard. The installation step is 15-20 cm in straight sections without load and 10-15 cm in sections with bends. In short, these are all the wisdom of installing drywall.
To bend a sheet of gypsum covering the arch of the "furnace", it is cut on one side with strips 5-7 cm wide. Plaster is broken along the cutting lines, but the second sheet of cardboard is not cut. It turns out that the strips of plaster hang on this cardboard, because of this, the strip bends well. It is applied to the profiles that form the bend, and fastened with self-tapping screws. When installing, be careful, put the fasteners in the middle of the strip - pieces can break off from the edge.
Finishing
After the portal for the artificial fireplace is sheathed with plasterboard, you can start finishing. You can putty and paint it, you can tiled it with brick or stone tiles, another option is an artificial facing stone.
On drywall, it is more convenient to glue the cladding on liquid nails or special glue for the selected material. It is only important that it can be used with drywall.
To make the portal for the artificial fireplace seem more voluminous, to make the game of the "flame" more interesting, the part that goes out to the wall is covered with a mirror (if an electric fireplace is not installed). The mirror can be ordinary, on glass, or it can be flexible - acrylic. It is preferable as it does not break.
The seams between the tiles are sealed with grout.It is often chosen in a dark gray color, similar to a solution. Then the portal looks like a real one from a distance.
As you can see, making a decorative fireplace with your own hands is not too difficult. Especially for those who have at least a little experience with drywall. For a more complex version, with stucco molding made "on site", see the video.
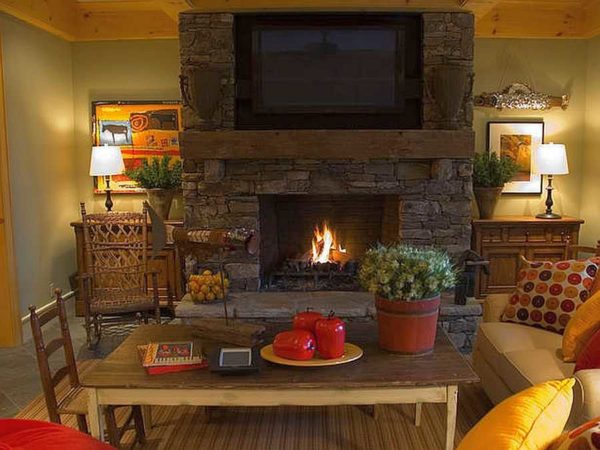
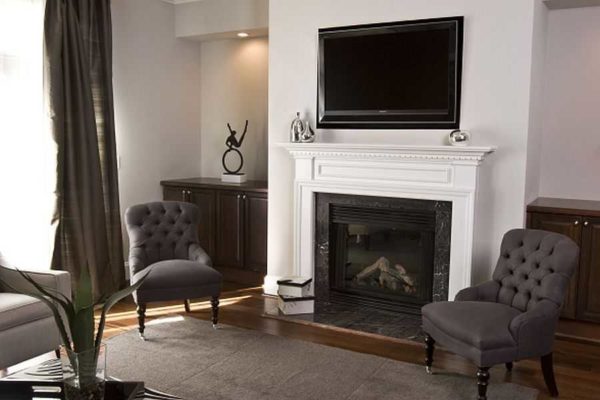
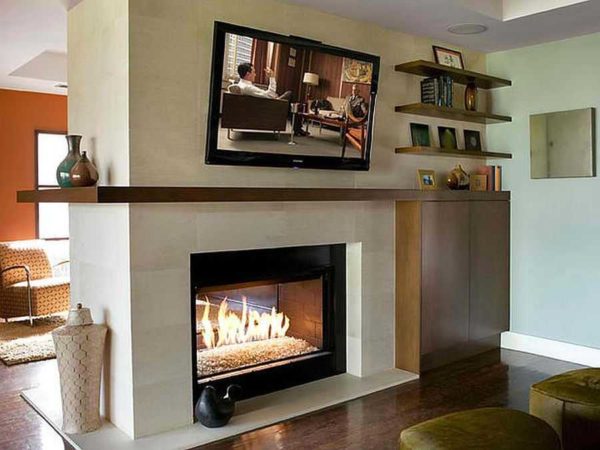
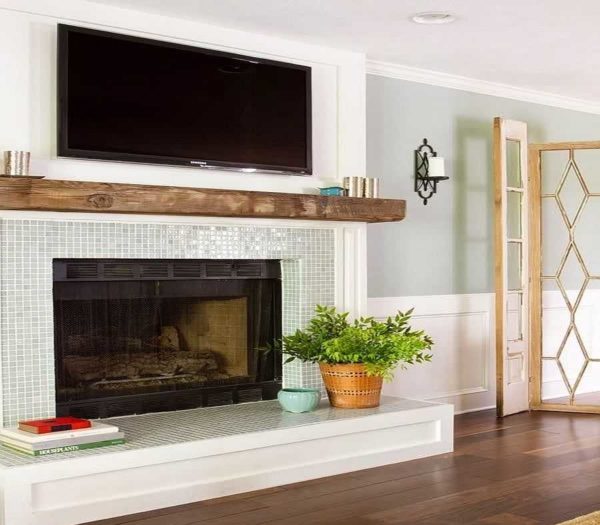
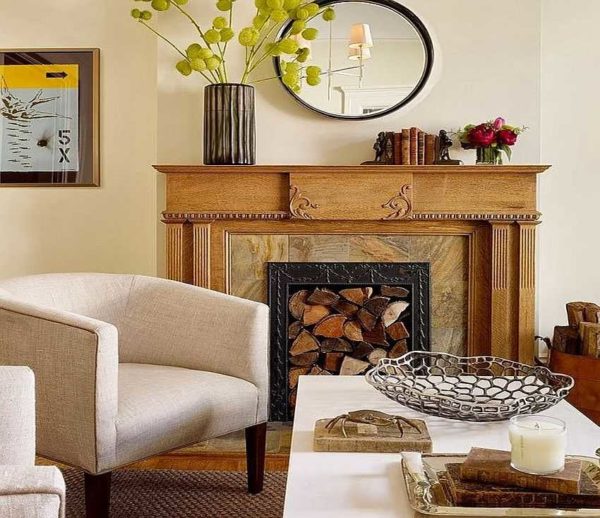
Photo of imitations of a fireplace in the interior
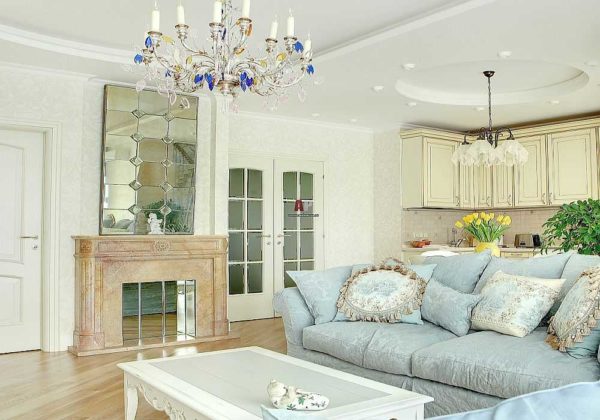
Imitation fireplace in classic interior
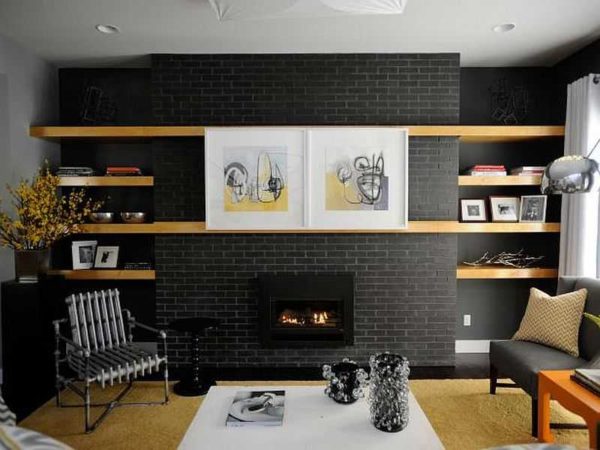
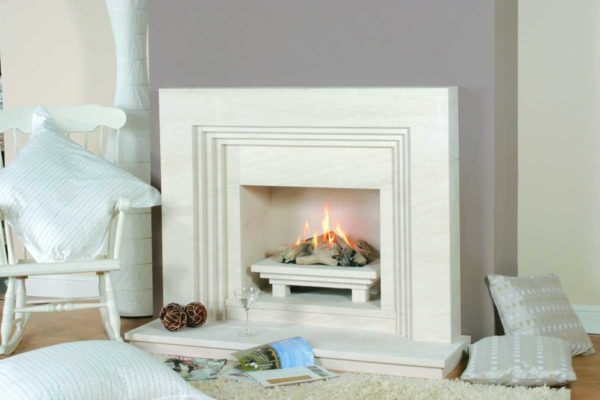
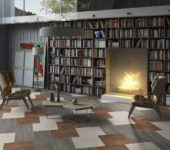
Decorative fireplace fits into the most fashionable styles - minimalism, high-tech, modern

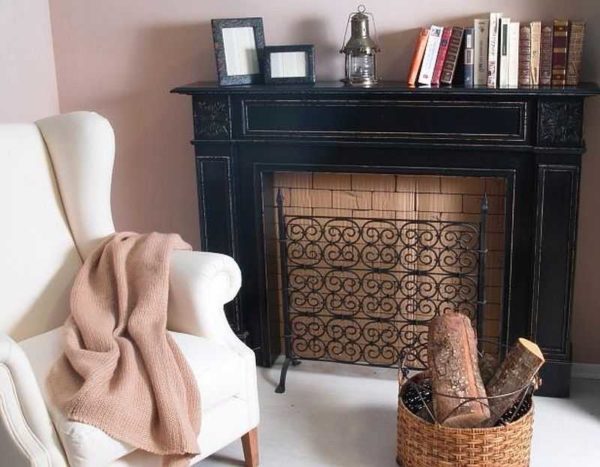


Can it work together with VI3? We all havent improved to date.