Butterfly stencils for decor
What to do if the decoration of the room is tired, and there is no money or effort for repairs? The fastest and not very expensive way is to change textiles and decor elements. Moreover, not all decor needs to be bought. For example, butterflies for decoration will help to bring an element of lightness. They make panels, wall compositions. Larger and brighter ones "live" on curtains or flowers.
The content of the article
What are they made of
Butterflies on the walls are made from different materials, sometimes even exotic. The appearance of the resulting decor depends on this choice. While there is no experience and you do not really imagine the final result, you can make several different decorative butterflies for testing. They can be attached to the location of the planned decor. This will make it easier to evaluate the effect and choose the most suitable option.
Paper
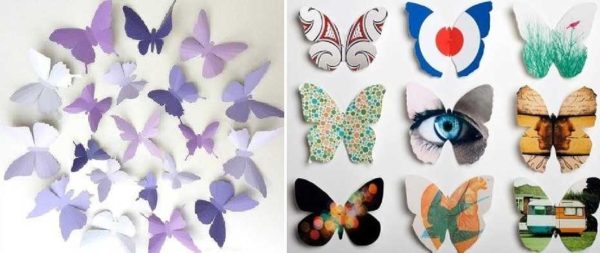
Butterflies for paper decor are the easiest and cheapest to make. There are several different techniques. If the product is flat and is glued entirely to the wall / panel, only the front surface is important. If a volumetric composition is supposed, the paper should be two-sided - both sides should be painted, because the white "wrong side" often spoils the impression.
Instead of ordinary colored paper, you can take corrugated paper. The effect will be different - it is lighter, airy, translucent, with its help it is easy to make the decor with butterflies volumetric.
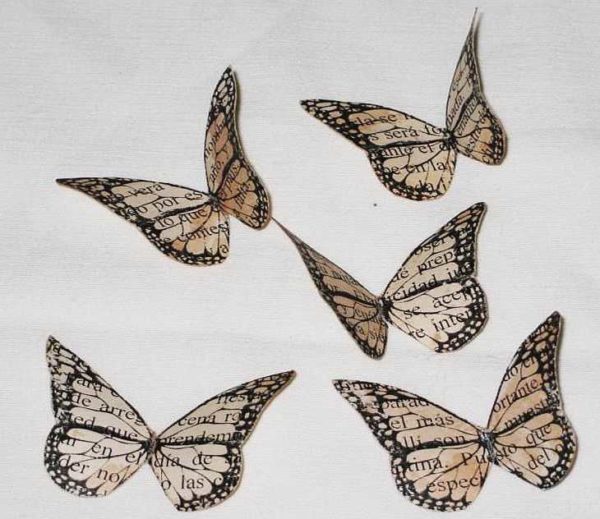
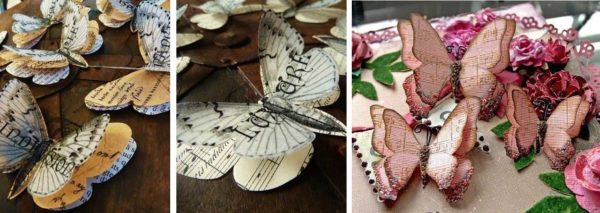
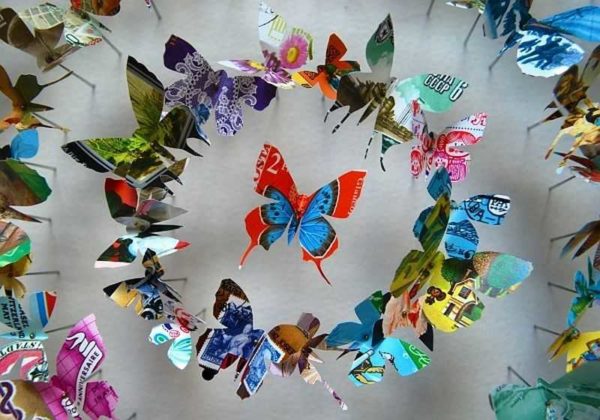
You can make butterflies from an old magazine, newspaper, postcards, colored napkins, wallpaper of suitable colors, any other printed matter.
As you can see, there are a lot of options only from paper. Considering that they can still be slightly tinted, combined, made multi-layered, it is clear that the scope for imagination is huge ...
Cardboard
Cardboard is used not very high density. It is rather very thick paper. It is also available in color and double-sided. With its help, they often make volumetric decor - it is easy to bend the wings relative to the body. This material holds its shape even better. Just remember that you can't make corrugated wings - the material is too hard to make a small fold.
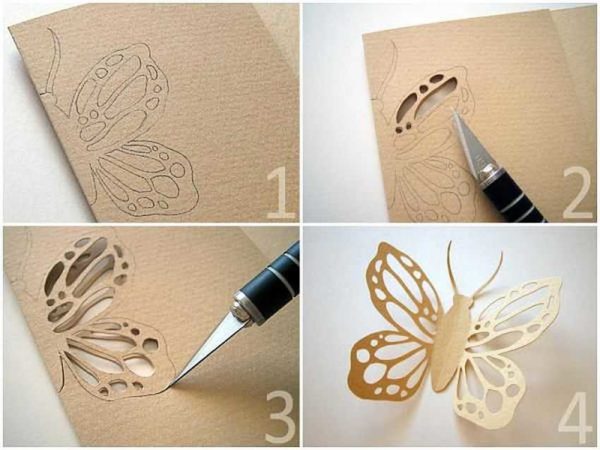
It is also easier to make openwork butterflies from cardboard. Having a sharp enough knife, they cut out the "excess" leaving only the partitions. Such decorations require perseverance, great patience and accuracy.
Also, cardboard is used to make templates for "mass" production of identical butterflies. With the help of such stencils, you can make insects of the same type and size and spend a minimum of time on this.
the cloth
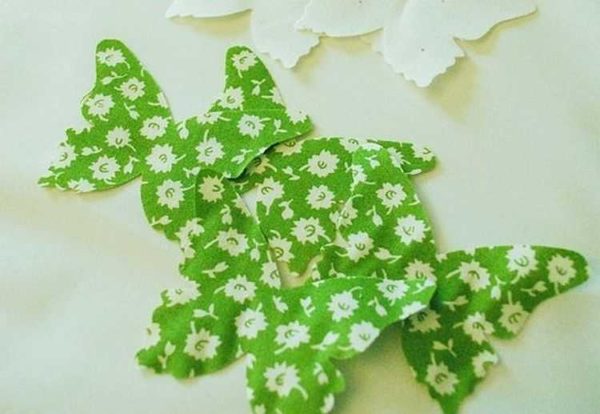
Having a pattern, you can make butterflies for wall decor or a fabric chandelier lampshade. The fabric will need to be given additional rigidity, but the rest of the process is not much different: a contour is applied, cut out, decorated if necessary and attached to the wall.
It is more difficult to work with fabric, although very interesting decorative crafts are obtained. This is an option for more advanced decorators and needle or sewing machine skills. With their help, you can recreate the veins on the wings.
Exotic materials
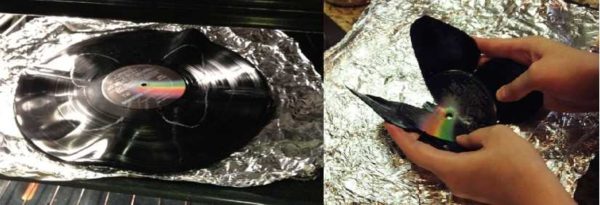
Old vinyl records will also be excellent raw materials for making butterfly decor.Since vinyl is tough, you will need to heat it up in the oven to carve a butterfly out of it. And in order not to spoil the baking sheet, it must be covered with foil.
A contour is applied to the vinyl with the help of chalk, the plate is placed in a preheated oven, as soon as it begins to soften, it is removed, we quickly cut it along the contour with scissors. Often it is necessary to heat the "blank" several times. After cutting out, we warm it up for the last time and give the desired shape.
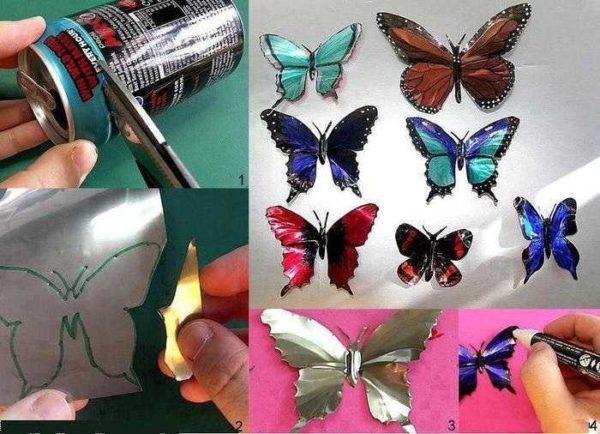
Beer cans or any other relatively soft tin can also make excellent flying beauties. First you need to cut off the bottom and lid and align the piece of tin. Then, using an awl, transfer the contours from the template to the sheet metal, connect them with a marker and cut along the resulting contour.
You can decorate the back - the shiny part. This will require markers or felt-tip pens, you can try decorating with nail polish. Painted handsome men are given the desired shape. One caveat: the edges are very sharp, you need to work carefully, otherwise cuts cannot be avoided.
How to make contour paper butterflies
We start with the simplest, but most effective - contour butterflies. You will need colored paper or magazine pages, outline maps, etc. You can use old postcards or colored cardboard. You will also need ordinary cardboard - for cutting out the template.
Cooking a template
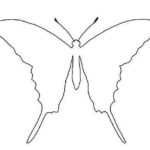
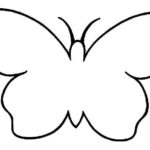
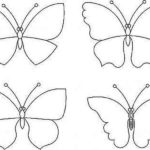
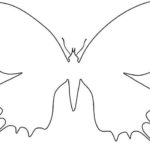
We take a piece of cardboard - any, you can even some kind of packaging (tea, cereals, cereals, etc.), the main thing is that the cardboard is dense and not cellular. Find the silhouette of a butterfly that you like, transfer it to cardboard and cut it out. Several silhouettes are in the photo gallery. They can be printed, then cut and transferred to cardboard.
- Moth on the wall - it will be nice in color
- If you are good at scissors, you can try this outline.
- The more curves, the harder it is to cut
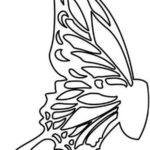
- Swallowtail is attractive for its "tail", but paper consumption is higher and work requires more accuracy.
- This one looks more like a night moth, but also looks good.
- You can draw decorative butterflies yourself, you can find the image in any book
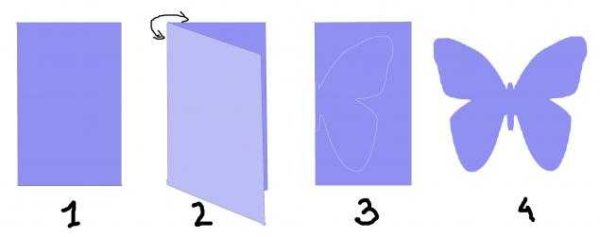
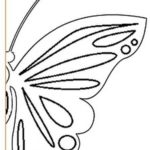
- Paper butterfly patterns for interior decoration are made in half. The second is obtained "automatically" after turning a piece of paper folded in half
- Another version of the swallowtail for cutting paper
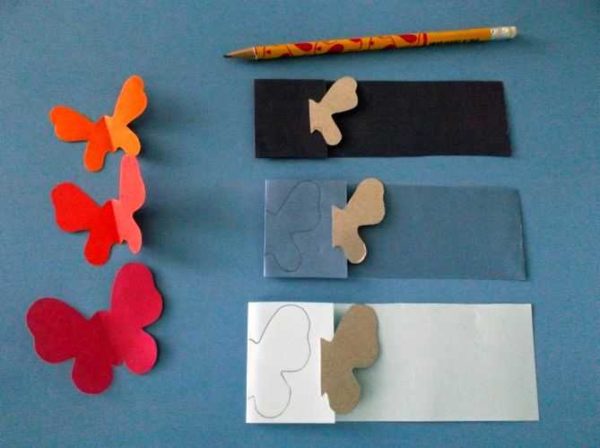
A few tips for working with templates. Many contours of butterflies are given with two wings, but it is better to cut off one wing - it will definitely turn out symmetrically.
Decorations made of winged insects of different sizes look good. Therefore, the same contour can be enlarged, reduced using the simplest functions of graphic editors - the same Paint, which is in any computer. Since in this case only the outline is important, the quality of the drawing is not so important, therefore experiment with the dimensions boldly. Cut out the printed template, apply it to the cardboard and circle it. Cutting out we get a rigid working template with which you can make dozens of identical elements.
Cut and fasten
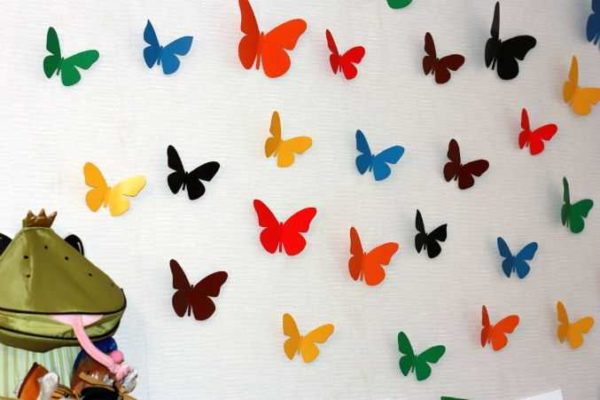
We take a sheet of paper, fold it in half, apply a template, circle it. Cut out along the line. Next, we bend the wings away from the "body", we get a workpiece. After cutting out a number of butterflies, we attach them to the chosen place - on the wall, a piece of cardboard, etc.
You can fix it with ordinary glue (PVA is usually the best option), small strips of double-sided glue. You can use wallpaper glue, etc. If in doubt about the result, stock up on sewing pins. They can be mounted on the wall several times without much risk of damaging the surface.When you place all the butterflies and the result suits you, you can glue or use scotch tape.
Fishnet
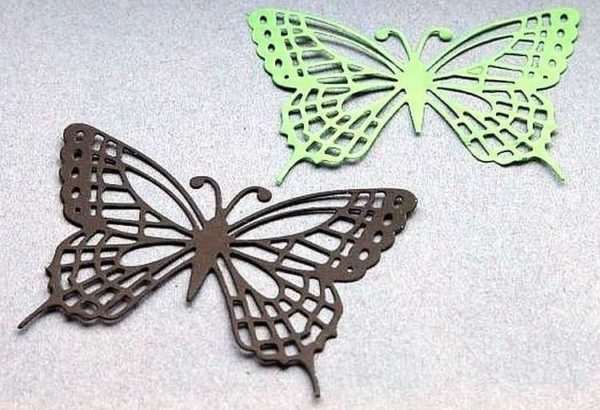
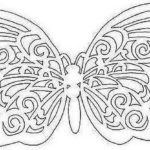
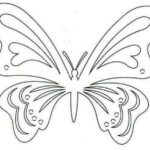
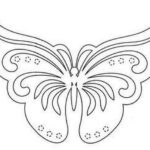
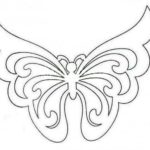
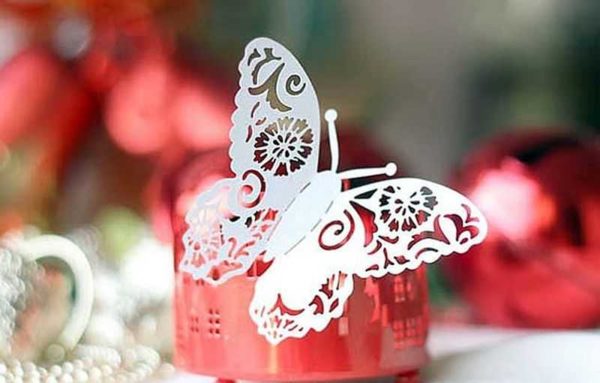
The situation with openwork butterflies is a little more complicated. They are made from paper or cardboard. It is important to have a good sharp knife and a template with lines drawn on it, along which you will need to cut out excess paper. It should be said right away that this is painstaking work.
- For those who are good with a knife and have a firm hand
- Stencil for cutting paper lace butterflies
- Patterns of butterflies with openwork wings - a variant of medium complexity
- You can use thick paper or thin cardboard
- Not the most difficult option, but it will look great
- The second half is symmetrical
- Fine work
- This cutout pattern looks more like a moth
- Patterns for cutting paper butterflies
The process is the same as described above: a template is prepared, then the required number of elements is cut out from it. The peculiarity is that first, small fragments are cut and removed, and then the outline is cut out of a piece of paper. With this sequence of actions, there is less chance of breaking thin jumpers, and it is easier to work this way.
You need to work with a knife with a thin and sharp blade. Better not on the table, but by placing something firm enough - you can plywood, Chipboard, plastic, etc. But you need to understand that grooves and cuts will remain on the surface, so it will be problematic to use this piece for some other purpose.
Multilayer volumetric
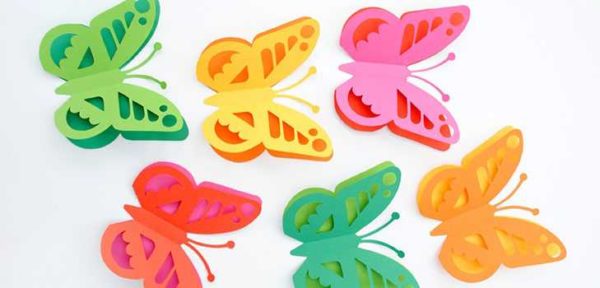
When making multi-layer volumetric butterflies, several pieces of the same shape are cut out (size and color may vary). They are folded one on top of the other, "bodies" are glued together, and the wings are folded back at different angles. So these butterflies turn out to be more voluminous.
You can make a combination of openwork and contour butterflies. Take paper in contrasting colors or find the same color, but different shades. Make butterflies of the same shape out of them. Only some will be with lace, others will not. Arrange them by placing a piece without a pattern down. An interesting effect is obtained.
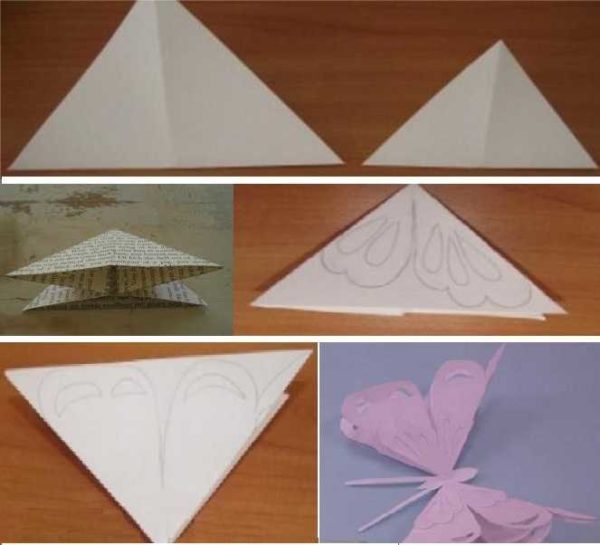
There is a technique that allows you to immediately cut out volumetric butterflies from paper. You will need two rectangles of paper - a larger (for large wings) and a smaller one. We fold them diagonally once, then a second. The result is two triangles of different sizes. Now, from two opposite sides, bend the paper inward so that we get such a triangle as in the third photo (with a newspaper).
Draw wings on the resulting triangles. In large openwork it can be located only along the edge, in smaller ones - over the entire area. We cut out the blanks and put one into the other, glue them. From above we glue the "little body" cut out separately with antennae. Due to the fact that the paper is folded and the wings are double, the products have a larger volume.
Corrugated paper
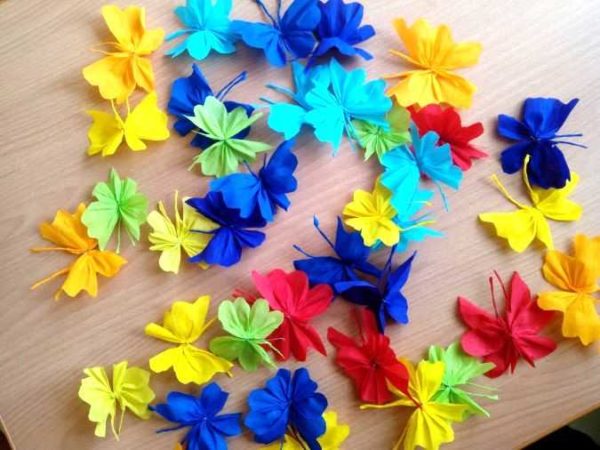
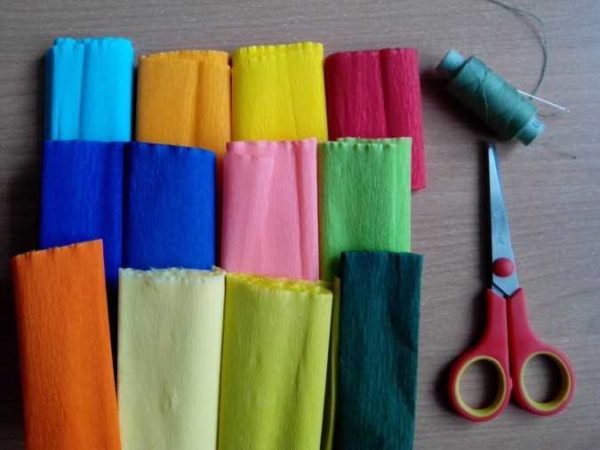
It is easier to work with corrugated paper and the butterflies for decoration are more airy and light, since the paper is translucent. We select the right colors, we take threads, scissors, glue. Nothing else is required. Cut out rectangles of about 7 * 10 cm from paper.
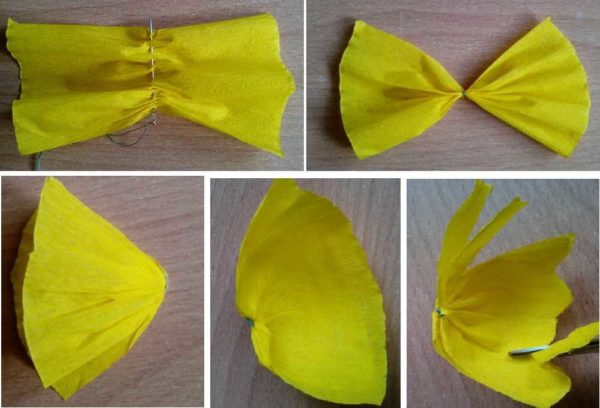
We sew the resulting rectangles in the middle with a needle and thread, tighten, make a couple of turns with a thread. It turns out something resembling a bow. We fold it in half, straighten the paper with our fingers, trying to leave as few folds as possible - we form wings.
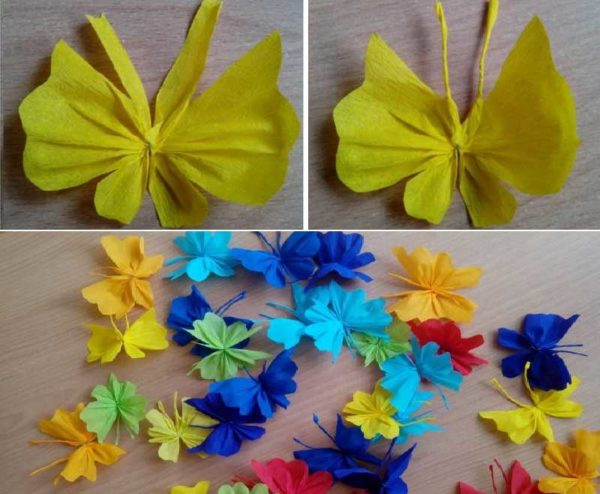
When the result satisfies you, we take scissors, cut off a strip of several millimeters from this edge - on the antennae. On the rest, we form a patterned edge that resembles a butterfly's wing.
We twist the strips of antennae with our fingers into thin tubes.Now they exactly resemble antennae. We unfold the wings and finally straighten them. The result is light butterflies.
From folded paper
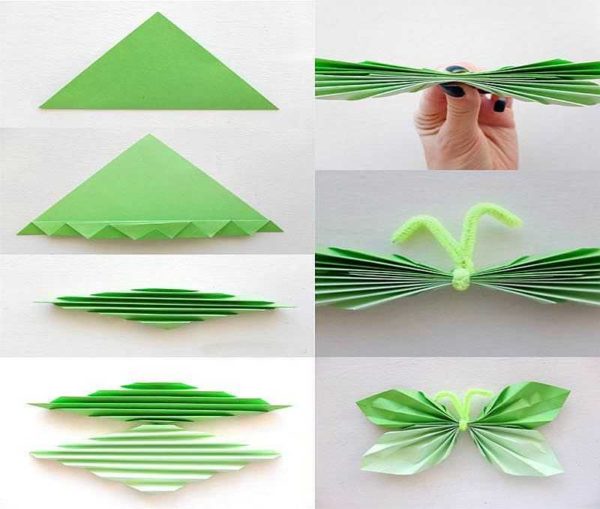
From double-sided colored paper or old magazines, you can make paper butterflies for decoration by folding them into a small accordion. We cut out two squares or rhombuses from paper (one a little more, the other a little less), fold them into a small "accordion", starting from one of the corners. The smaller the fold, the more interesting the product will be.
We fold two folded rhombuses one with the other, tie them in the middle with thread or flexible wire in a sheath of a suitable color. We make antennae from the remains of the wire, straighten the wings, adjust the shape if desired.
Photos for inspiration
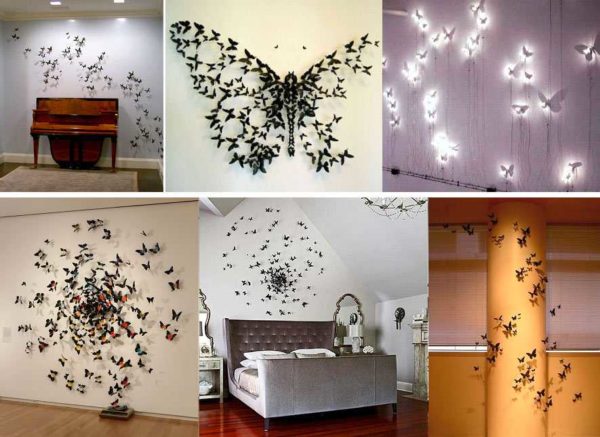
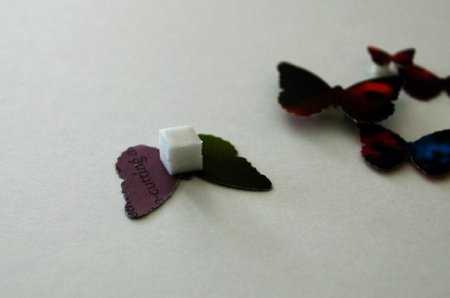
To begin with, a little about how and what you can attach already made butterflies for paper. The easiest way is on walls or panels with glue. The second no less simple way is to use double-sided tape. But in order for the decoration to be more voluminous, it is best to glue it not directly to the wall, but on a small piece of foam rubber. The result will be a more airy composition, with clear shadows.
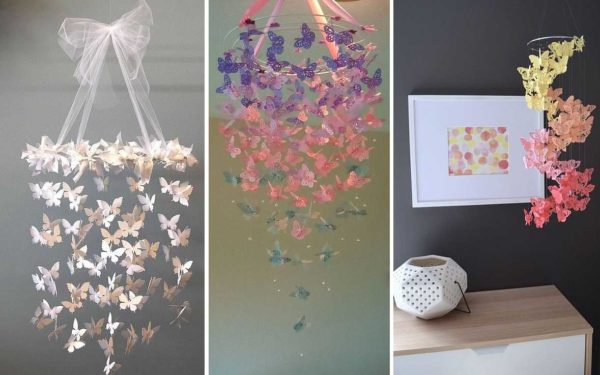
They use paper butterflies to create volumetric decorative compositions on small hoops with fishing line tied to them. Cut out paper insects are attached to the line. You can't hang them on the wall, but they look very original, although creating such a composition is more difficult than on the wall.
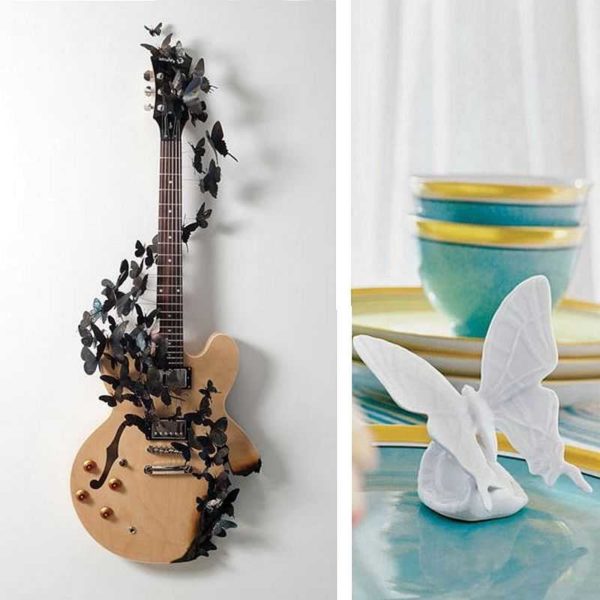
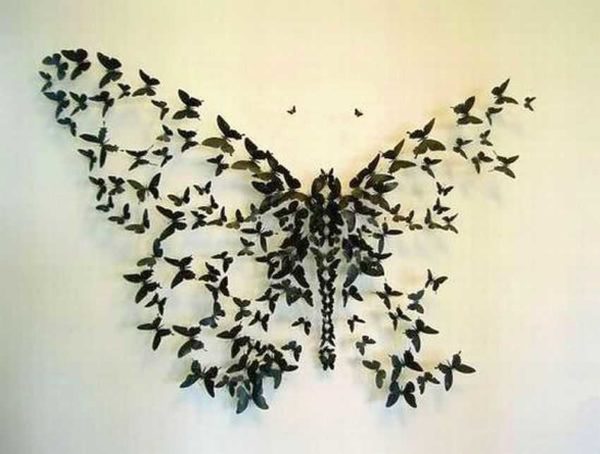
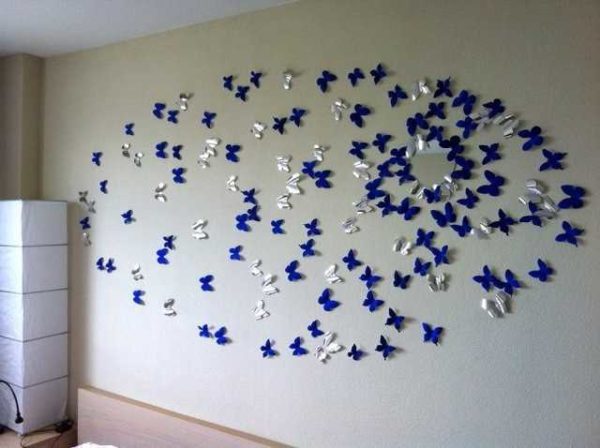
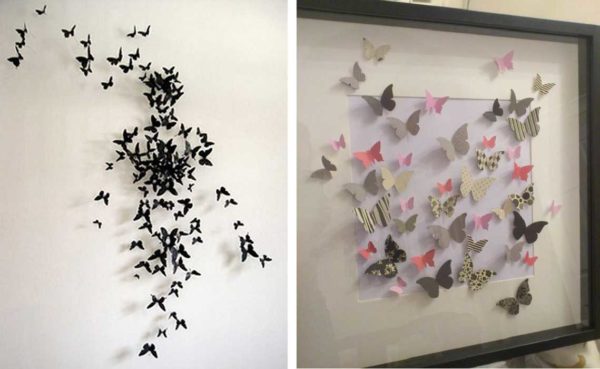
And several wall compositions that use butterflies for decoration, made of different types of paper.





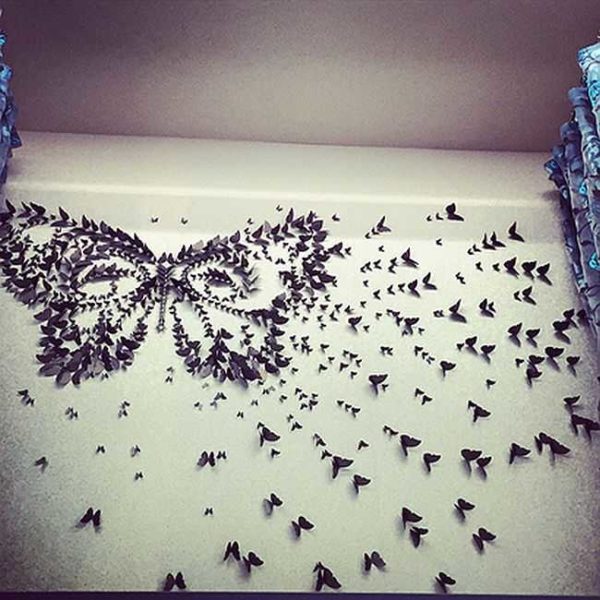
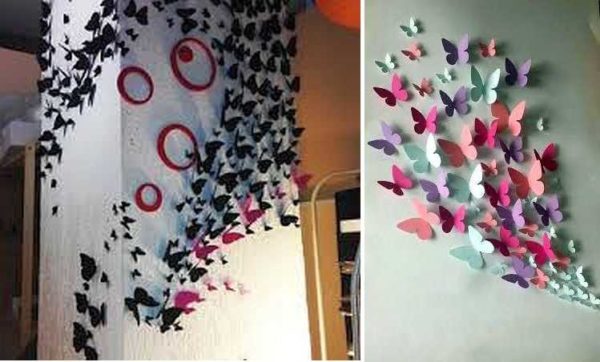
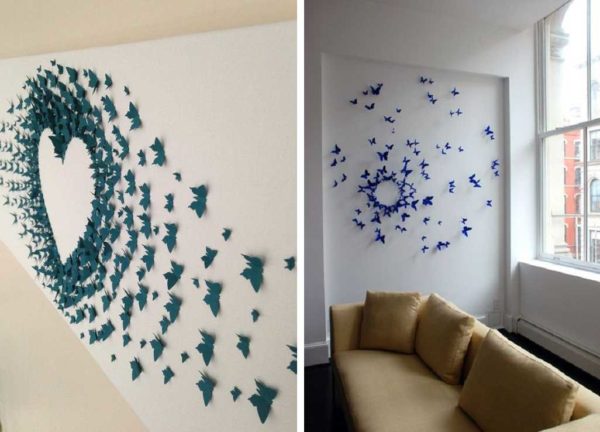



Butterflies in the interior will relax and calm down, because decoration in the form of butterflies allows you to create a bright design of rooms. Thanks to the author for the article.