DIY cardboard fireplace from boxes
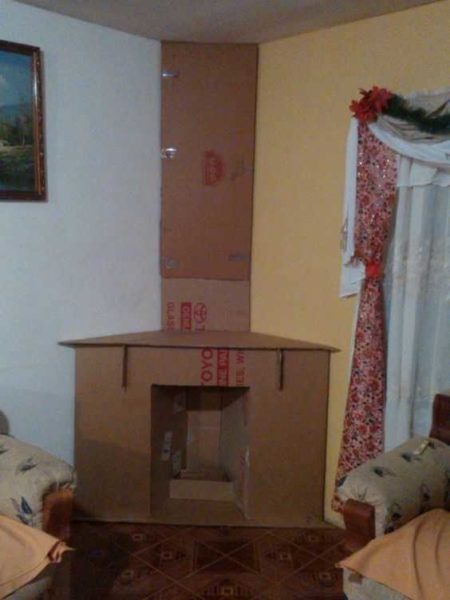
Not everyone in the house and, moreover, in the apartment has a fireplace. And sometimes you want to create a festive mood (so that there is where to put gifts) or you just want to make the room more comfortable and intimate. In this case, you can create a simulation. The easiest option is a cardboard fireplace. Usually they use packaging boxes from large equipment.
The content of the article
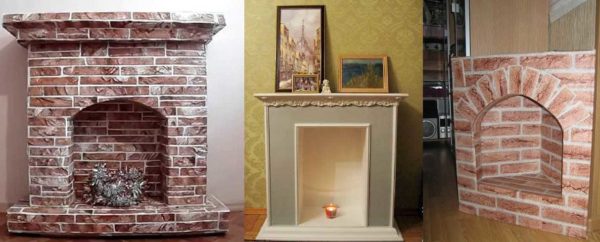
False fireplace made of cardboard: models
A false cardboard fireplace, like a real one, can be wall-mounted and angular. In both versions, the portal can be straight or arched. As you like best. If we talk about the practical side of the matter, a straight line is easier to do, it is easier to finish. Even a beginner can handle it.
A wall mounted fireplace is great if there is a decent amount of free space on the wall. It looks great in the space between the windows. If the walls are all occupied, but there are corners, you can build a corner model.
What materials are needed
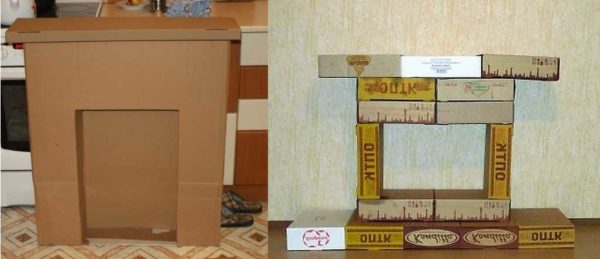
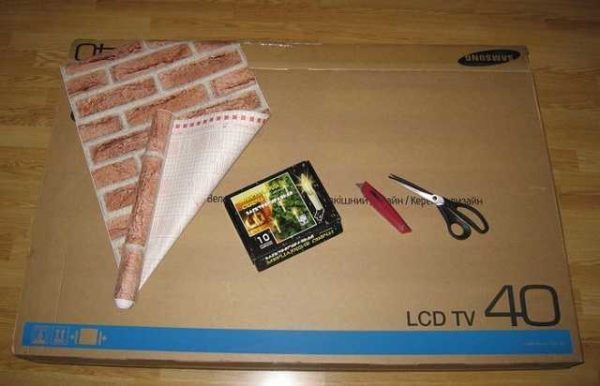
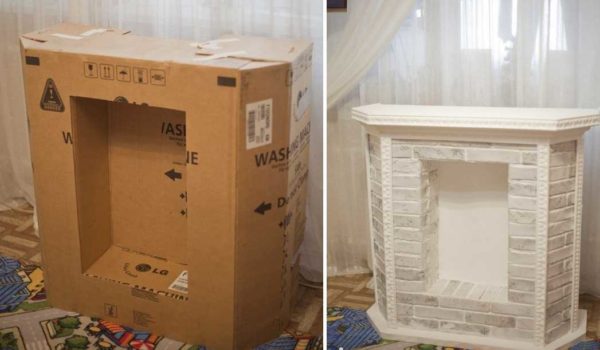
The best material is cardboard boxes. The easiest way to make a fireplace out of cardboard is if there is a box from under a large monitor or TV. All you need to do is cut out the portal and glue the side walls.
A little more work will be if there are only small shoe-type boxes. But on the other hand, you can assemble a more interesting model in shape from them.
You will also need:
- scissors;
- stationery knife;
- PVA glue;
- paper (masking) tape.
These are all the materials and tools that are required. Of the entire list, questions can arise only regarding scotch tape. Why paper? It is good for any finish. Including when staining. So the option is universal. If you are not going to paint the fireplace, you can use regular masking tape.
You will also need a finishing material, but we'll talk about this later, since a lot here depends on the finishing method.
Build options
If there is a large box
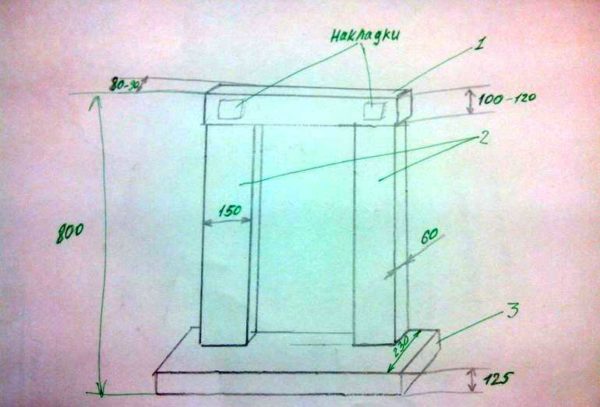
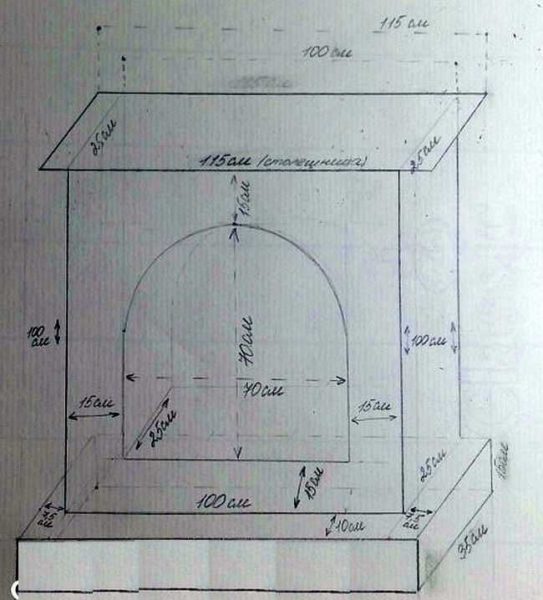
A large cardboard box will make a fireplace with a rectangular portal. Determine the size yourself, but the optimal height is about 80-90 cm, the width is about the same, the depth is 6-15 cm. But there are models that are wider, and narrower, and higher and lower. Everything to your taste. For example, a drawing of a cardboard false fireplace with dimensions.
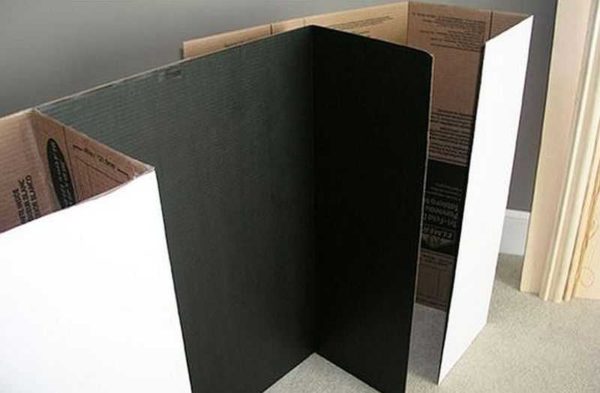
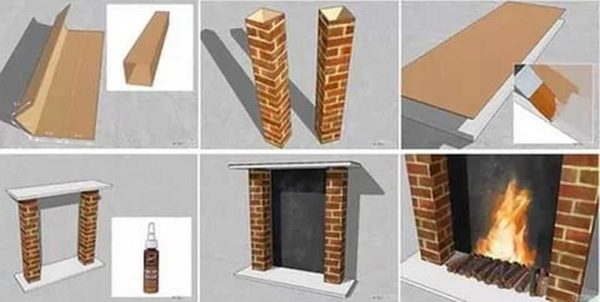
We begin to assemble an imitation of a fireplace made of cardboard from the central part. Form the columns first. Cutting rectangles to fit is no problem. The problem is to make even folds in the right places. Take a large ruler or flat bar and a hard object with a rounded end. A ballpoint pen will do, for example, you can take a spoon or fork and use a pen. The idea is as follows - along the line where the fold should be, we apply a ruler / bar, draw with the back of a ballpoint pen or a cutlery handle along the bar, pushing the cardboard. But look carefully, do not tear. The sheet bends easily along the line drawn.
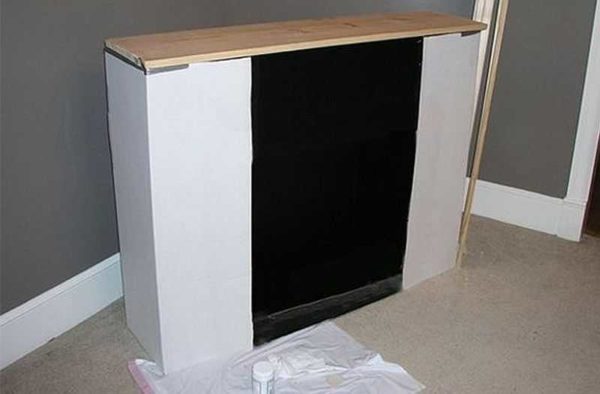
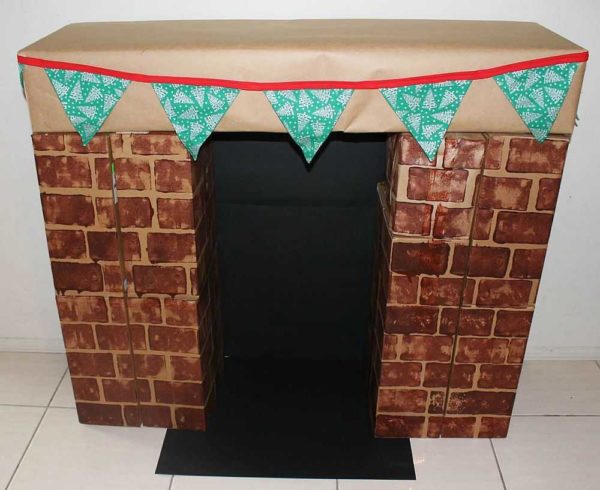
We glue or paint the central part at once. Then it will be too uncomfortable. You can paint it black, as in the photo. Another option is to imitate brickwork. Looks good too.
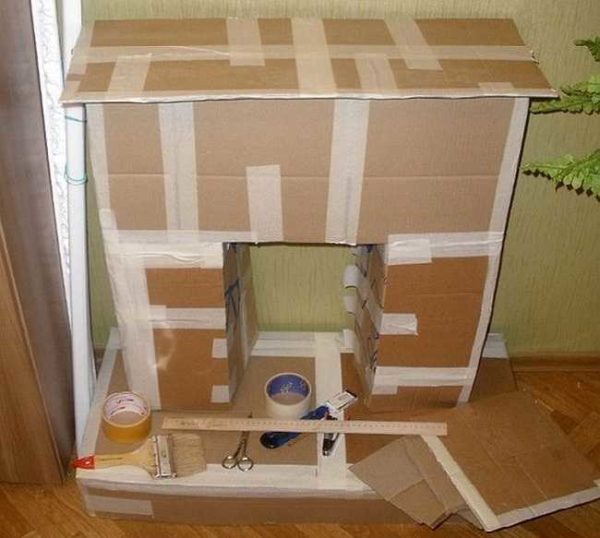
It is convenient to glue the parts together with scotch tape (the type of scotch tape has already been discussed). We glue each joint on both sides. We do not regret Scotch tape. This cardboard fireplace was painted, so the columns were pasted over with white thick paper. You can use a primer and paint over it.
We roll up the shelf above the fireplace from several pieces of cardboard using the same technology. If you plan to put something, it is advisable to make stiffeners - several partitions. If the whole structure is strong and stable, you can make a shelf from a piece of plywood, for example.
If the cardboard is thin, polystyrene / foam can be used. It is sold in hardware stores. You can take the slabs that go for finishing the ceiling. They have processed edges, a pattern is applied to the front surface. In general, it may turn out interesting.
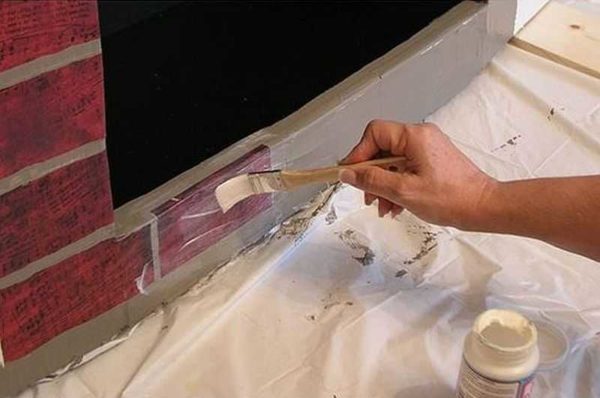
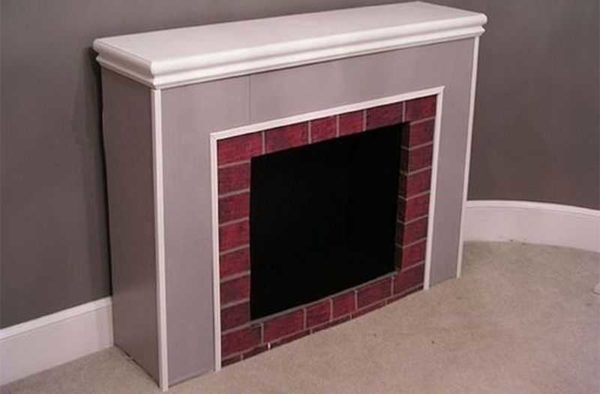
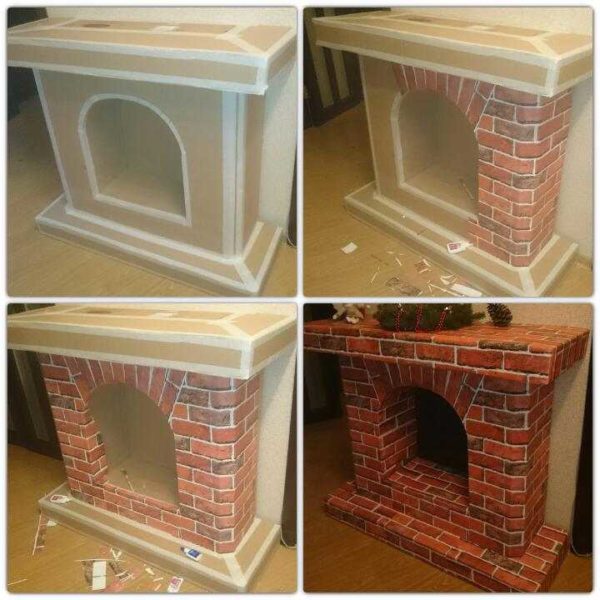
Next, it's up to finishing. In this version, "bricks" were cut from paper of a suitable color. They designed the portal opening. This is where you need PVA glue. Do not forget to leave seams between the "bricks". In the presented model, they are painted with a base color, but you can make them, for example, black, white.
The rest of the false fireplace is painted, and foam (polystyrene) is glued on top moldings.
The moldings can be glued before painting. You need to cut them with a sharp clerical knife. Then the cut will be even. It is glued to PVA or special glue. Wipe off the remains immediately, otherwise the paint will lie unevenly.
The same structure can be pasted over with wallpaper "like a brick" or a wild stone. Self-adhesive tape is also suitable. But you need to work with it carefully - you won't be able to peel it off.
If the boxes are small
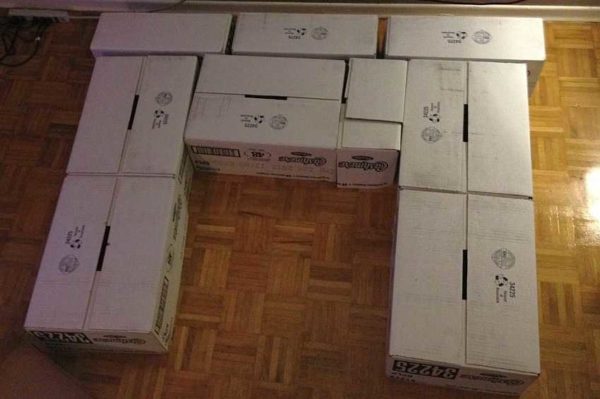
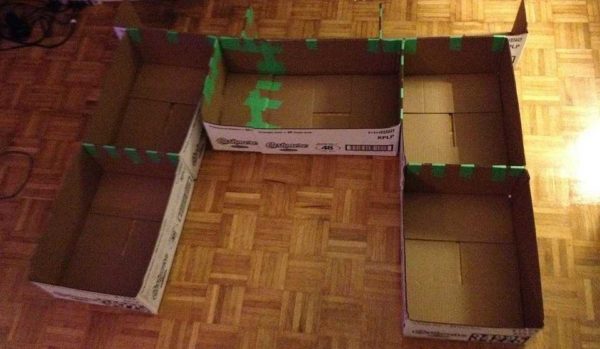
Small cardboard boxes are easy to work with. They can be the same or different sizes, thicknesses and widths. Based on the existing set, the structure is assembled.
There are two ways:
- Seal the opening part of the boxes with tape, then glue them together. The glue can be used with PVA. Press the boxes to be glued together well, leave for 8-12 hours for the glue to dry.
- Cut off the opening part, and glue them together with pieces of scotch tape.
The second option takes less time, but the design is unreliable. With large dimensions, it can sag, sag.
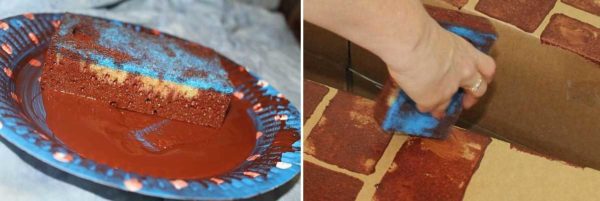
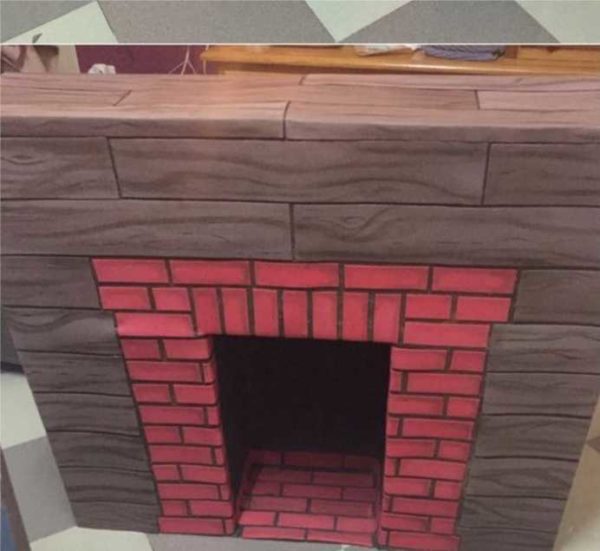
To give the fireplace made of cardboard boxes a presentable look, paint it "like a brick". To do this, we glue the surface with thick grayish-brown paper. This color will be the background.
For painting, you need a reddish brown paint and a large foam sponge. It can be cut to fit the brick size - 250 * 65 mm. Pour the paint into a flat dish, dip a sponge into it, apply it to the paper and lightly press it, draw bricks.
While working, it is necessary to ensure that the "seams" between the "bricks" are of the same width. This is not an easy task - you get distracted a little, and the size is not the same. You can do it easier - cut the masking tape into narrow strips, stick it on, draw "bricks". After the paint has dried, remove the tape.
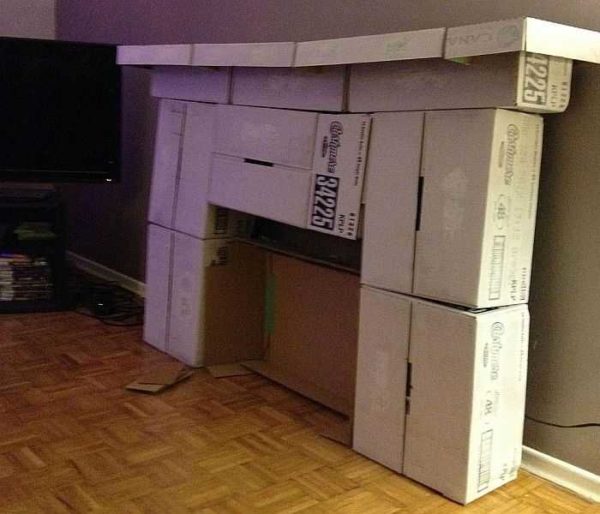
The upper part had to be reduced, as our fireplace turned out to be too shaky. It is better to use whole boxes.
Round portal fireplace
Its assembly is more laborious: you will have to glue the arch well. This fireplace took 4 large boxes (like a TV).
The base was glued separately. Stiffeners were glued on the inside of polystyrene. The weight turned out to be solid and the base sagged without reinforcement. The strips were installed after about 5 cm. They were glued on masking tape, then the base was glued on all sides.
Then the front part was cut out and the back wall was designed. It is better to decorate it right away, until it is glued. Transfer the arched cutout onto a sheet of cardboard. We cut out "bricks" from cardboard and glue them so that the edges do not go beyond the "arch". When the glue is dry, collect the main part of the portal.We also install several stiffening ribs in the portal - at a high height, the cardboard can "play", and this way everything turns out to be strong and rigid.
The next stage is the manufacture of the lid. It is multilayer - cardboard, expanded polystyrene, cardboard. Everything is coated with glue, the load is installed. When the glue dried (after 14 hours), the lid was fixed to the structure with tape. FURTHER - finishing work.
To smooth out the unevenness from the adhesive tape, cover all surfaces with thick white paper. You can take A4 sheets, you can - larger.
Next, you need a roll of paper towels and PVA glue. We dilute it 1: 1 with water, pour it into a spray bottle. We moisten the napkin, lay it down, squeezing it a little. Wet thin paper itself gives a relief, we only correct it a little, achieving a better effect. We process all surfaces in the same way, excluding the "bricks". We are waiting for it to dry.
We take paint in red-brown and ivory color (in this case). We paint the "bricks" with brown, and the rest of the surface with light. The cardboard fireplace is almost ready. There are finishing touches left.
After drying, we go through everything with a brush slightly dipped in gold paint. We dip the brush, wring it out, once again remove the remaining paint on the sheet of paper. With a semi-dry brush we pass the “seams” between the bricks, slightly touching the “bricks” themselves. Further, in the same technique, we emphasize the texture of the surface. It is important not to apply too much paint. That's it. The cardboard fireplace is ready.
Cardboard fireplace design ideas in photo format
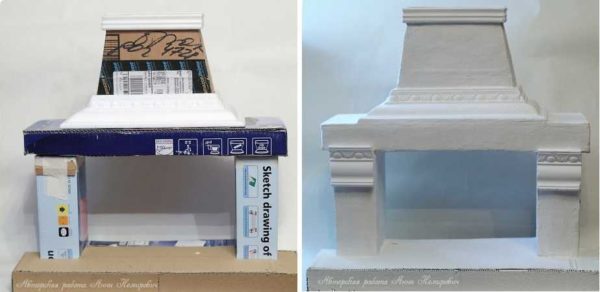
You can make an imitation of a fireplace out of cardboard of any shape. Several ideas are collected in this section. You already know the assembly principles, you can come up with the decor yourself or use the ideas from the photo.










there should be a door behind such a fireplace. It remains only to get the golden key